Product Design 2 - Spring 2022
Kitchen
Prototype
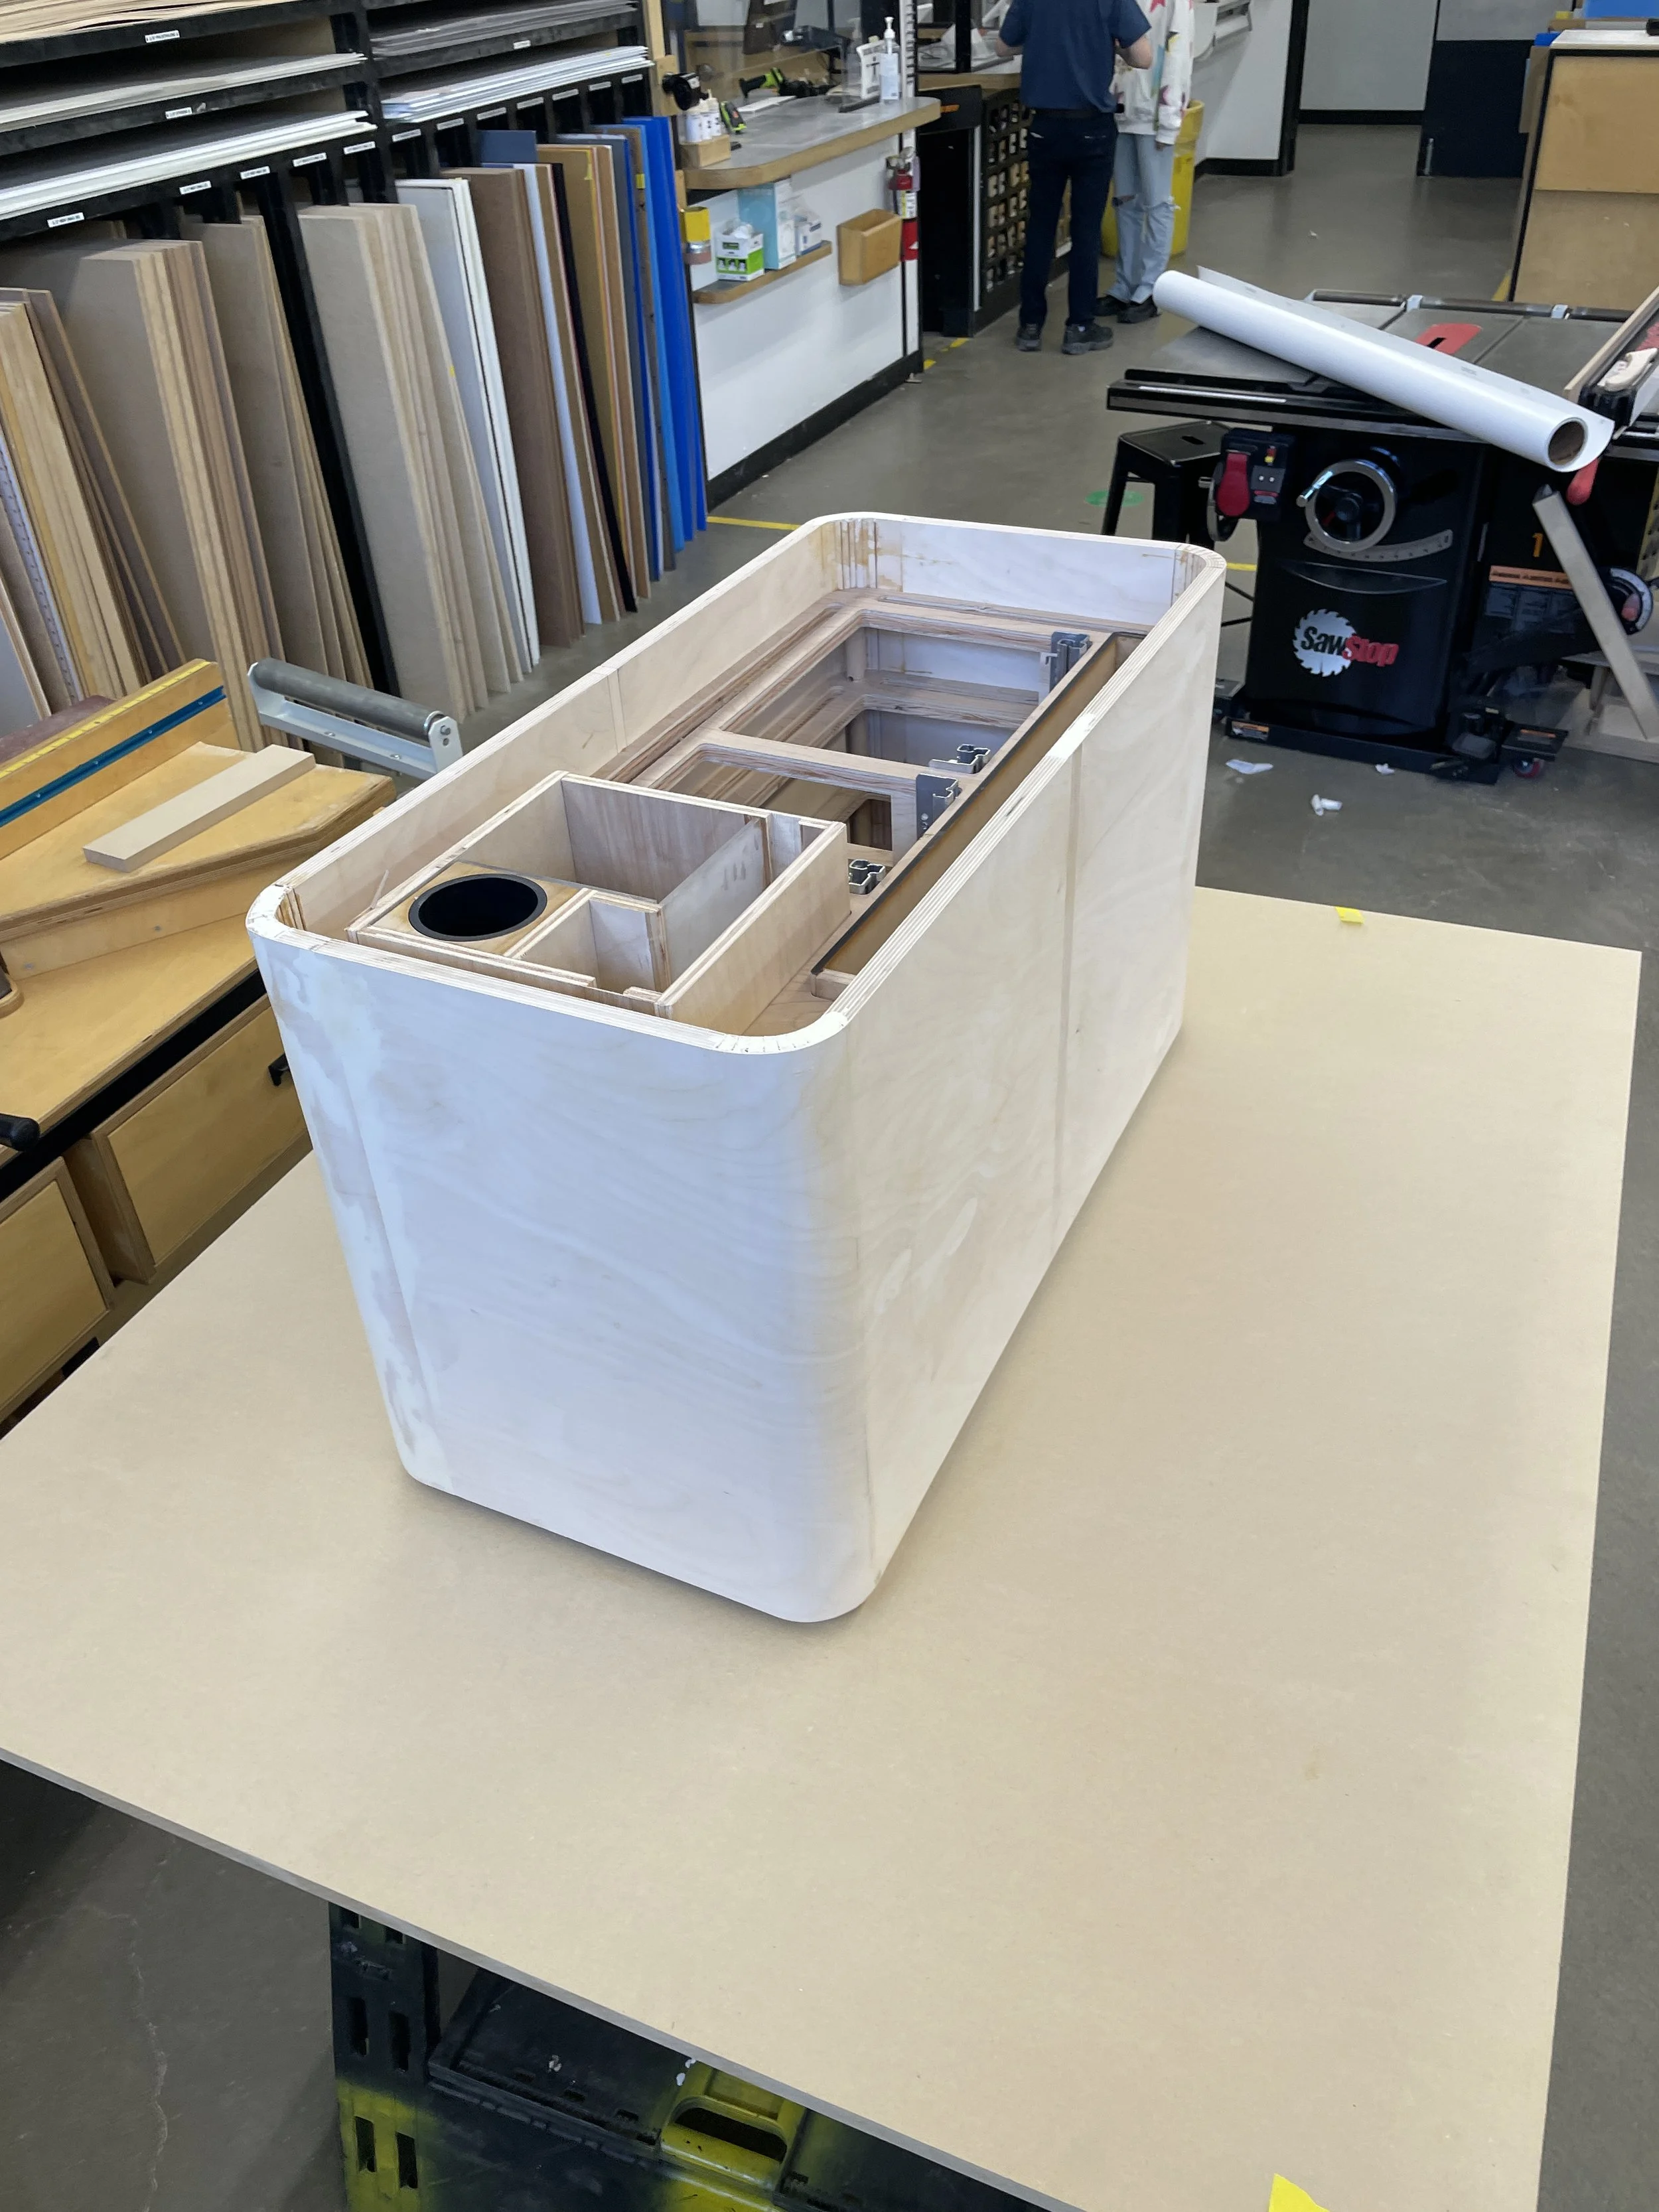
My Product Design 2 concept focused on the increasing popularity of overlanding, which has surged due to the Coronavirus pandemic. The design is an uncompromisingly functional kitchen that can fit comfortably in the trunk of a car.
Construction Challenges
Many suggested that I 3D-print a smaller-scale version instead of building a full-size prototype. While it may have been less time-consuming, I strongly believe in testing ideas with real-life fully functional models at scale. Building my product in a functional production-like manner taught me a lot about what issues needed to be addressed if such a kitchen were to be sold to the public- and the overall process proved invaluable.
Planning
Designing and building my kitchen within a limited 14-week timeframe was a daunting task. After finalizing the project plans, I spent a week using CAD models and conducting smaller-scale tests to ensure that my design would come together as intended before moving on to the final material.
Frame
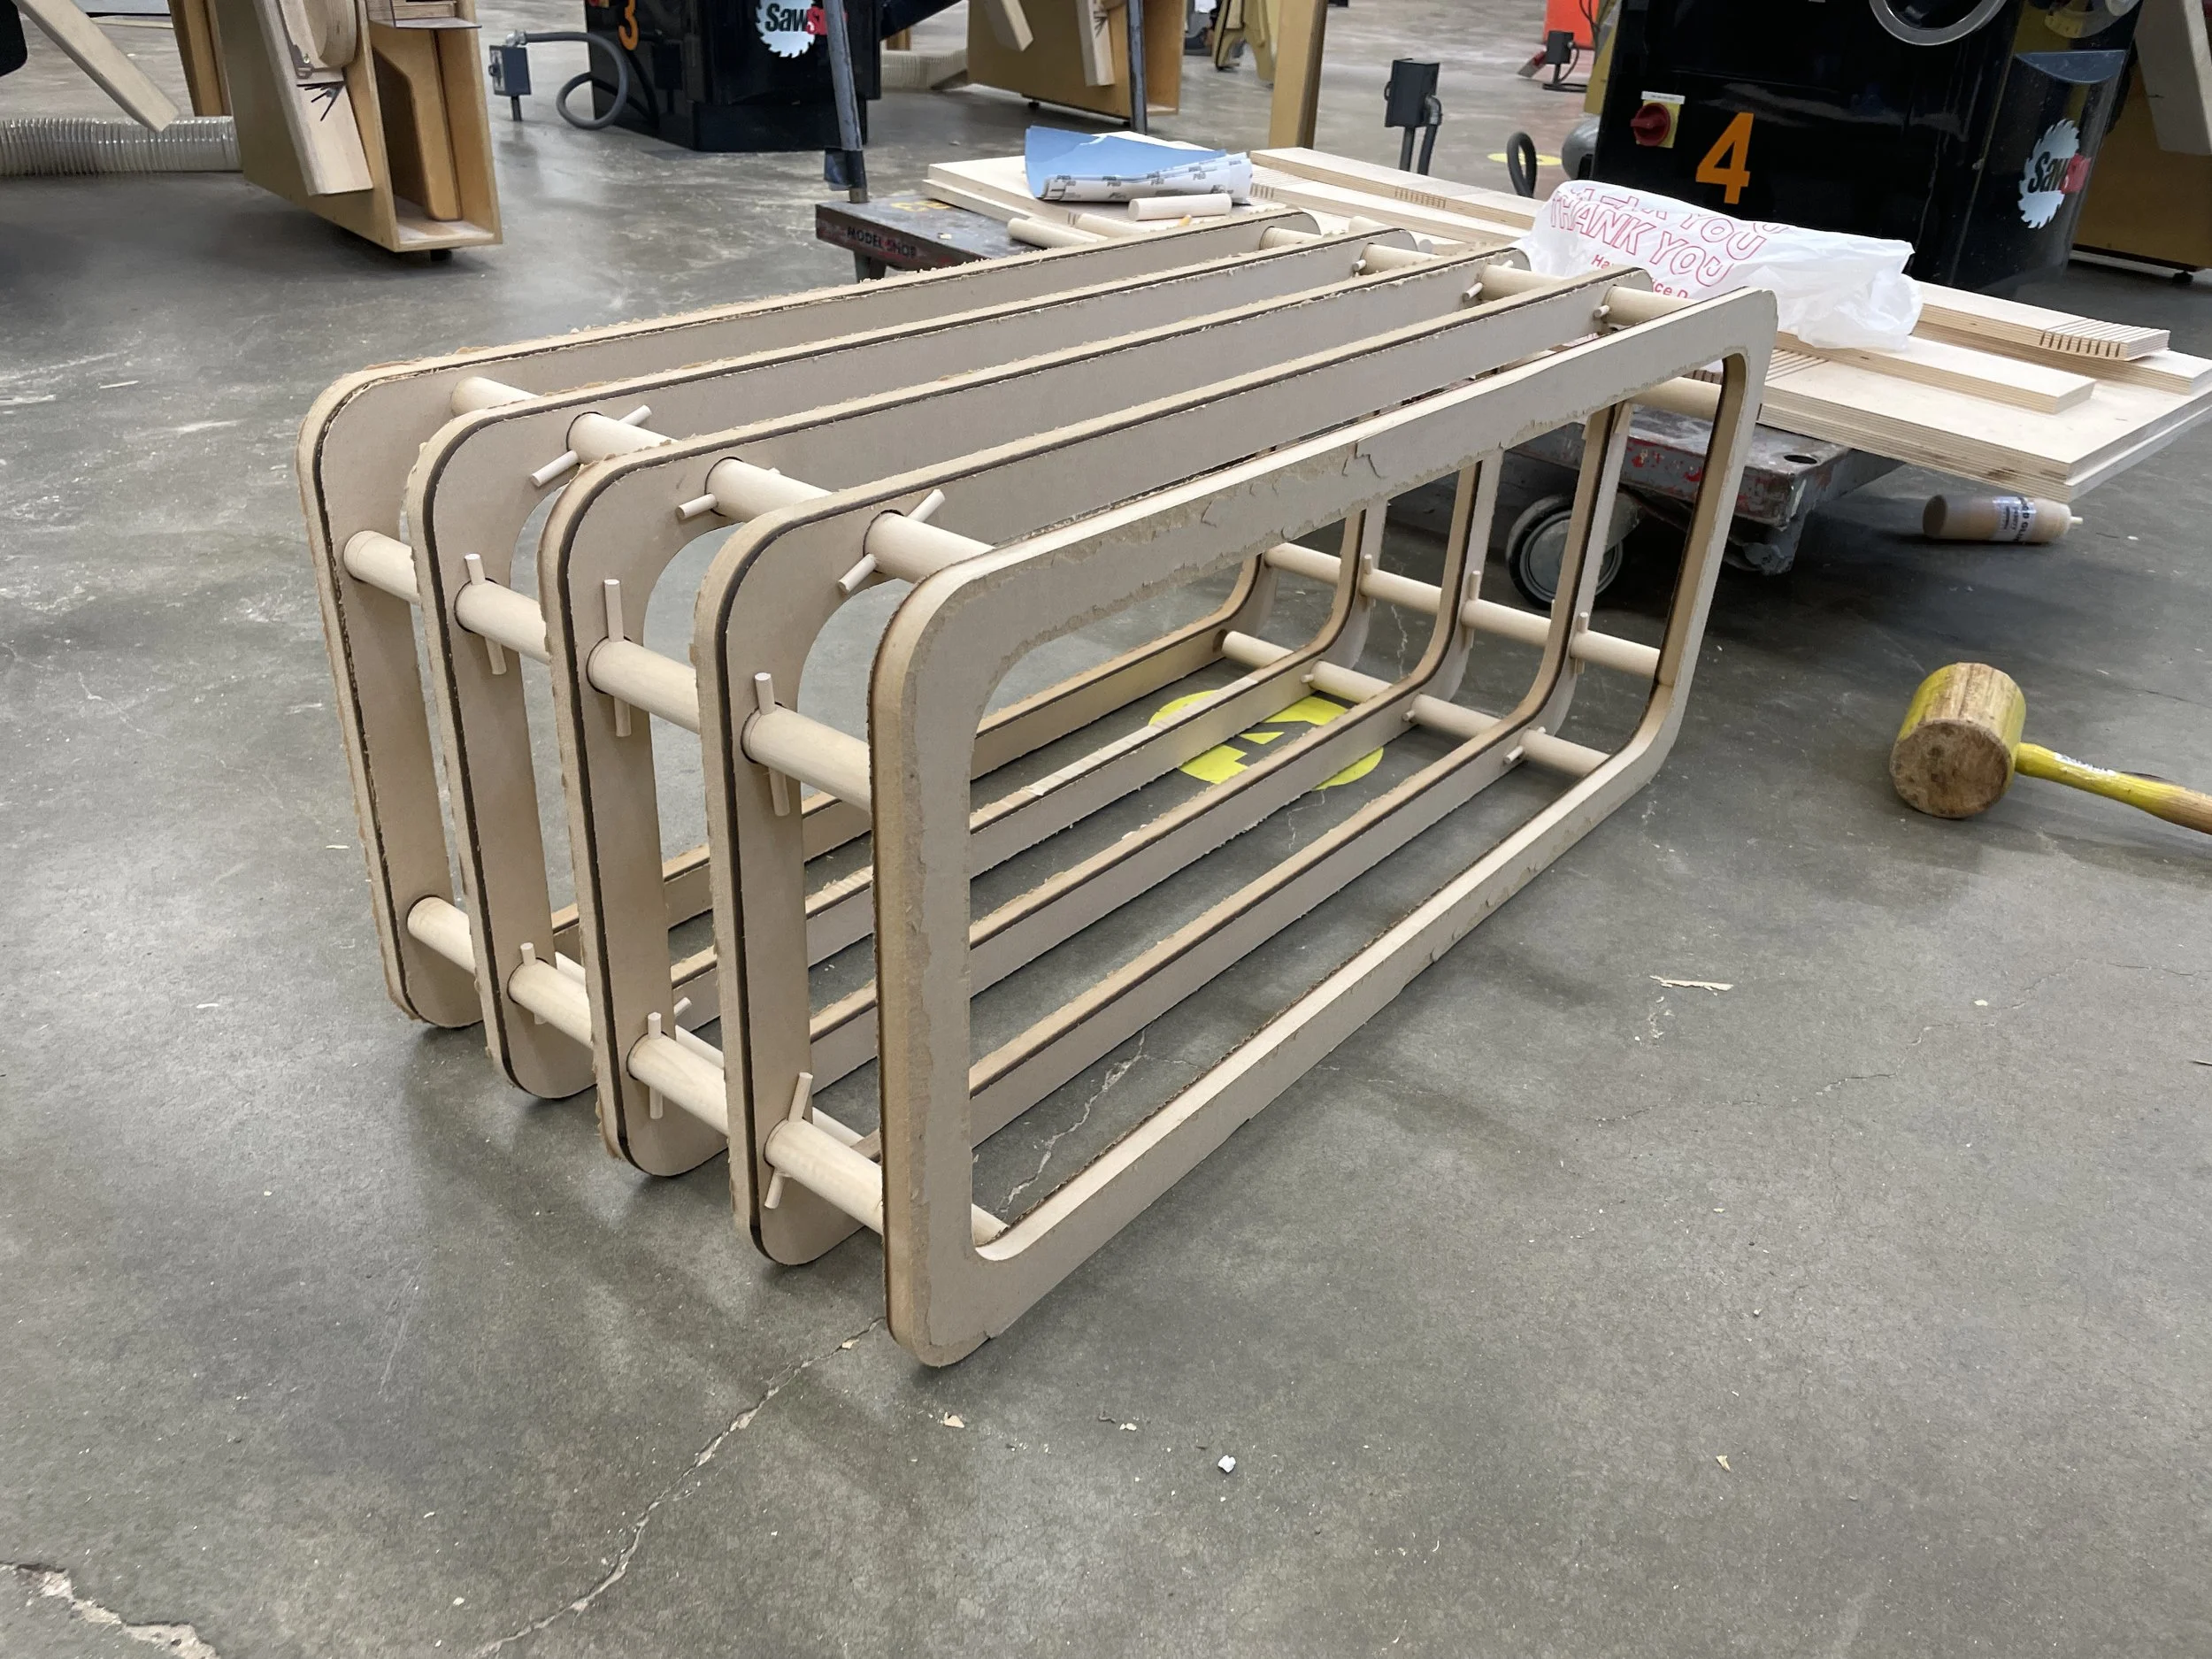
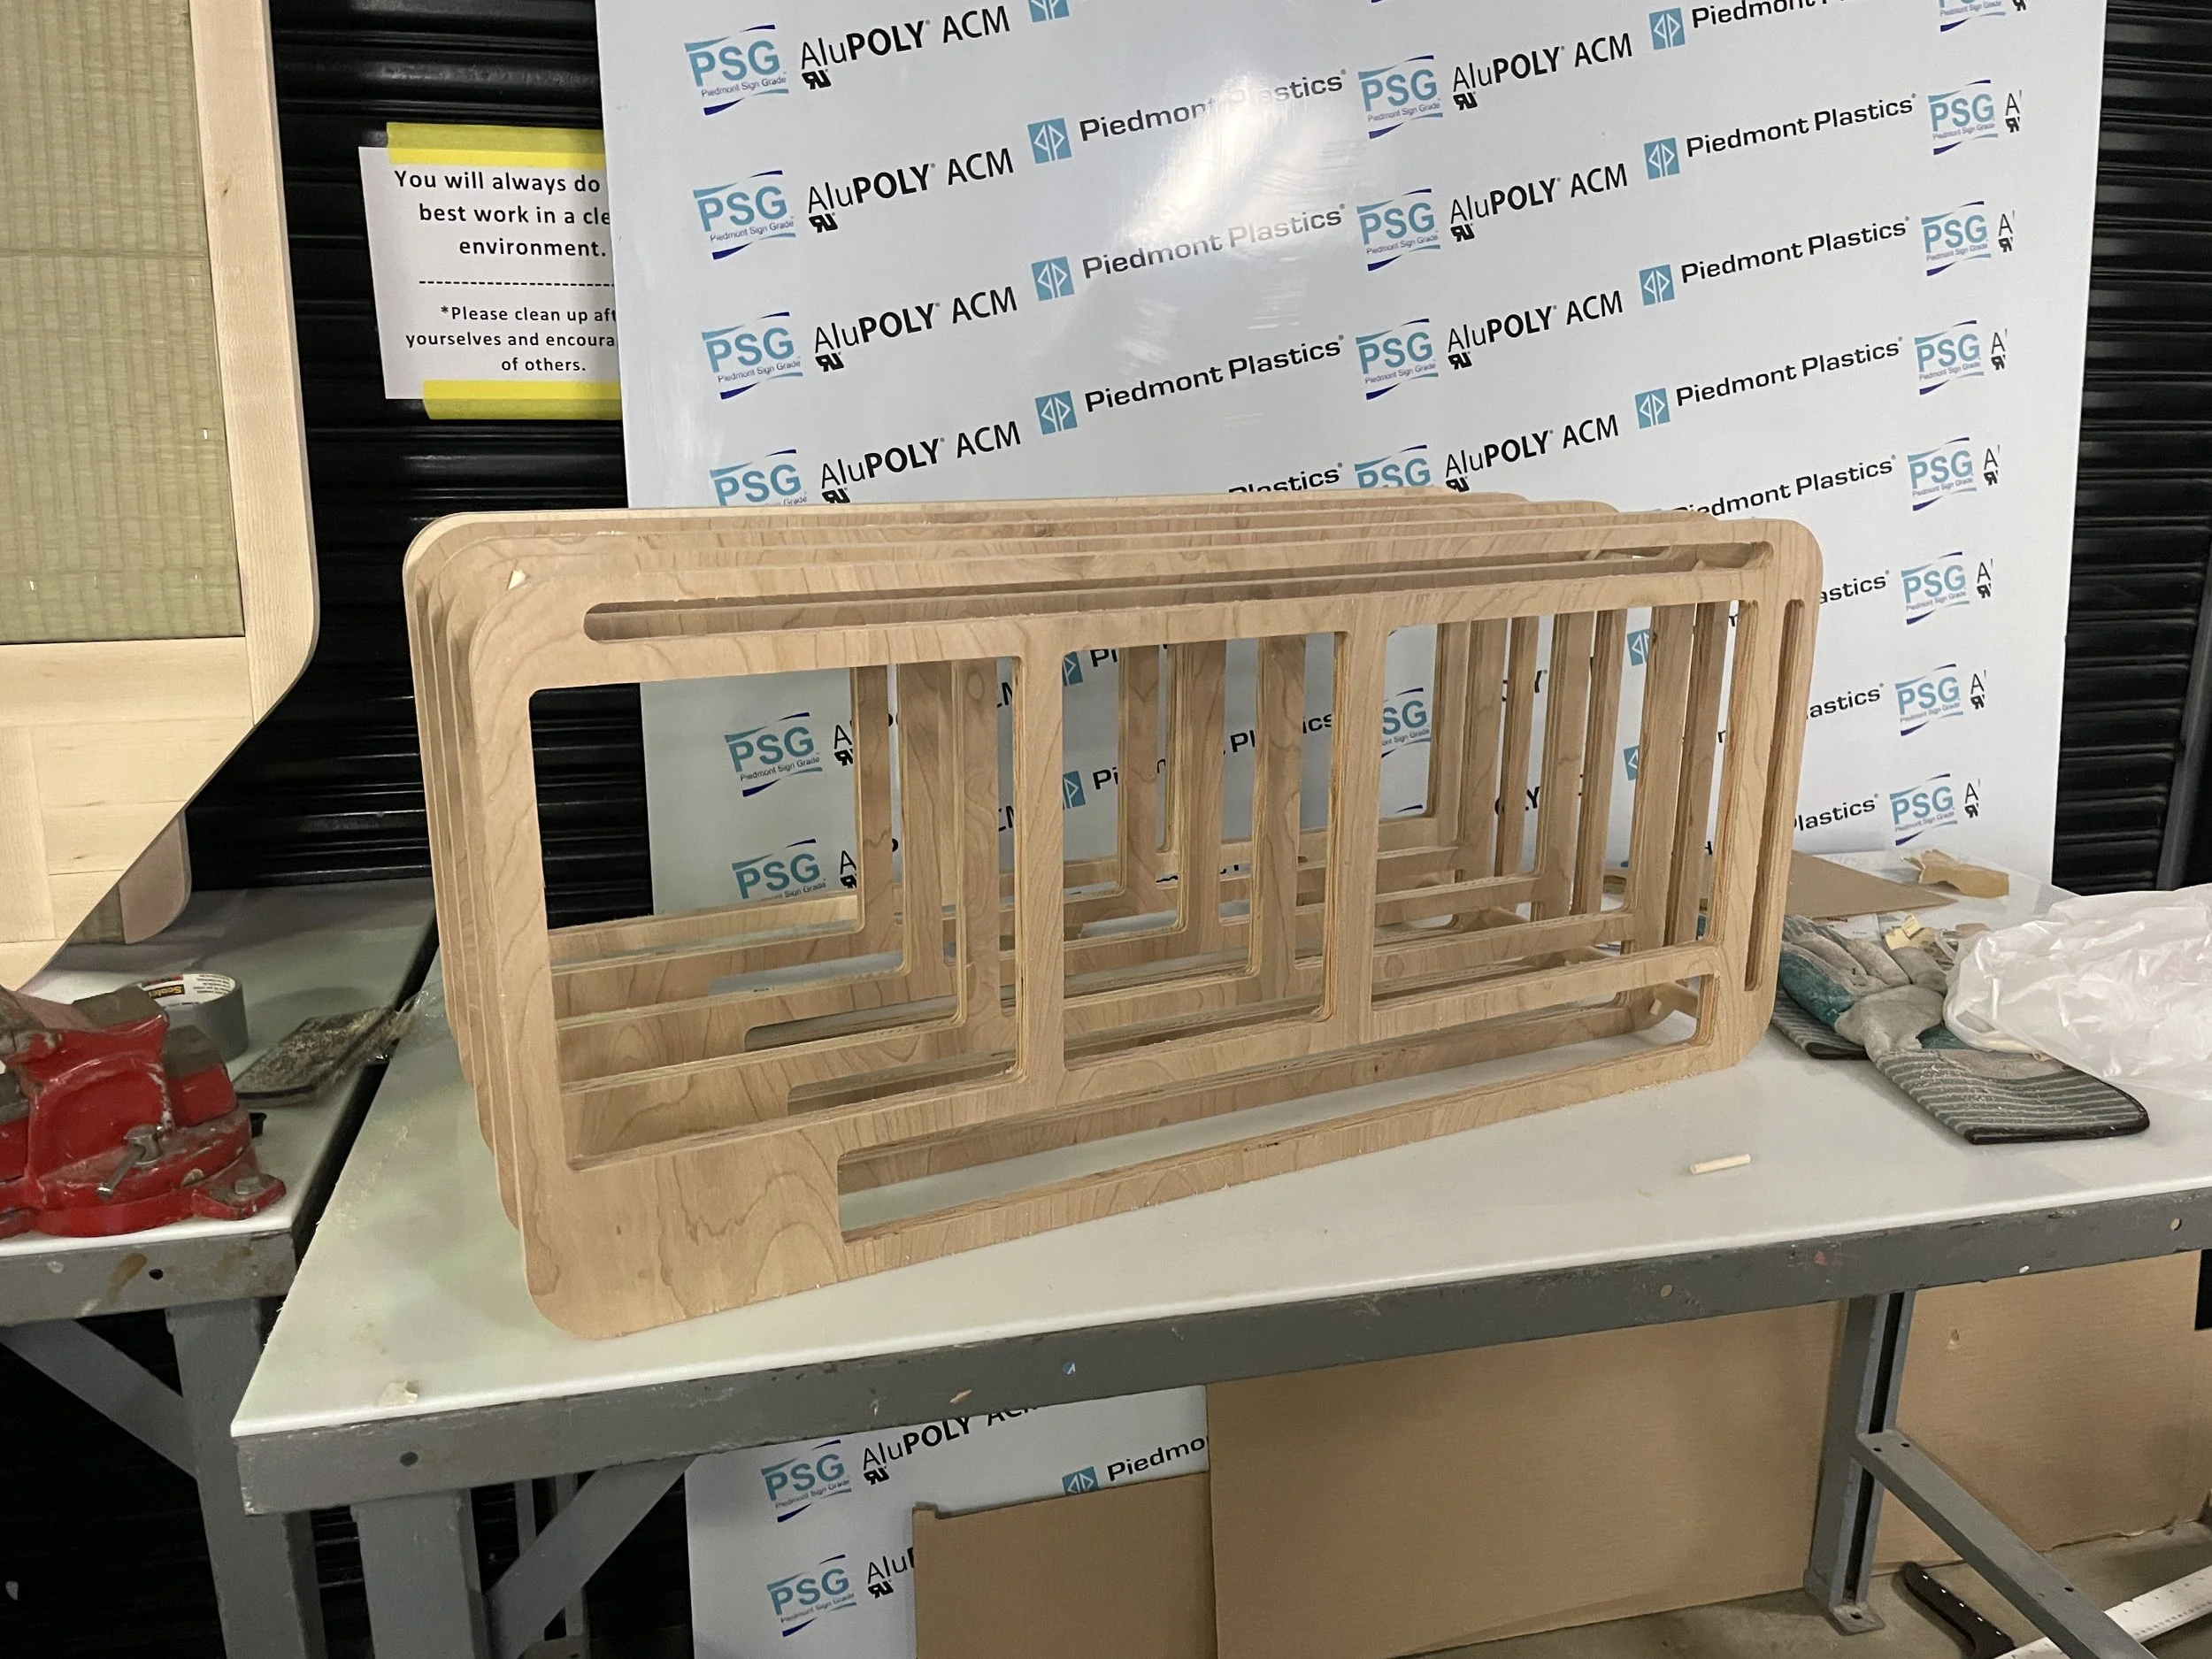
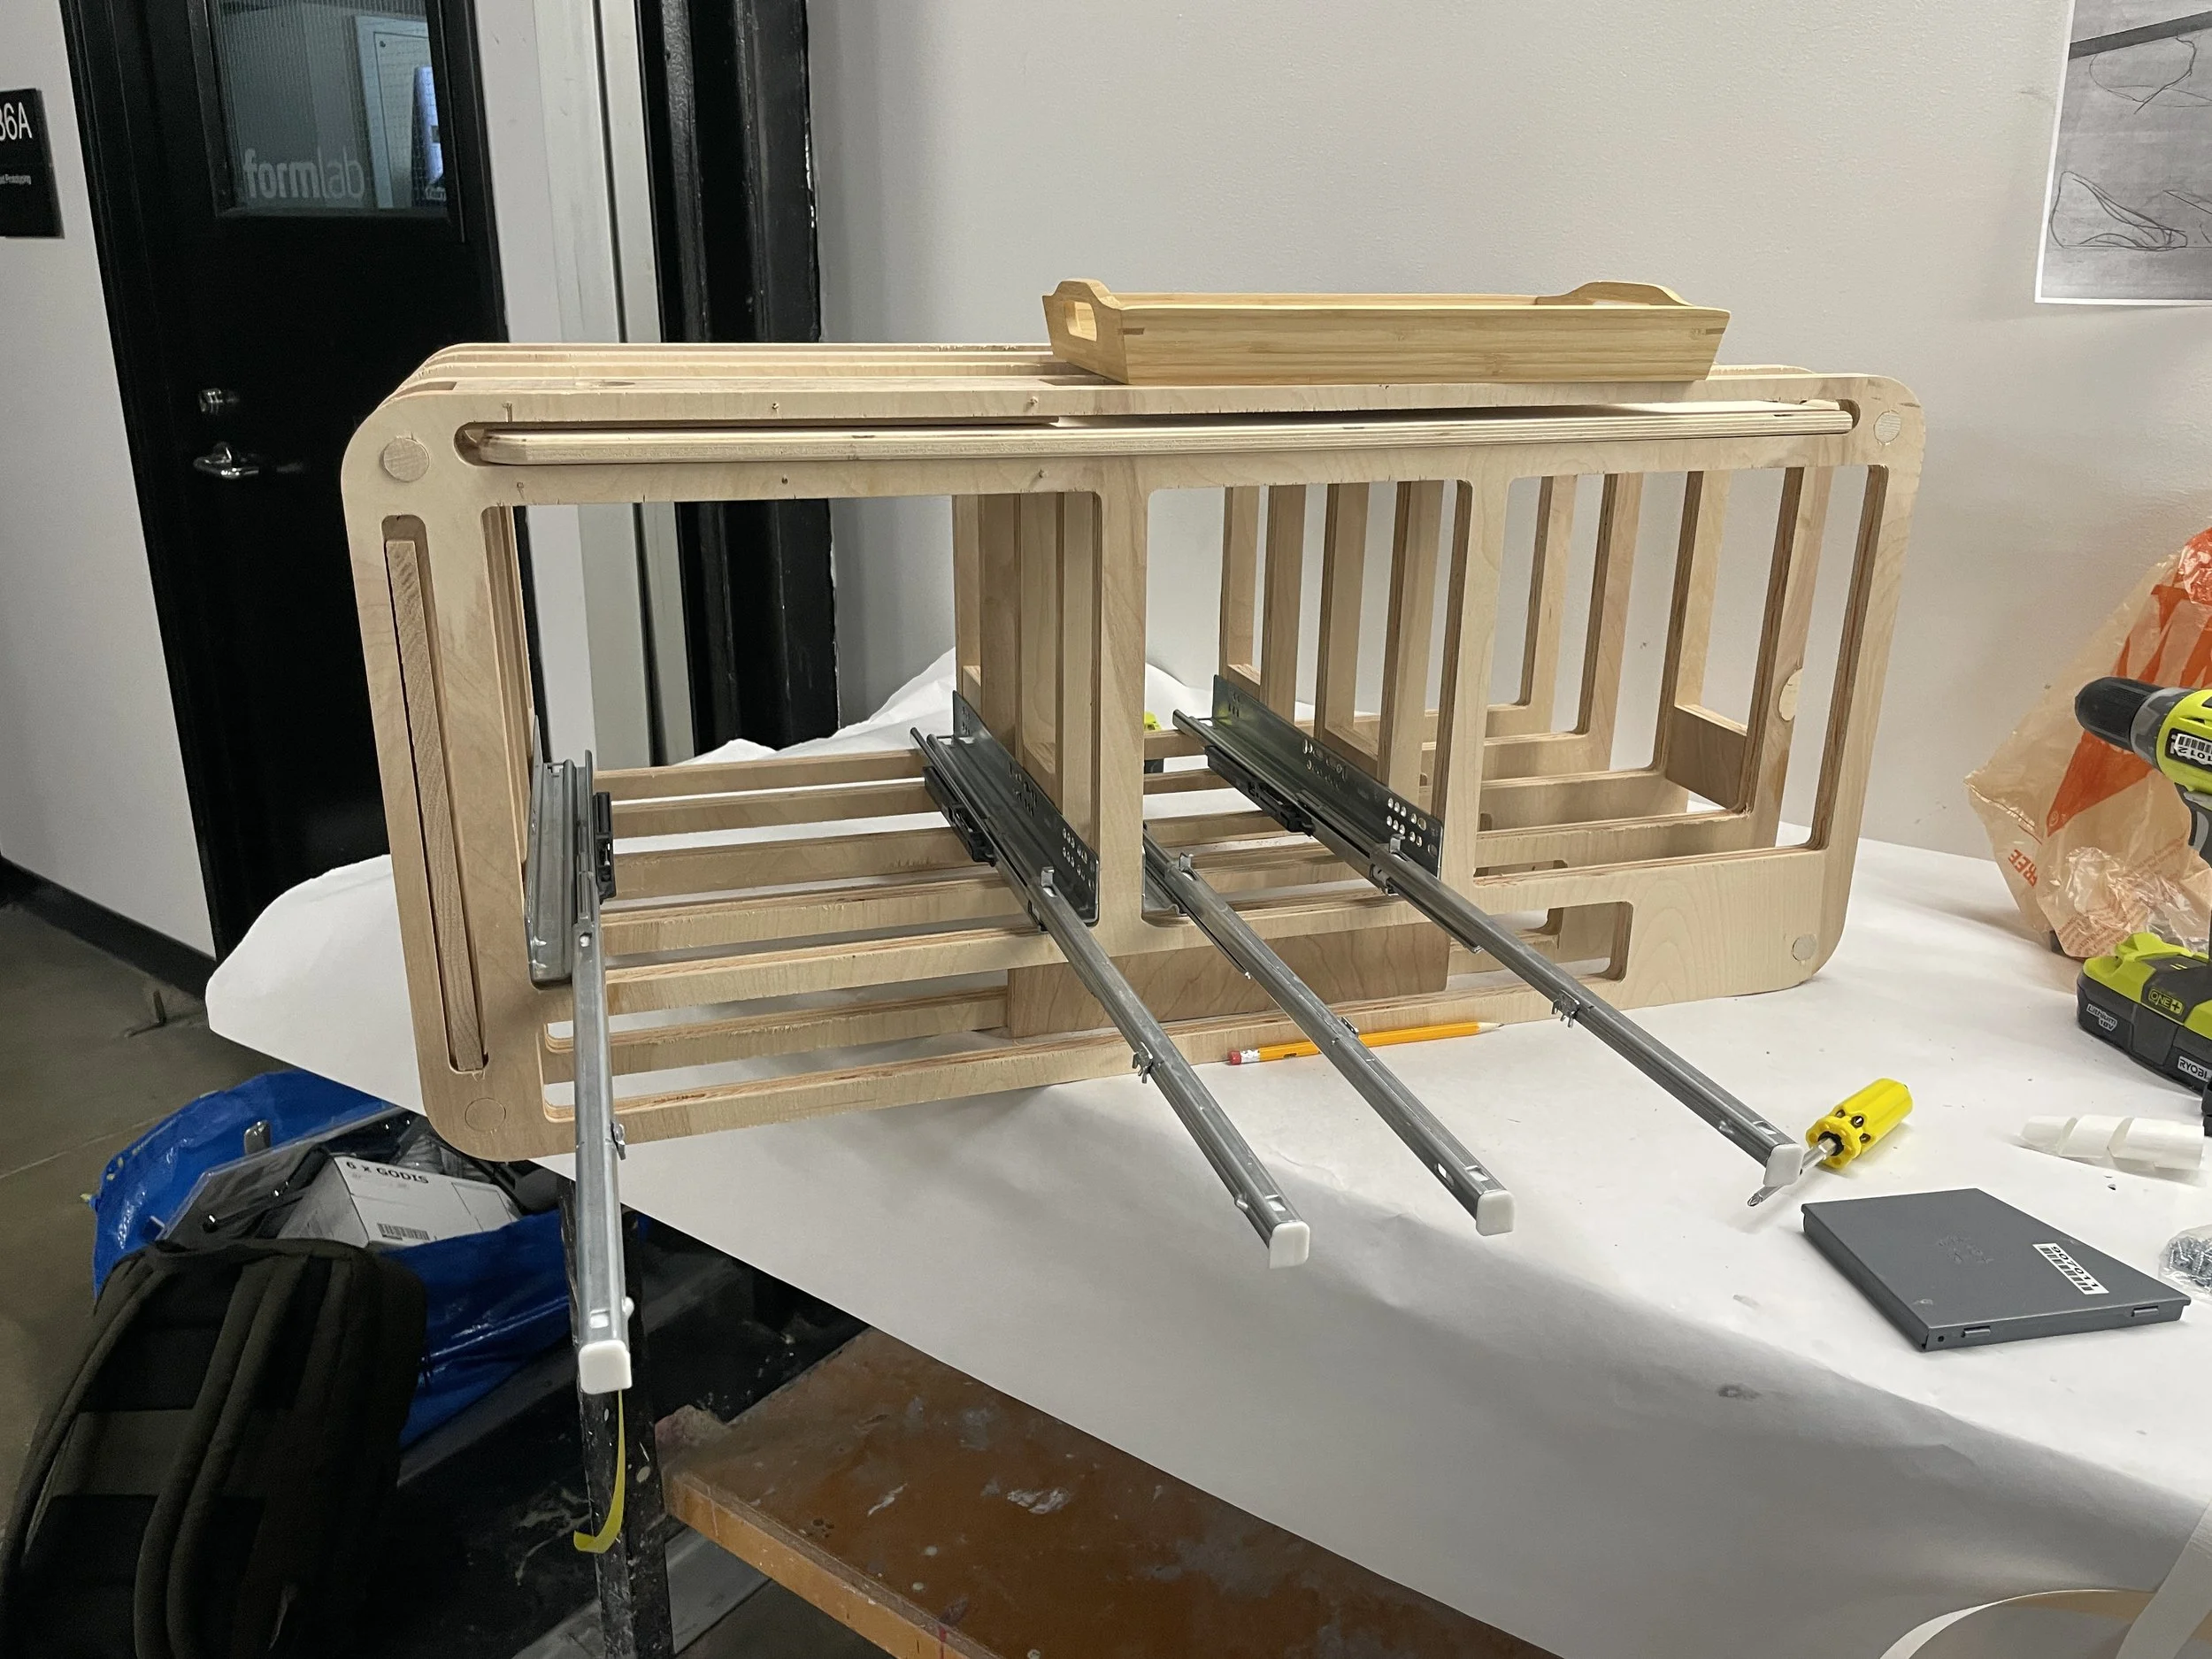
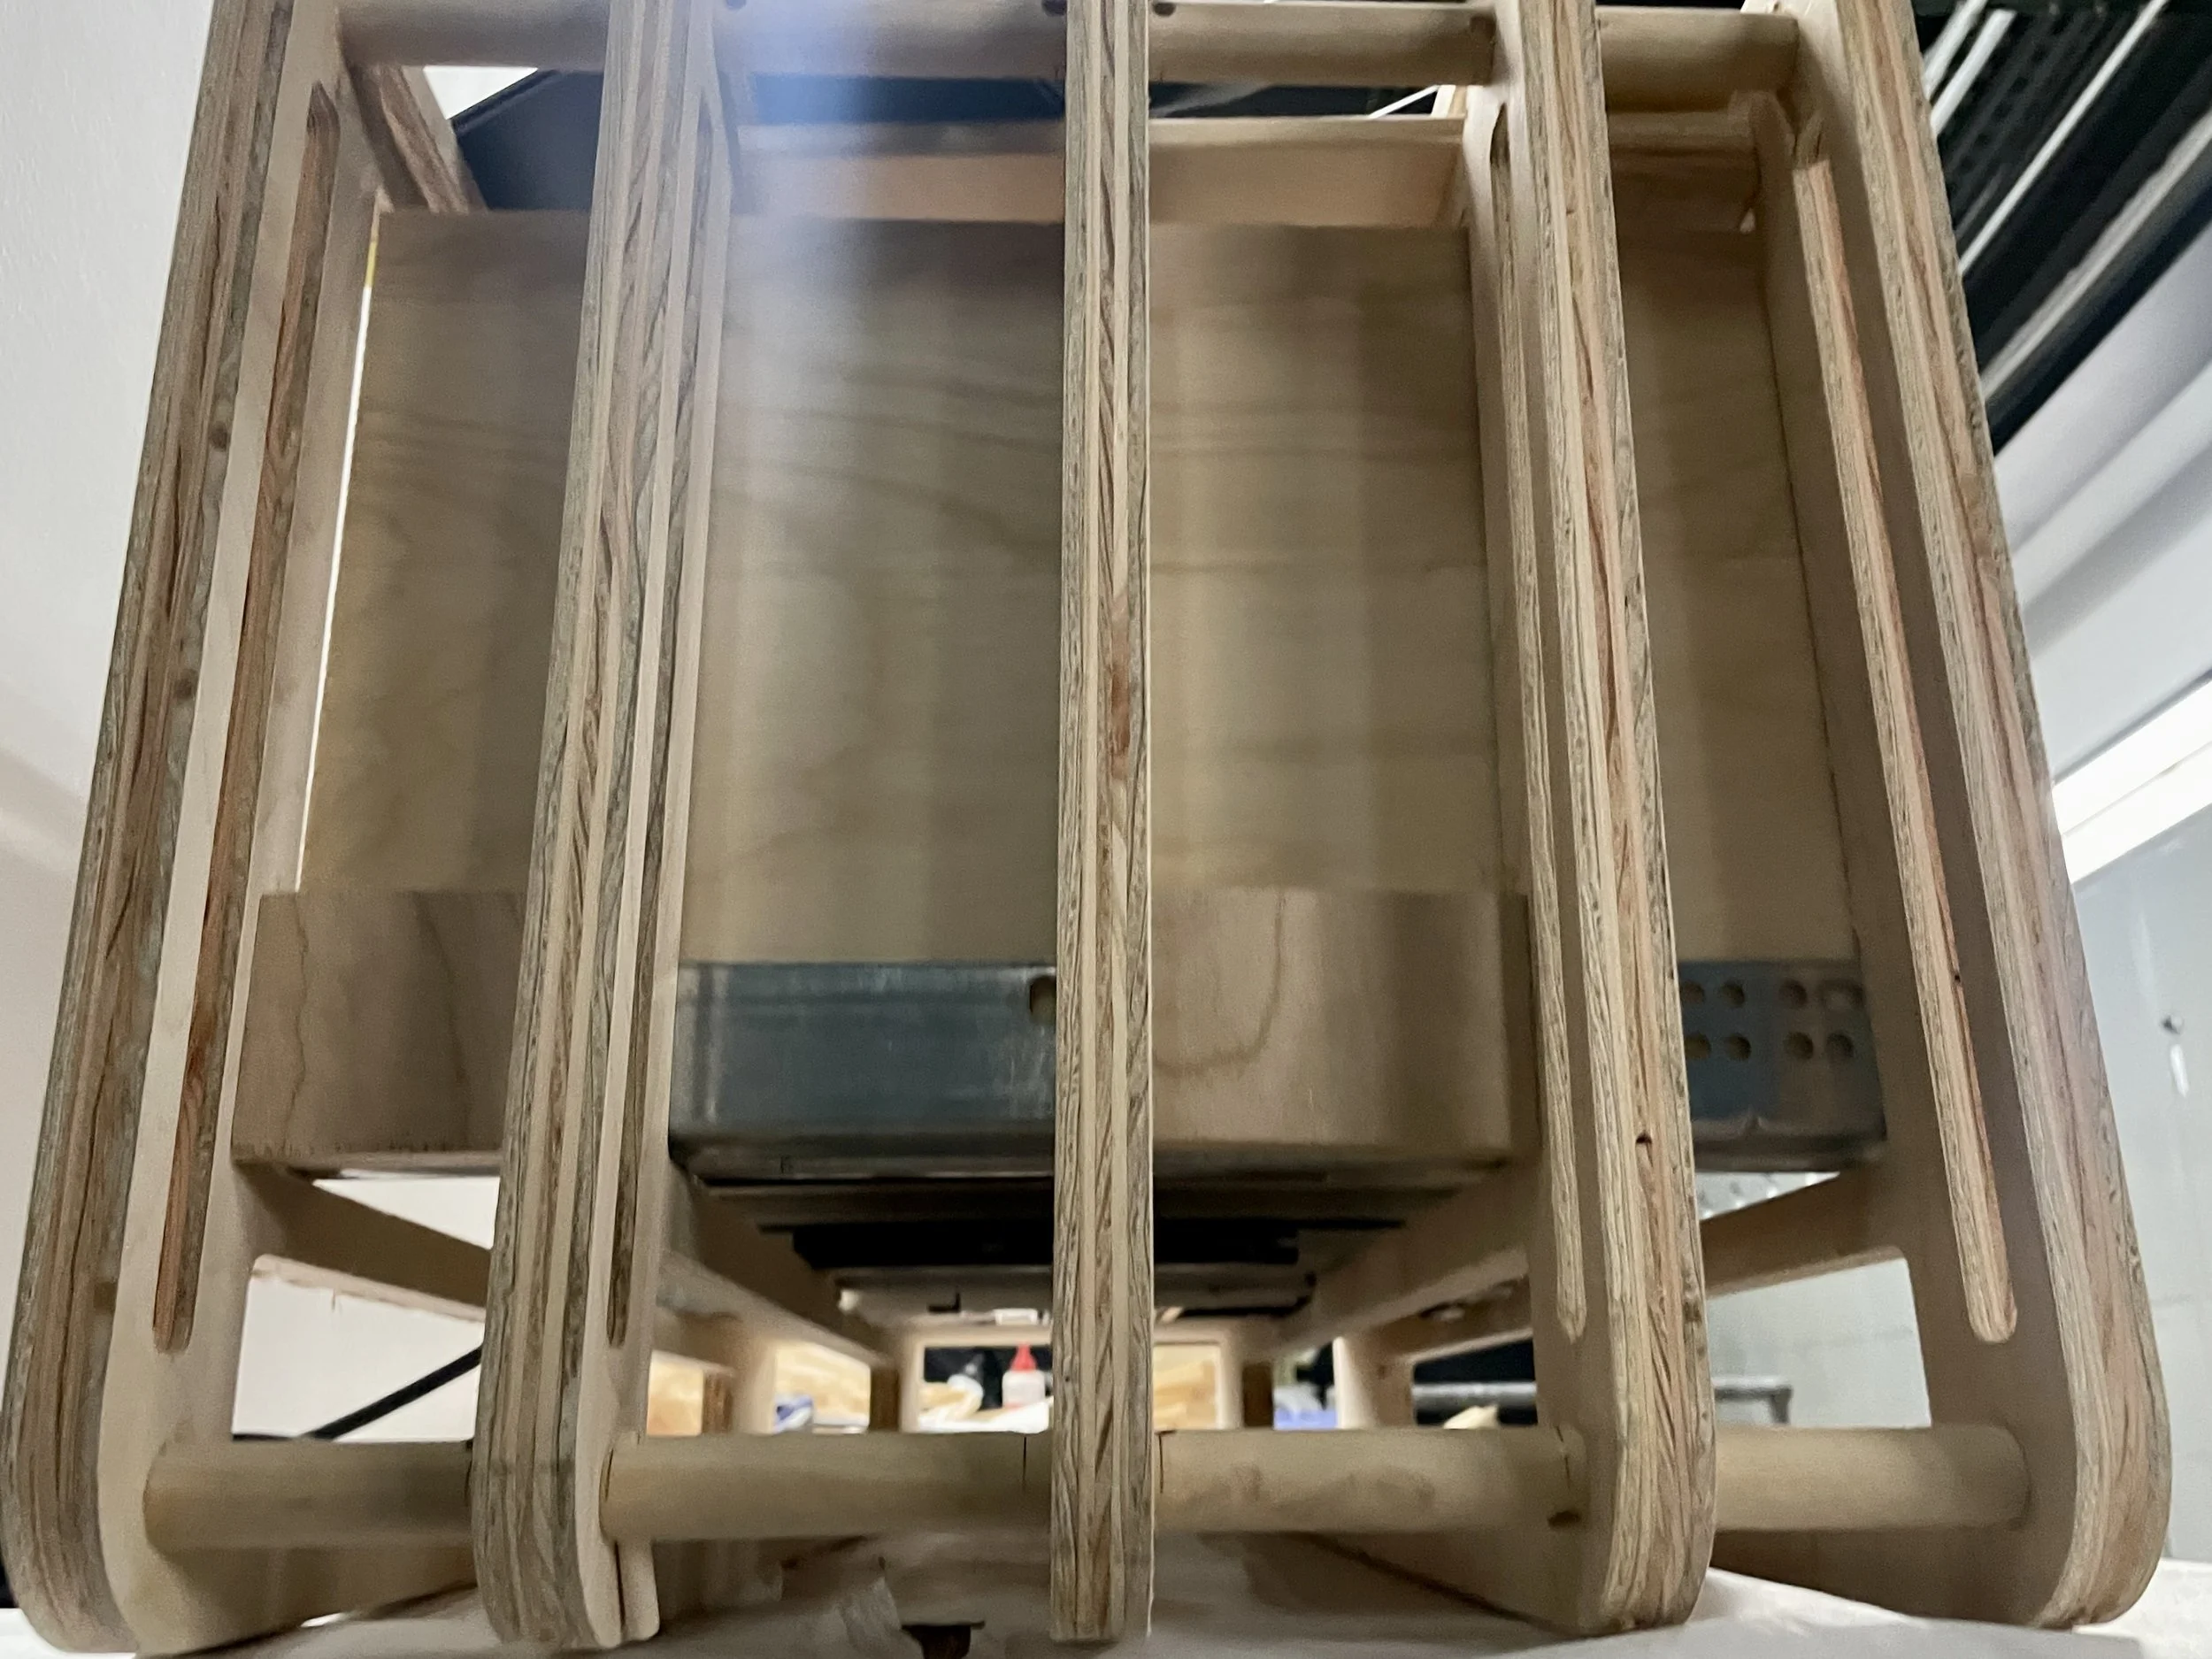
The kitchen's structure was inspired by how airplane wings are constructed, with narrowly spaced support beams firmly held together in line to allow for attachment of the outer skin. The kitchen has five main modules, each with predetermined shapes and sizes. This allowed me to incorporate their silhouette into the frame, which would later be concealed.
Internals
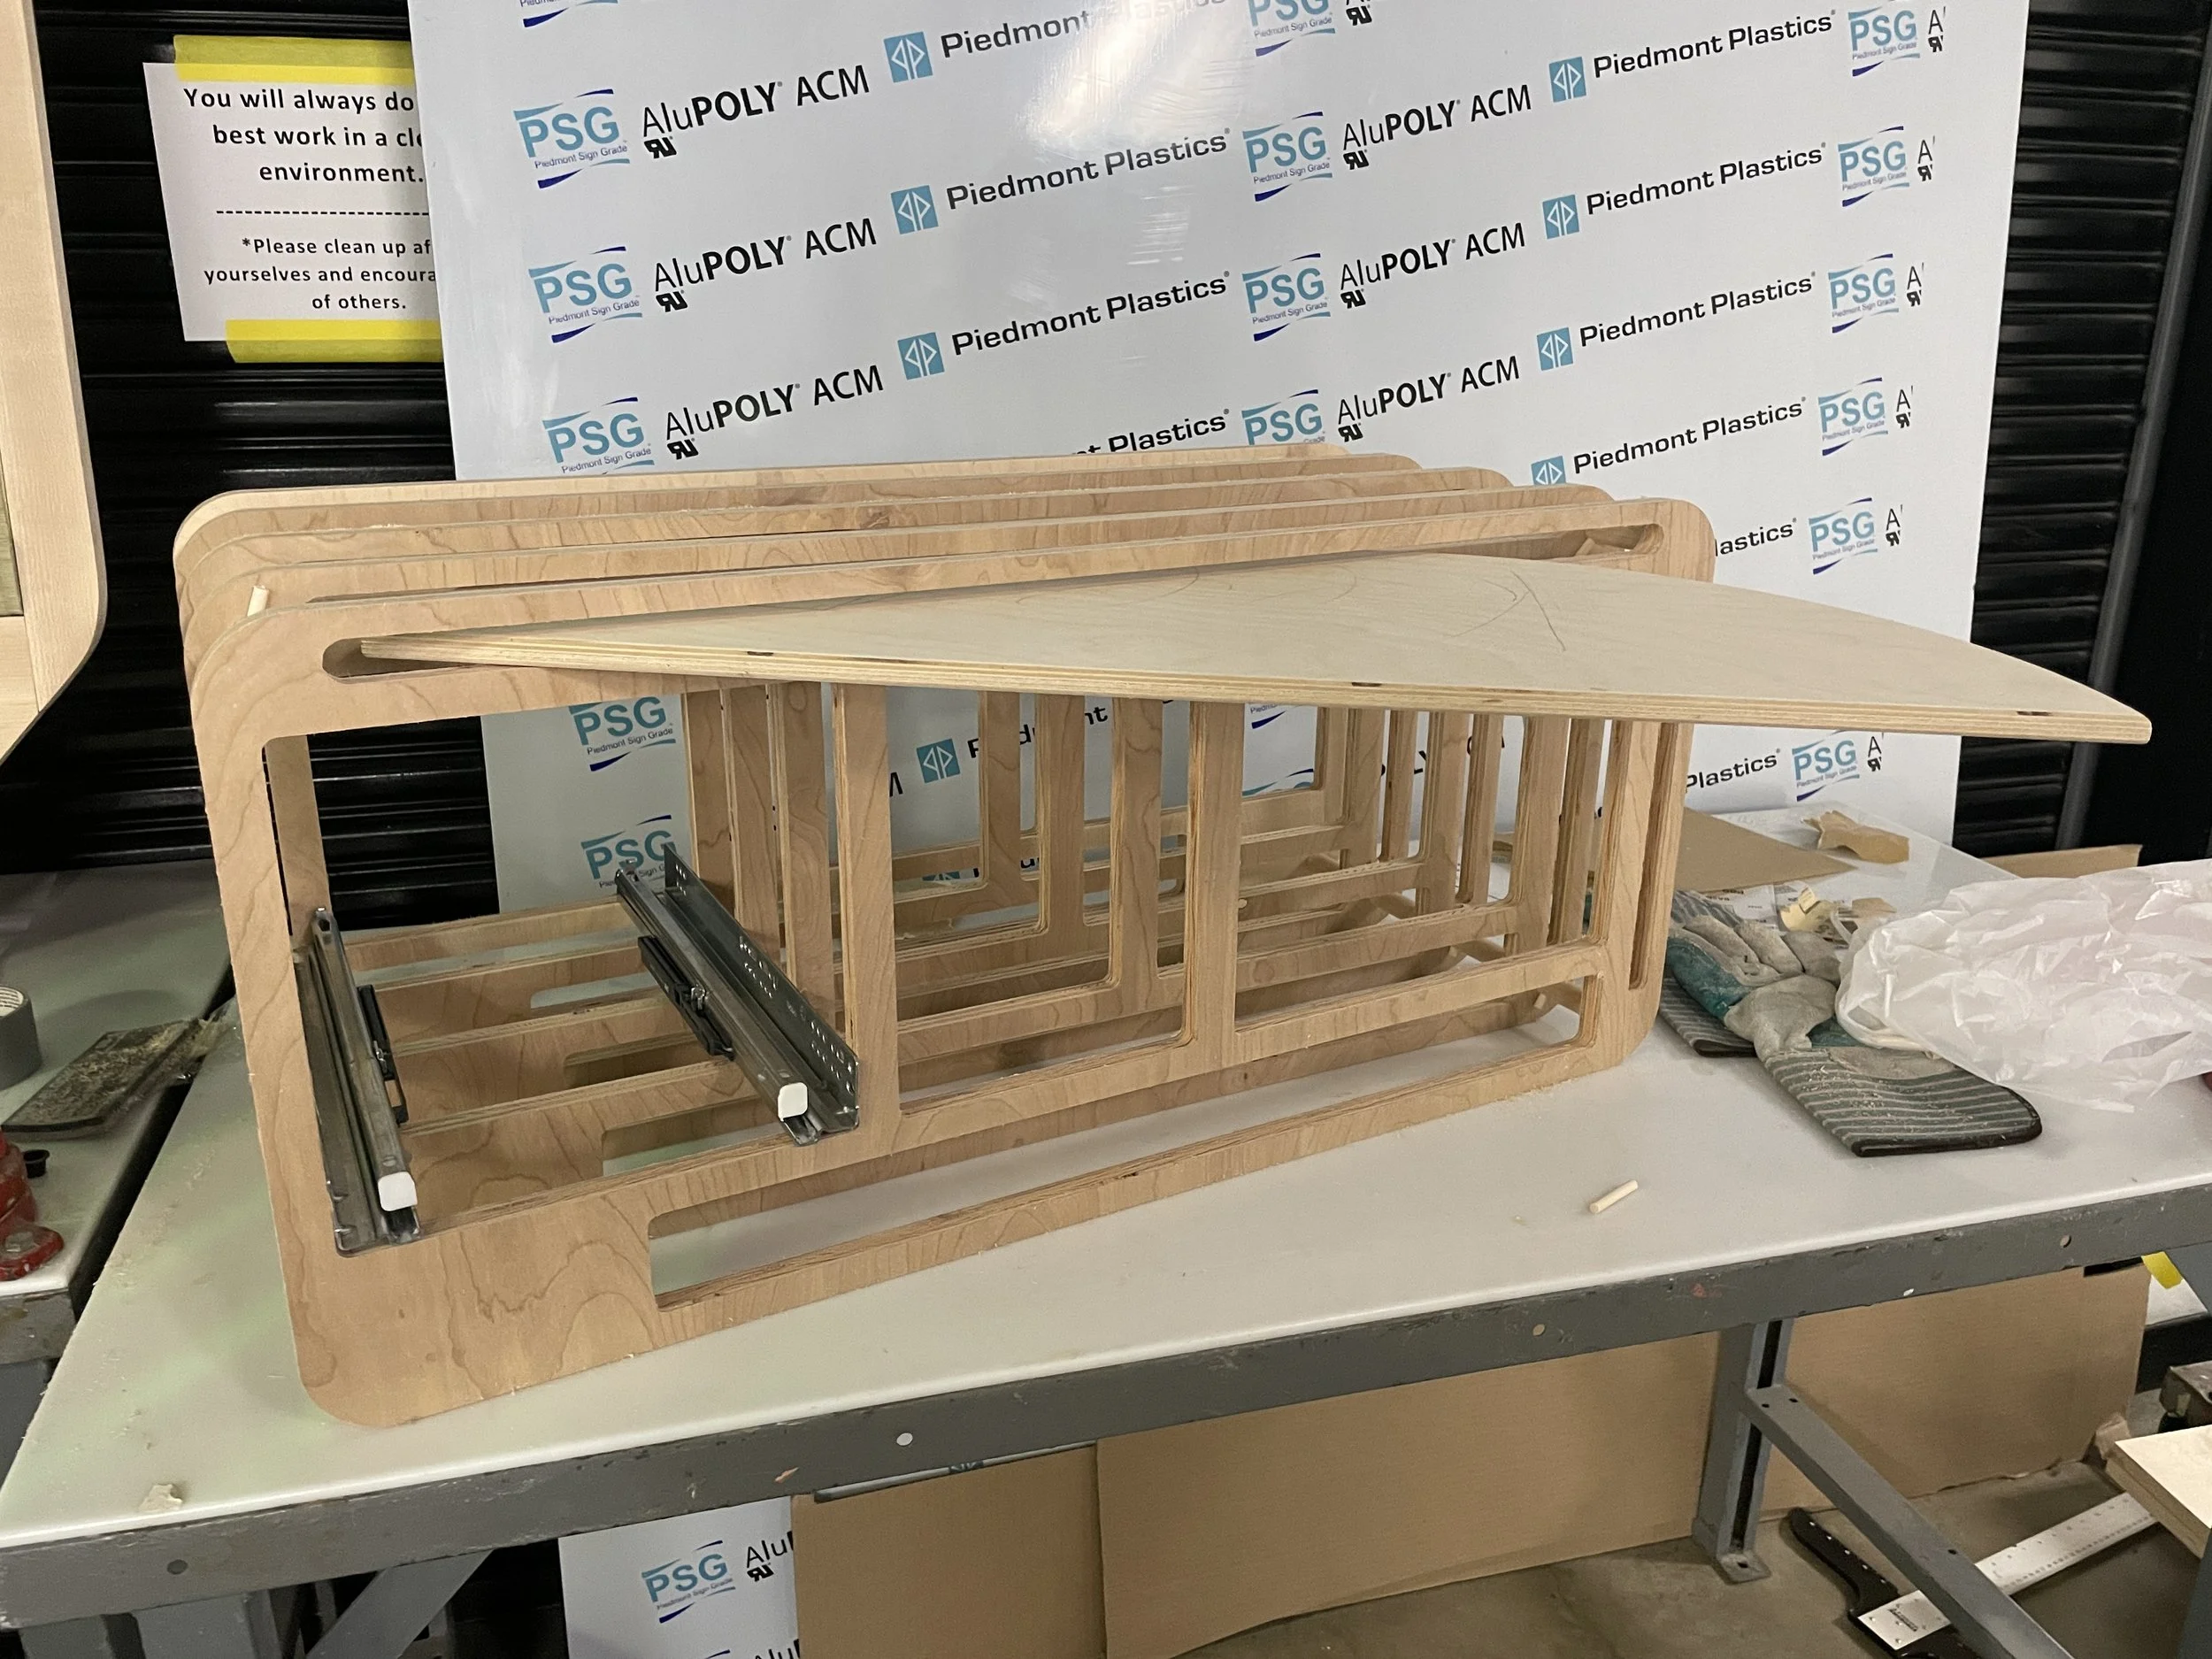
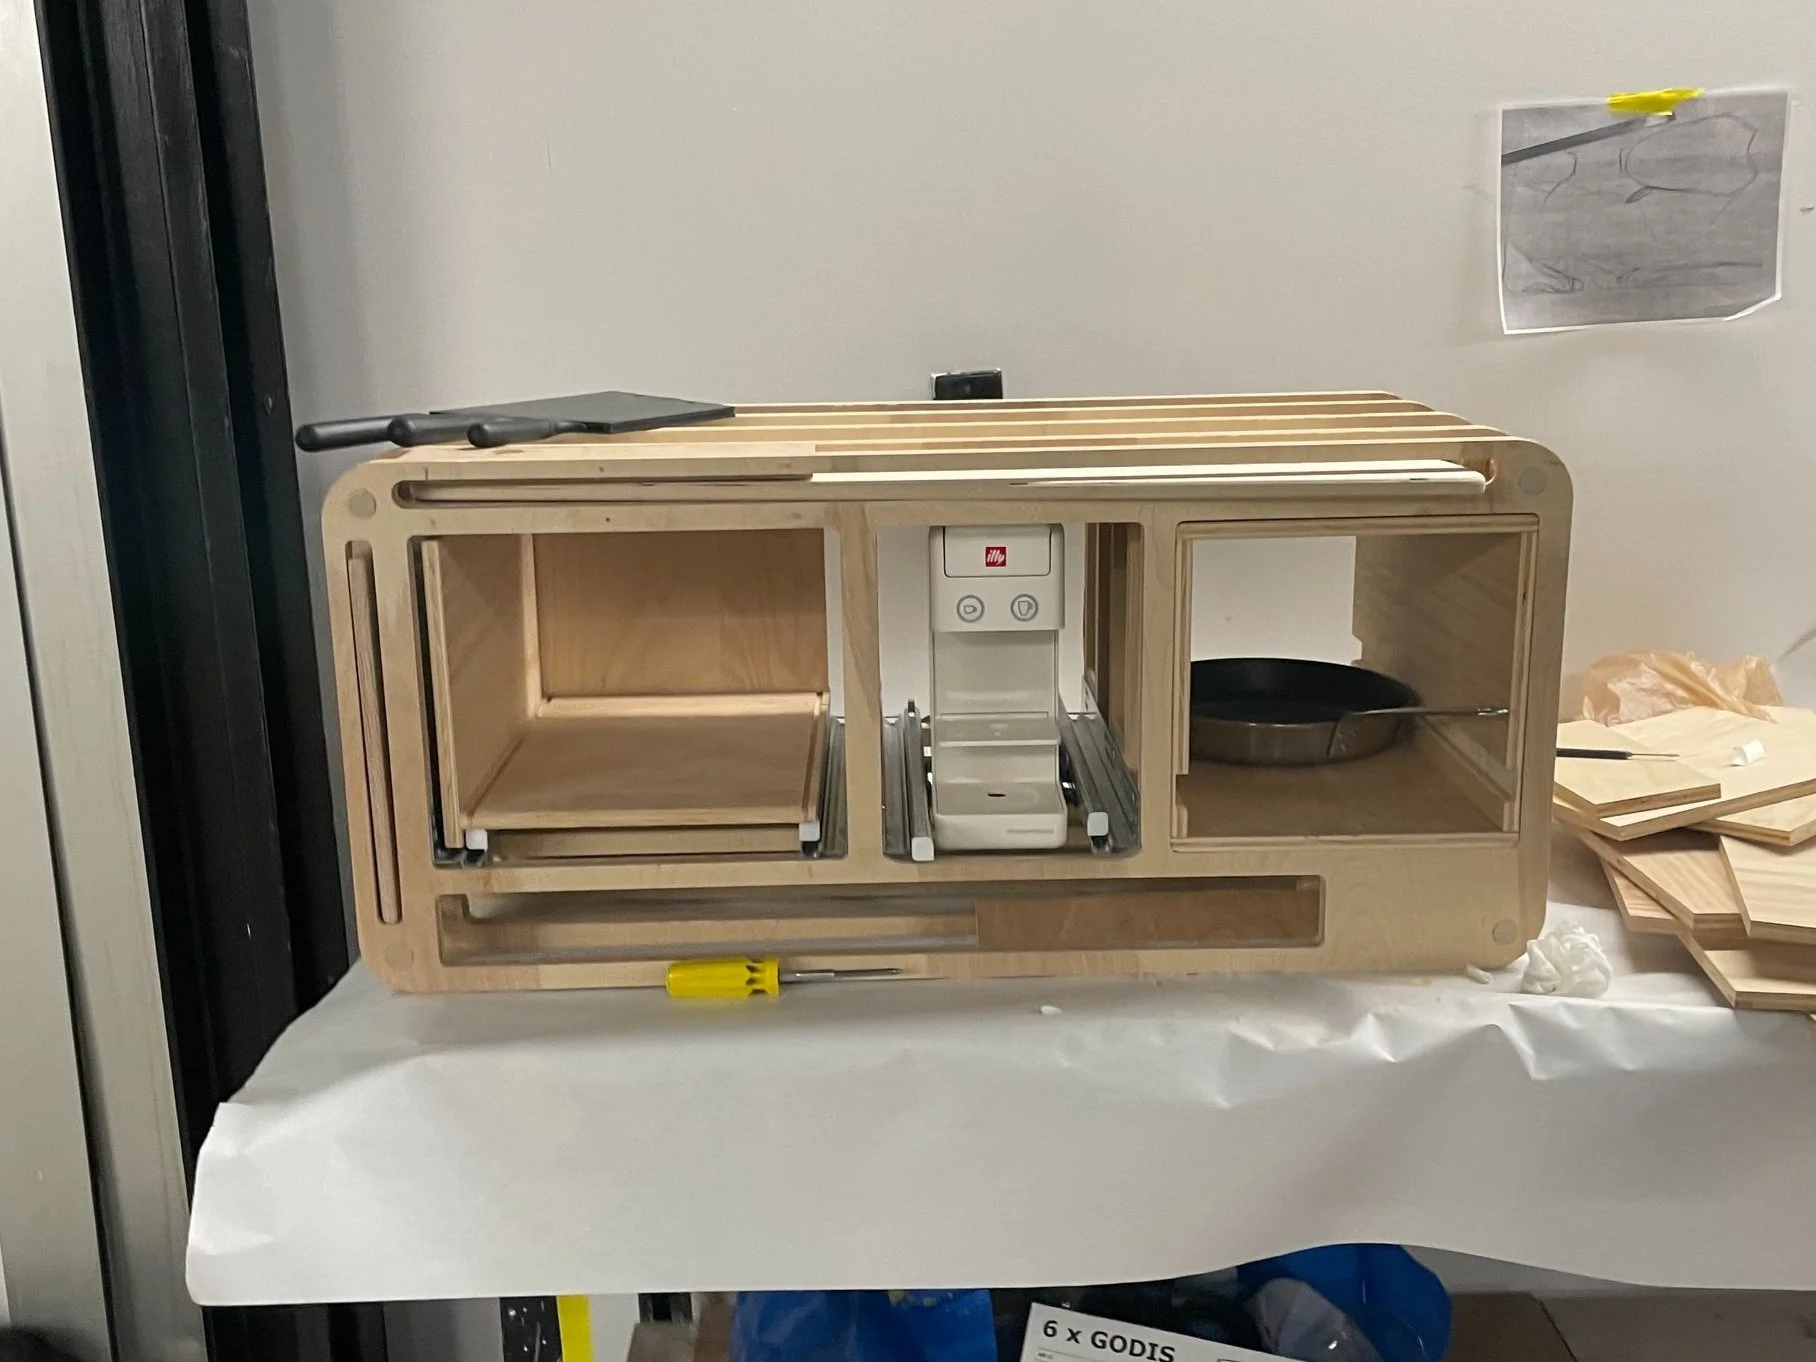
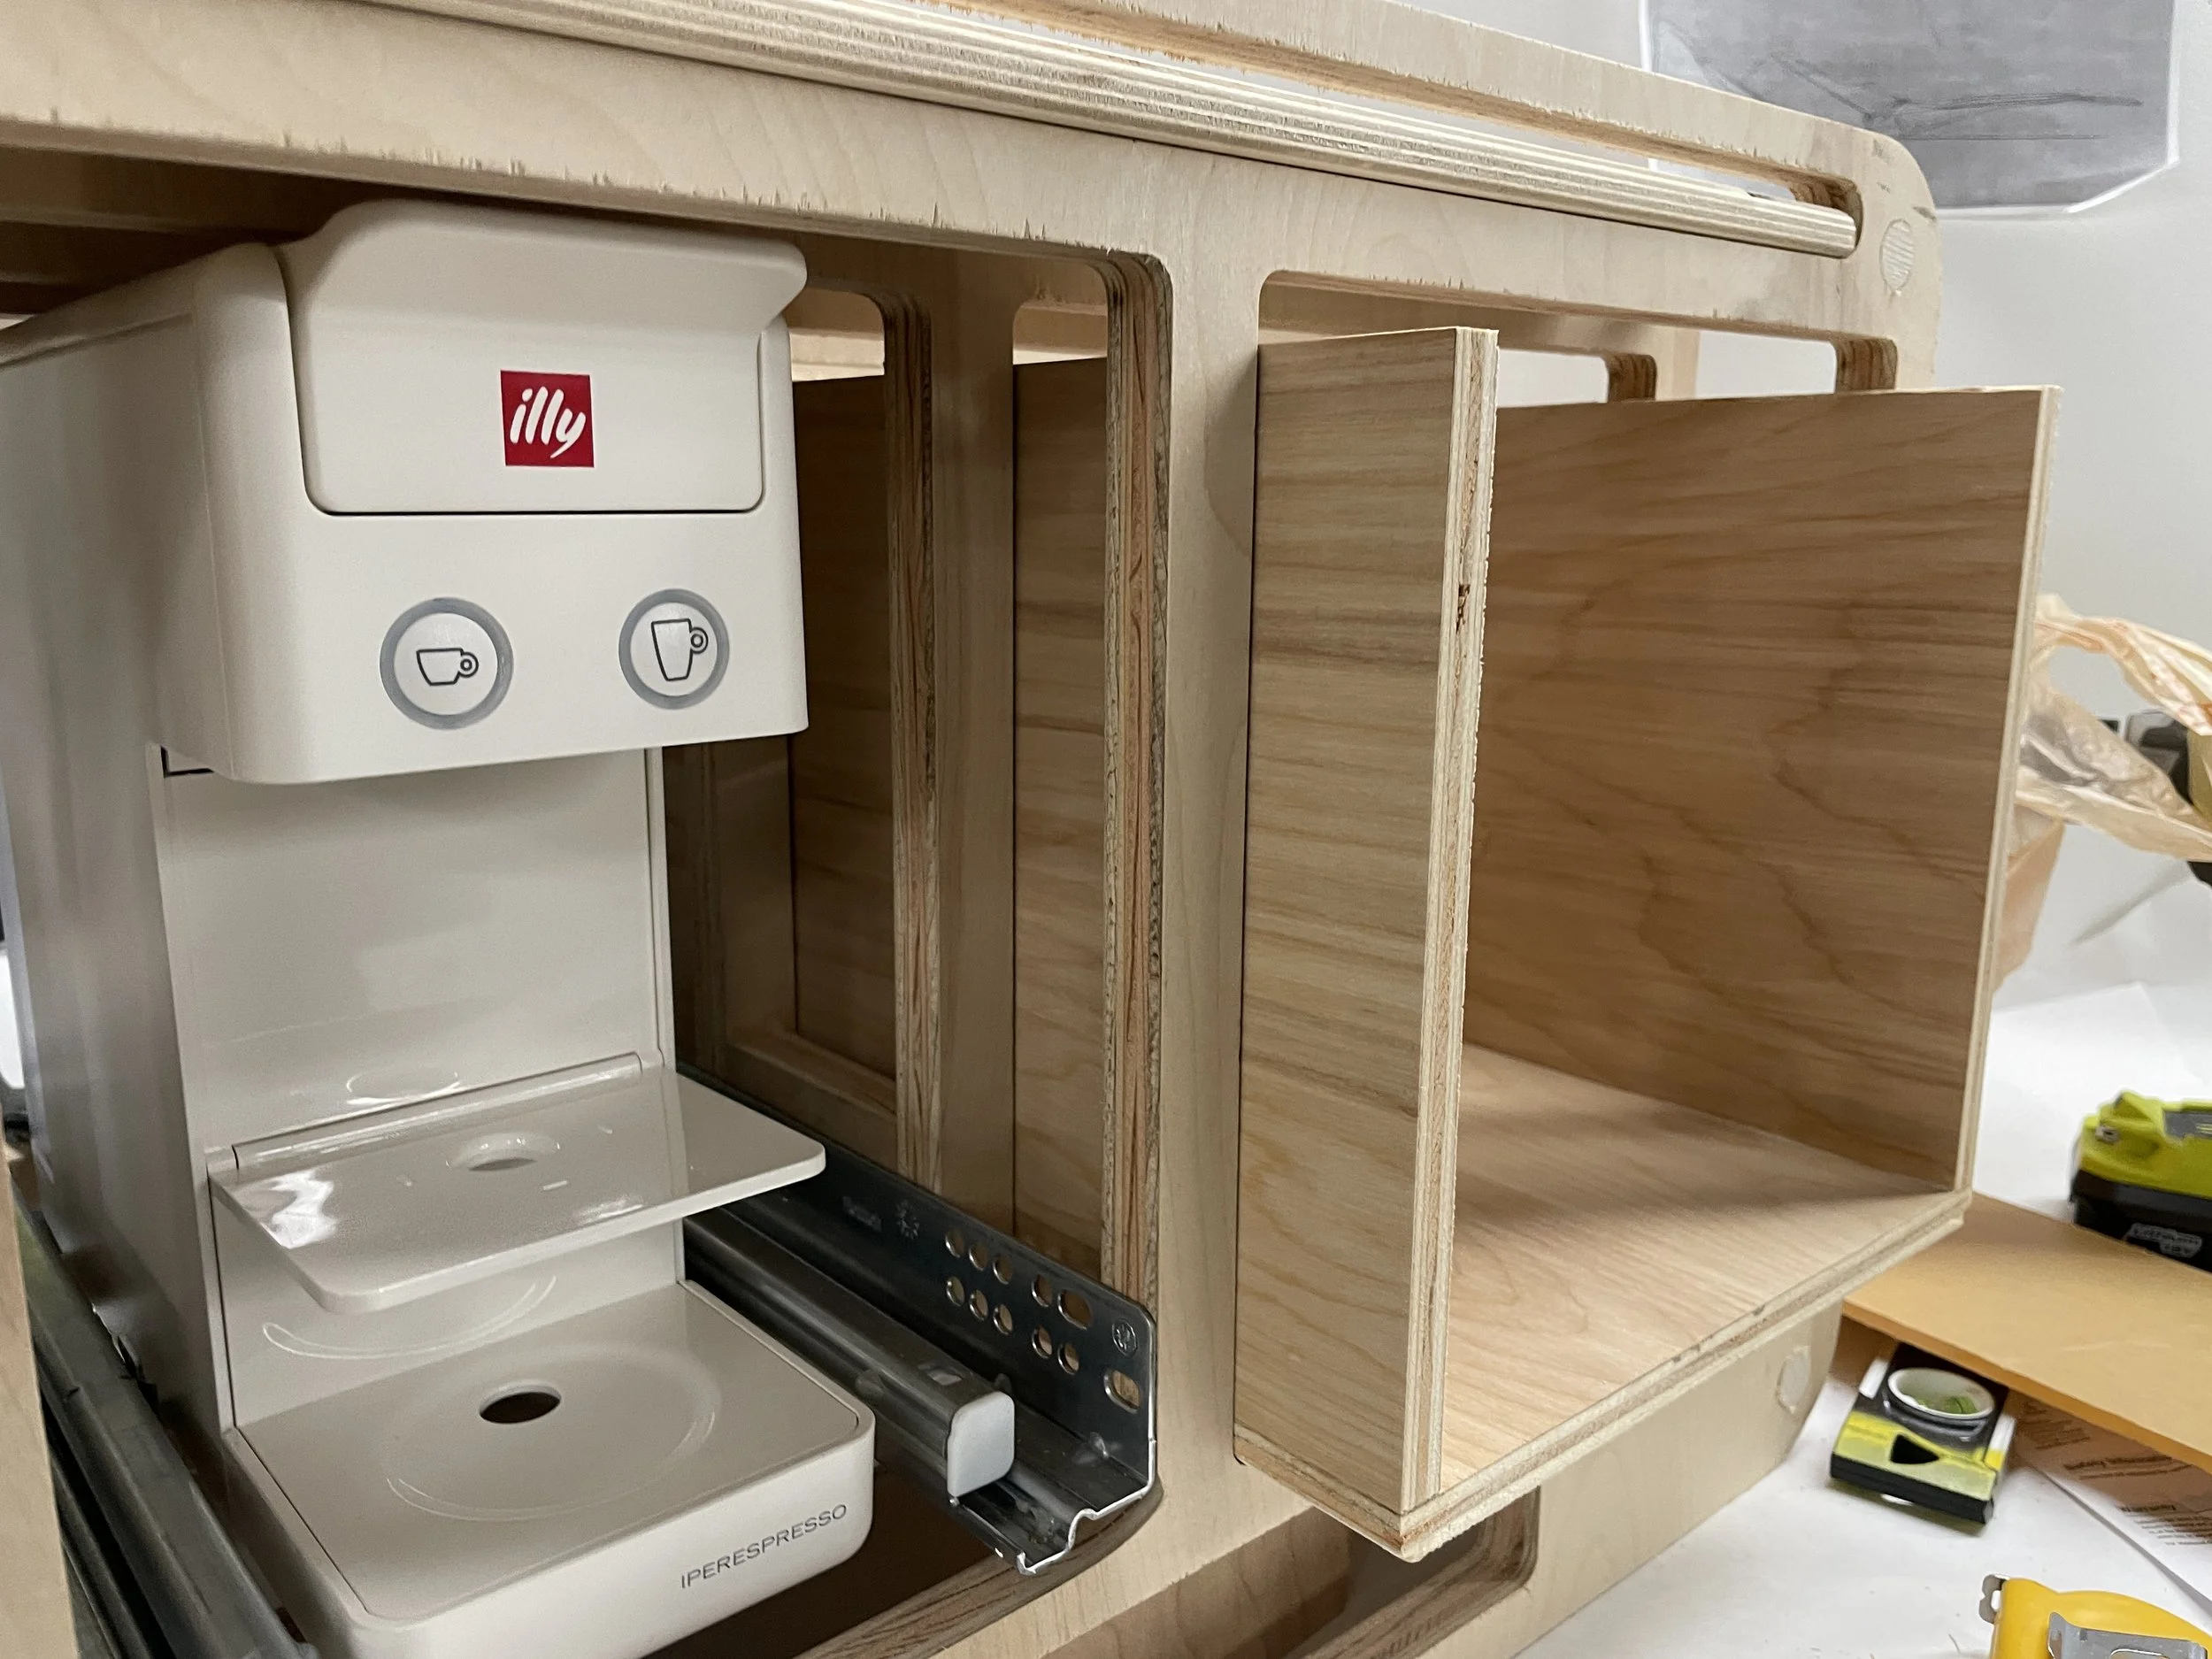
The kitchen is composed of five modules that contain its usable contents. One module houses a swing-out countertop, while another holds the pull-out induction stove. The remaining three primary rectangular modules are open to customer customization, with numerous options available.
Outer-Shell
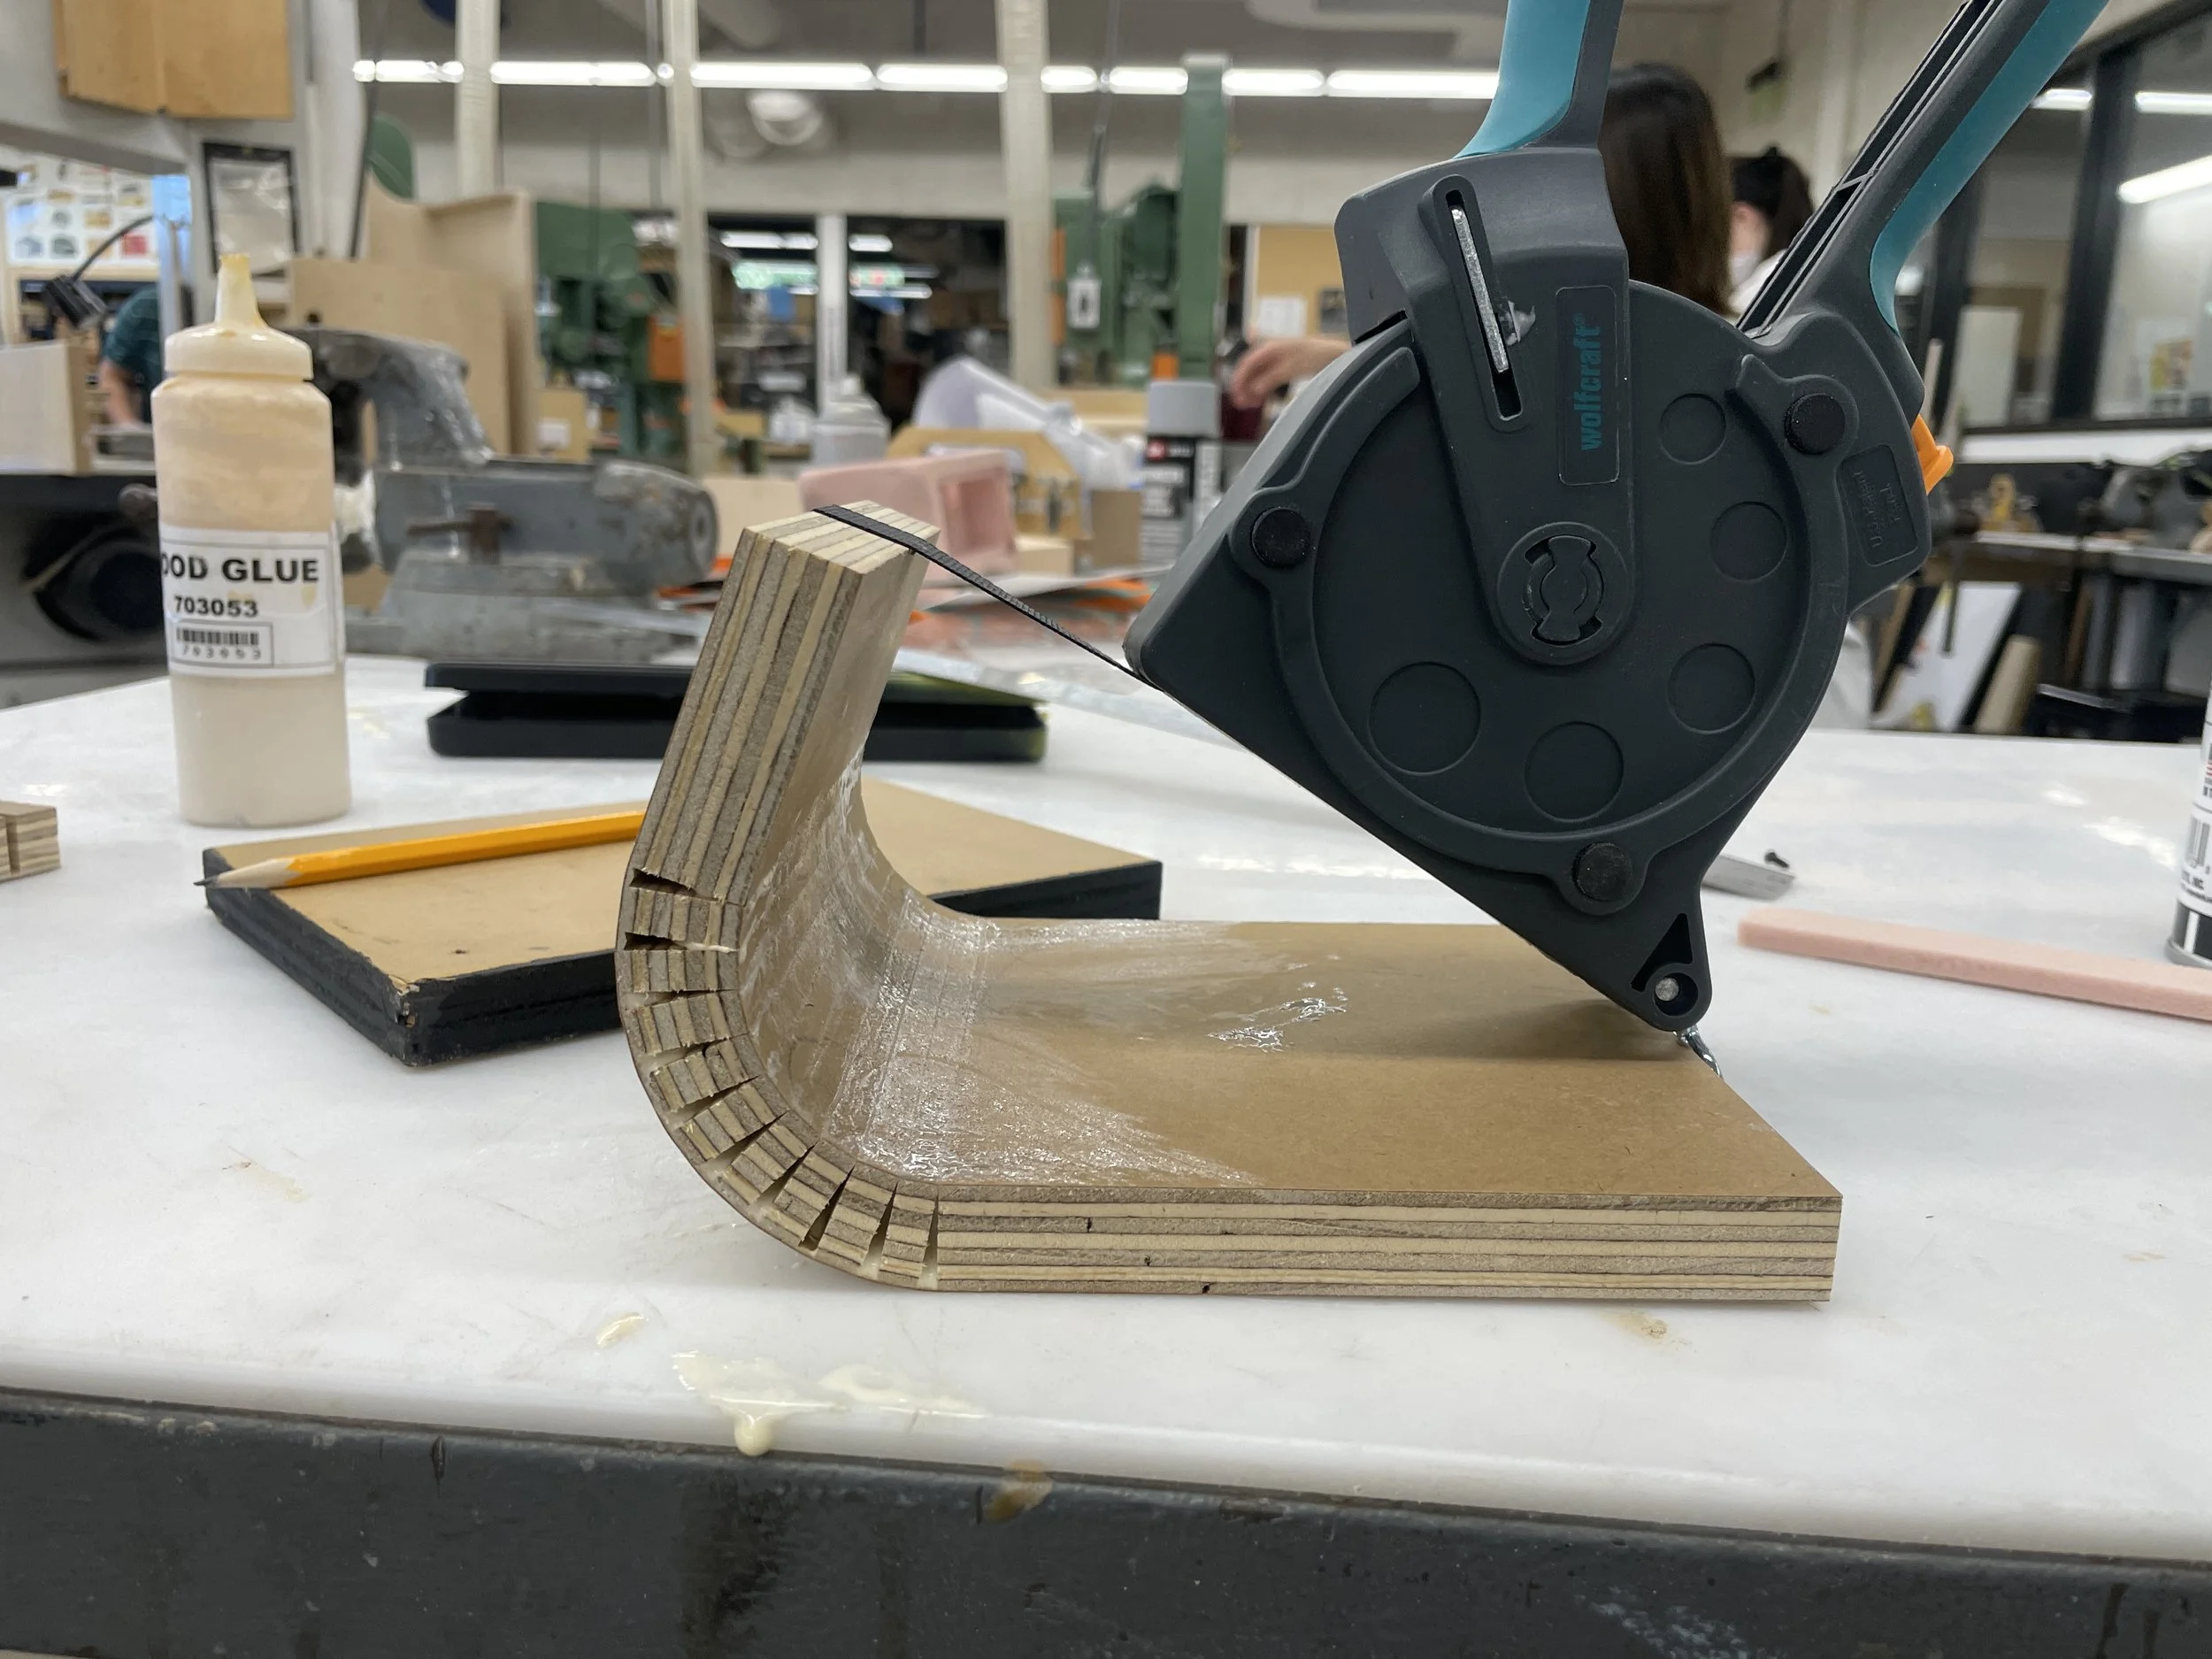
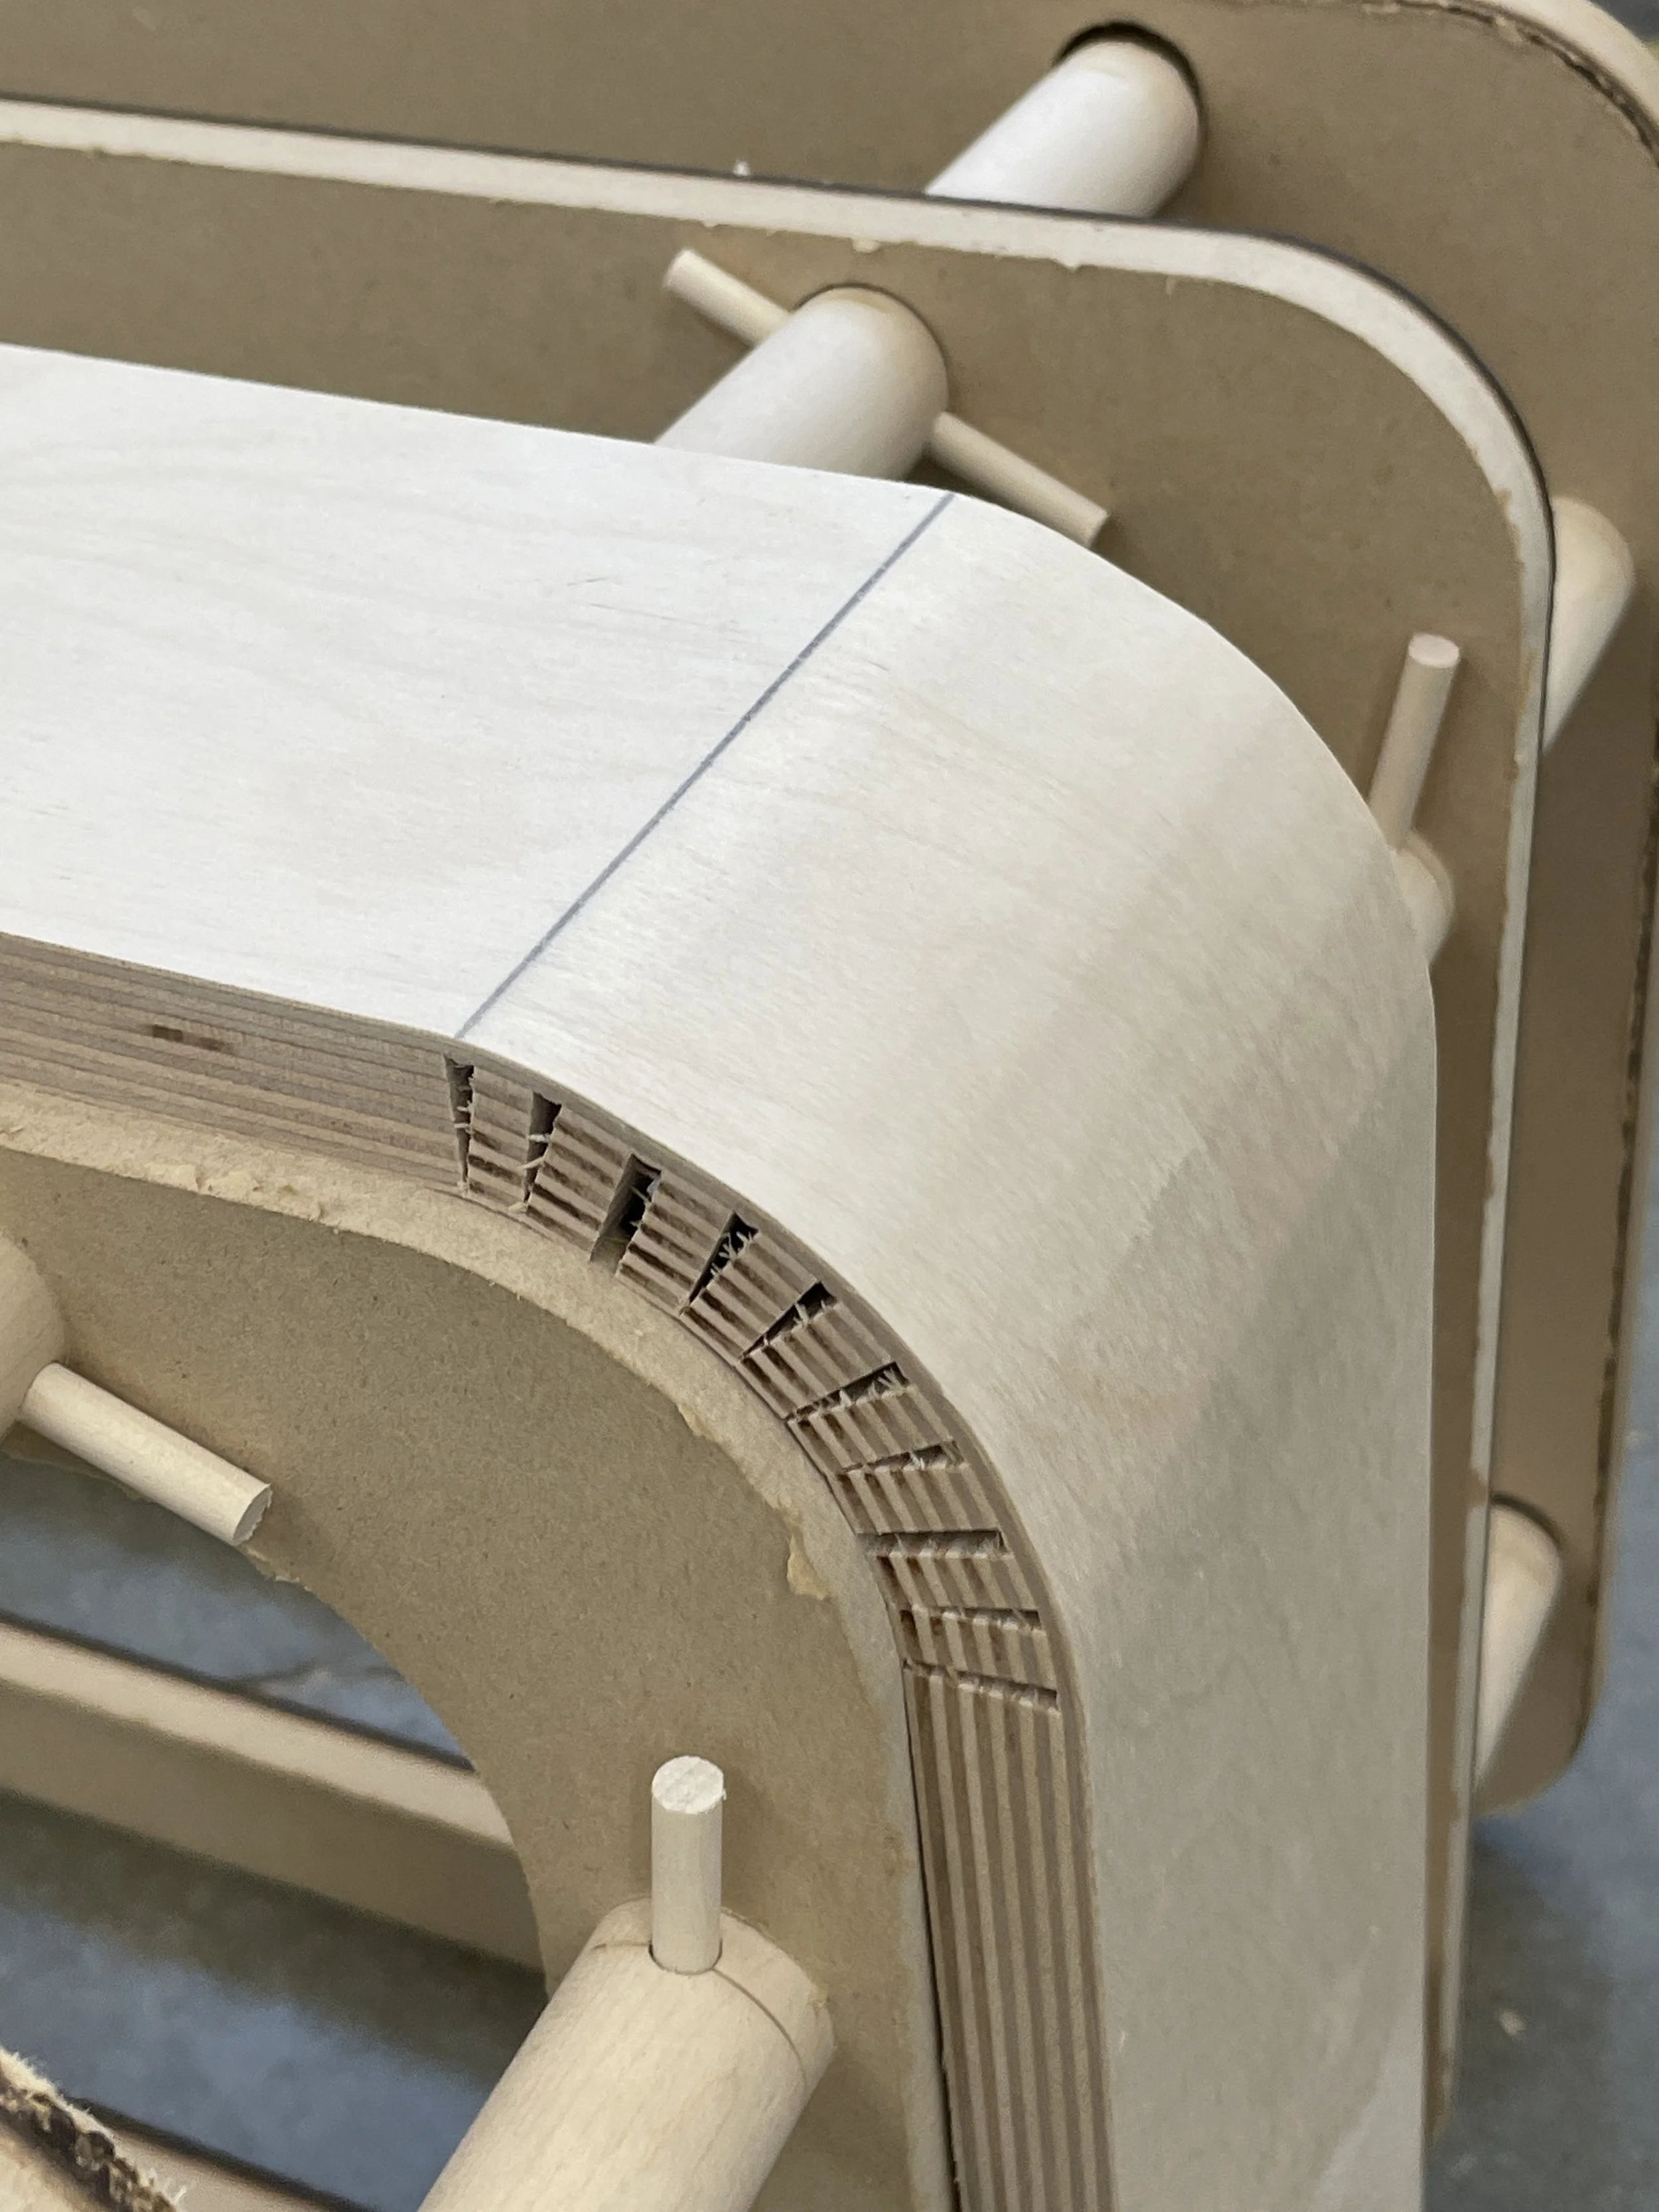
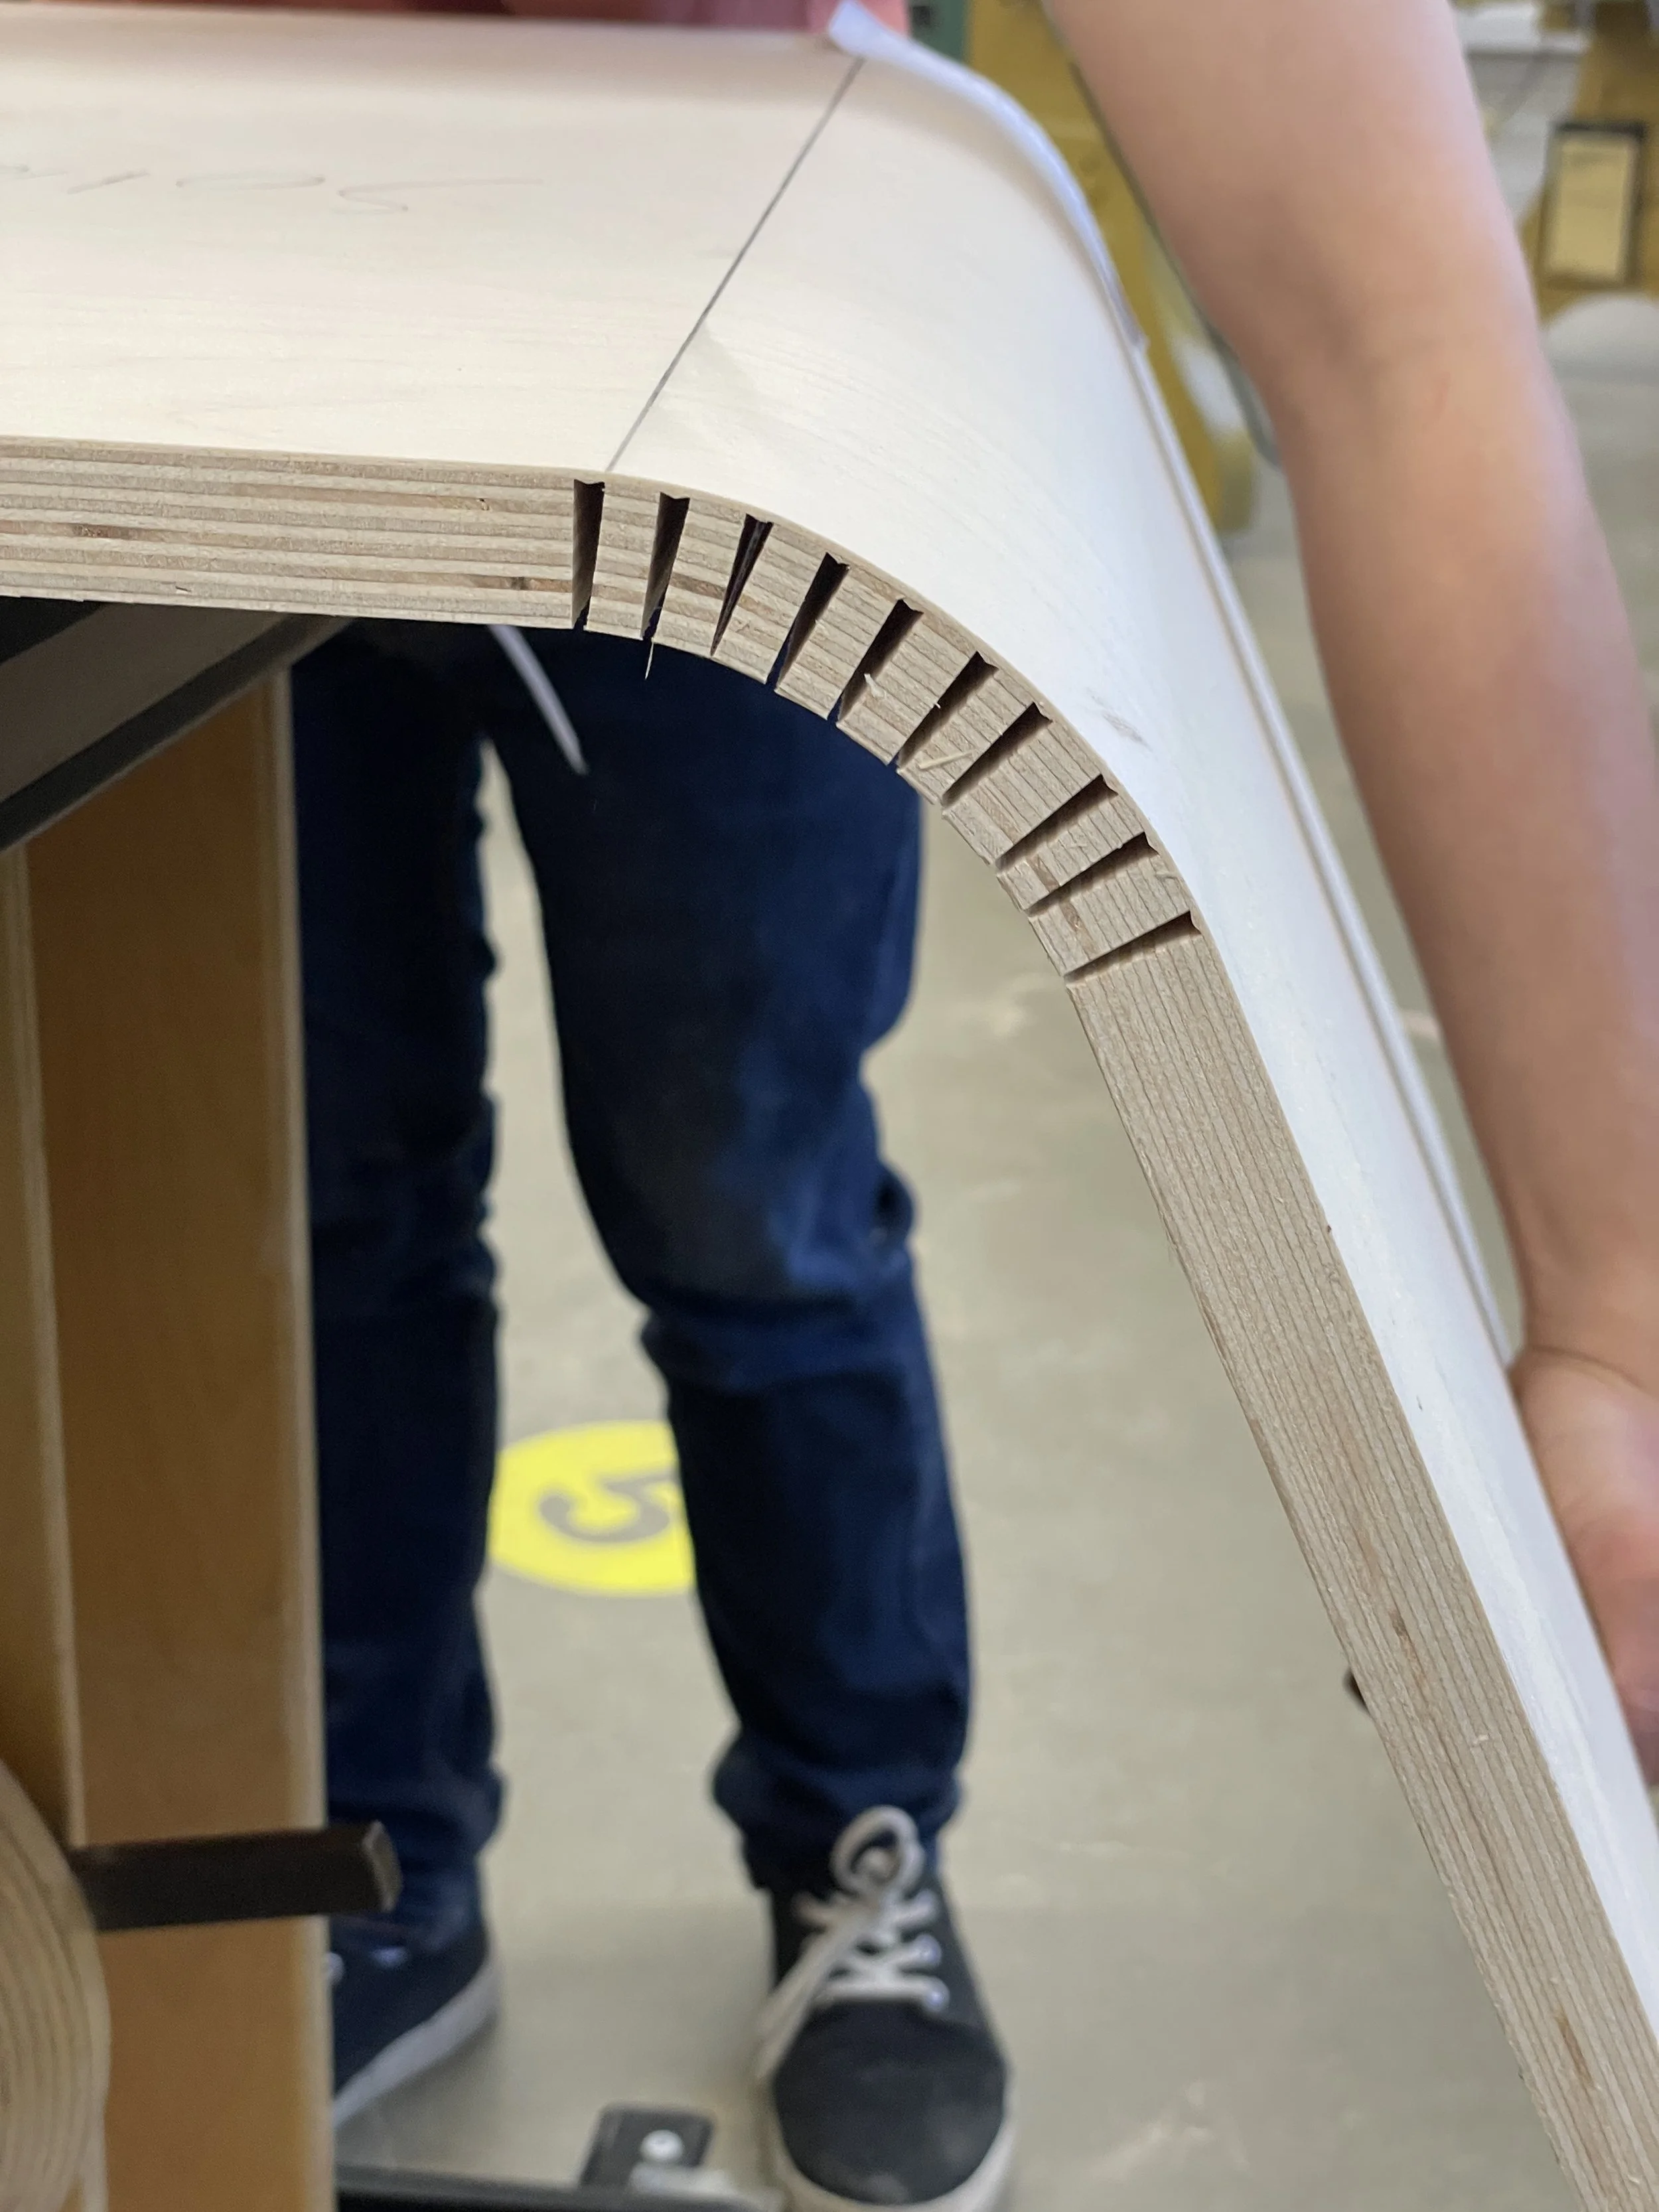
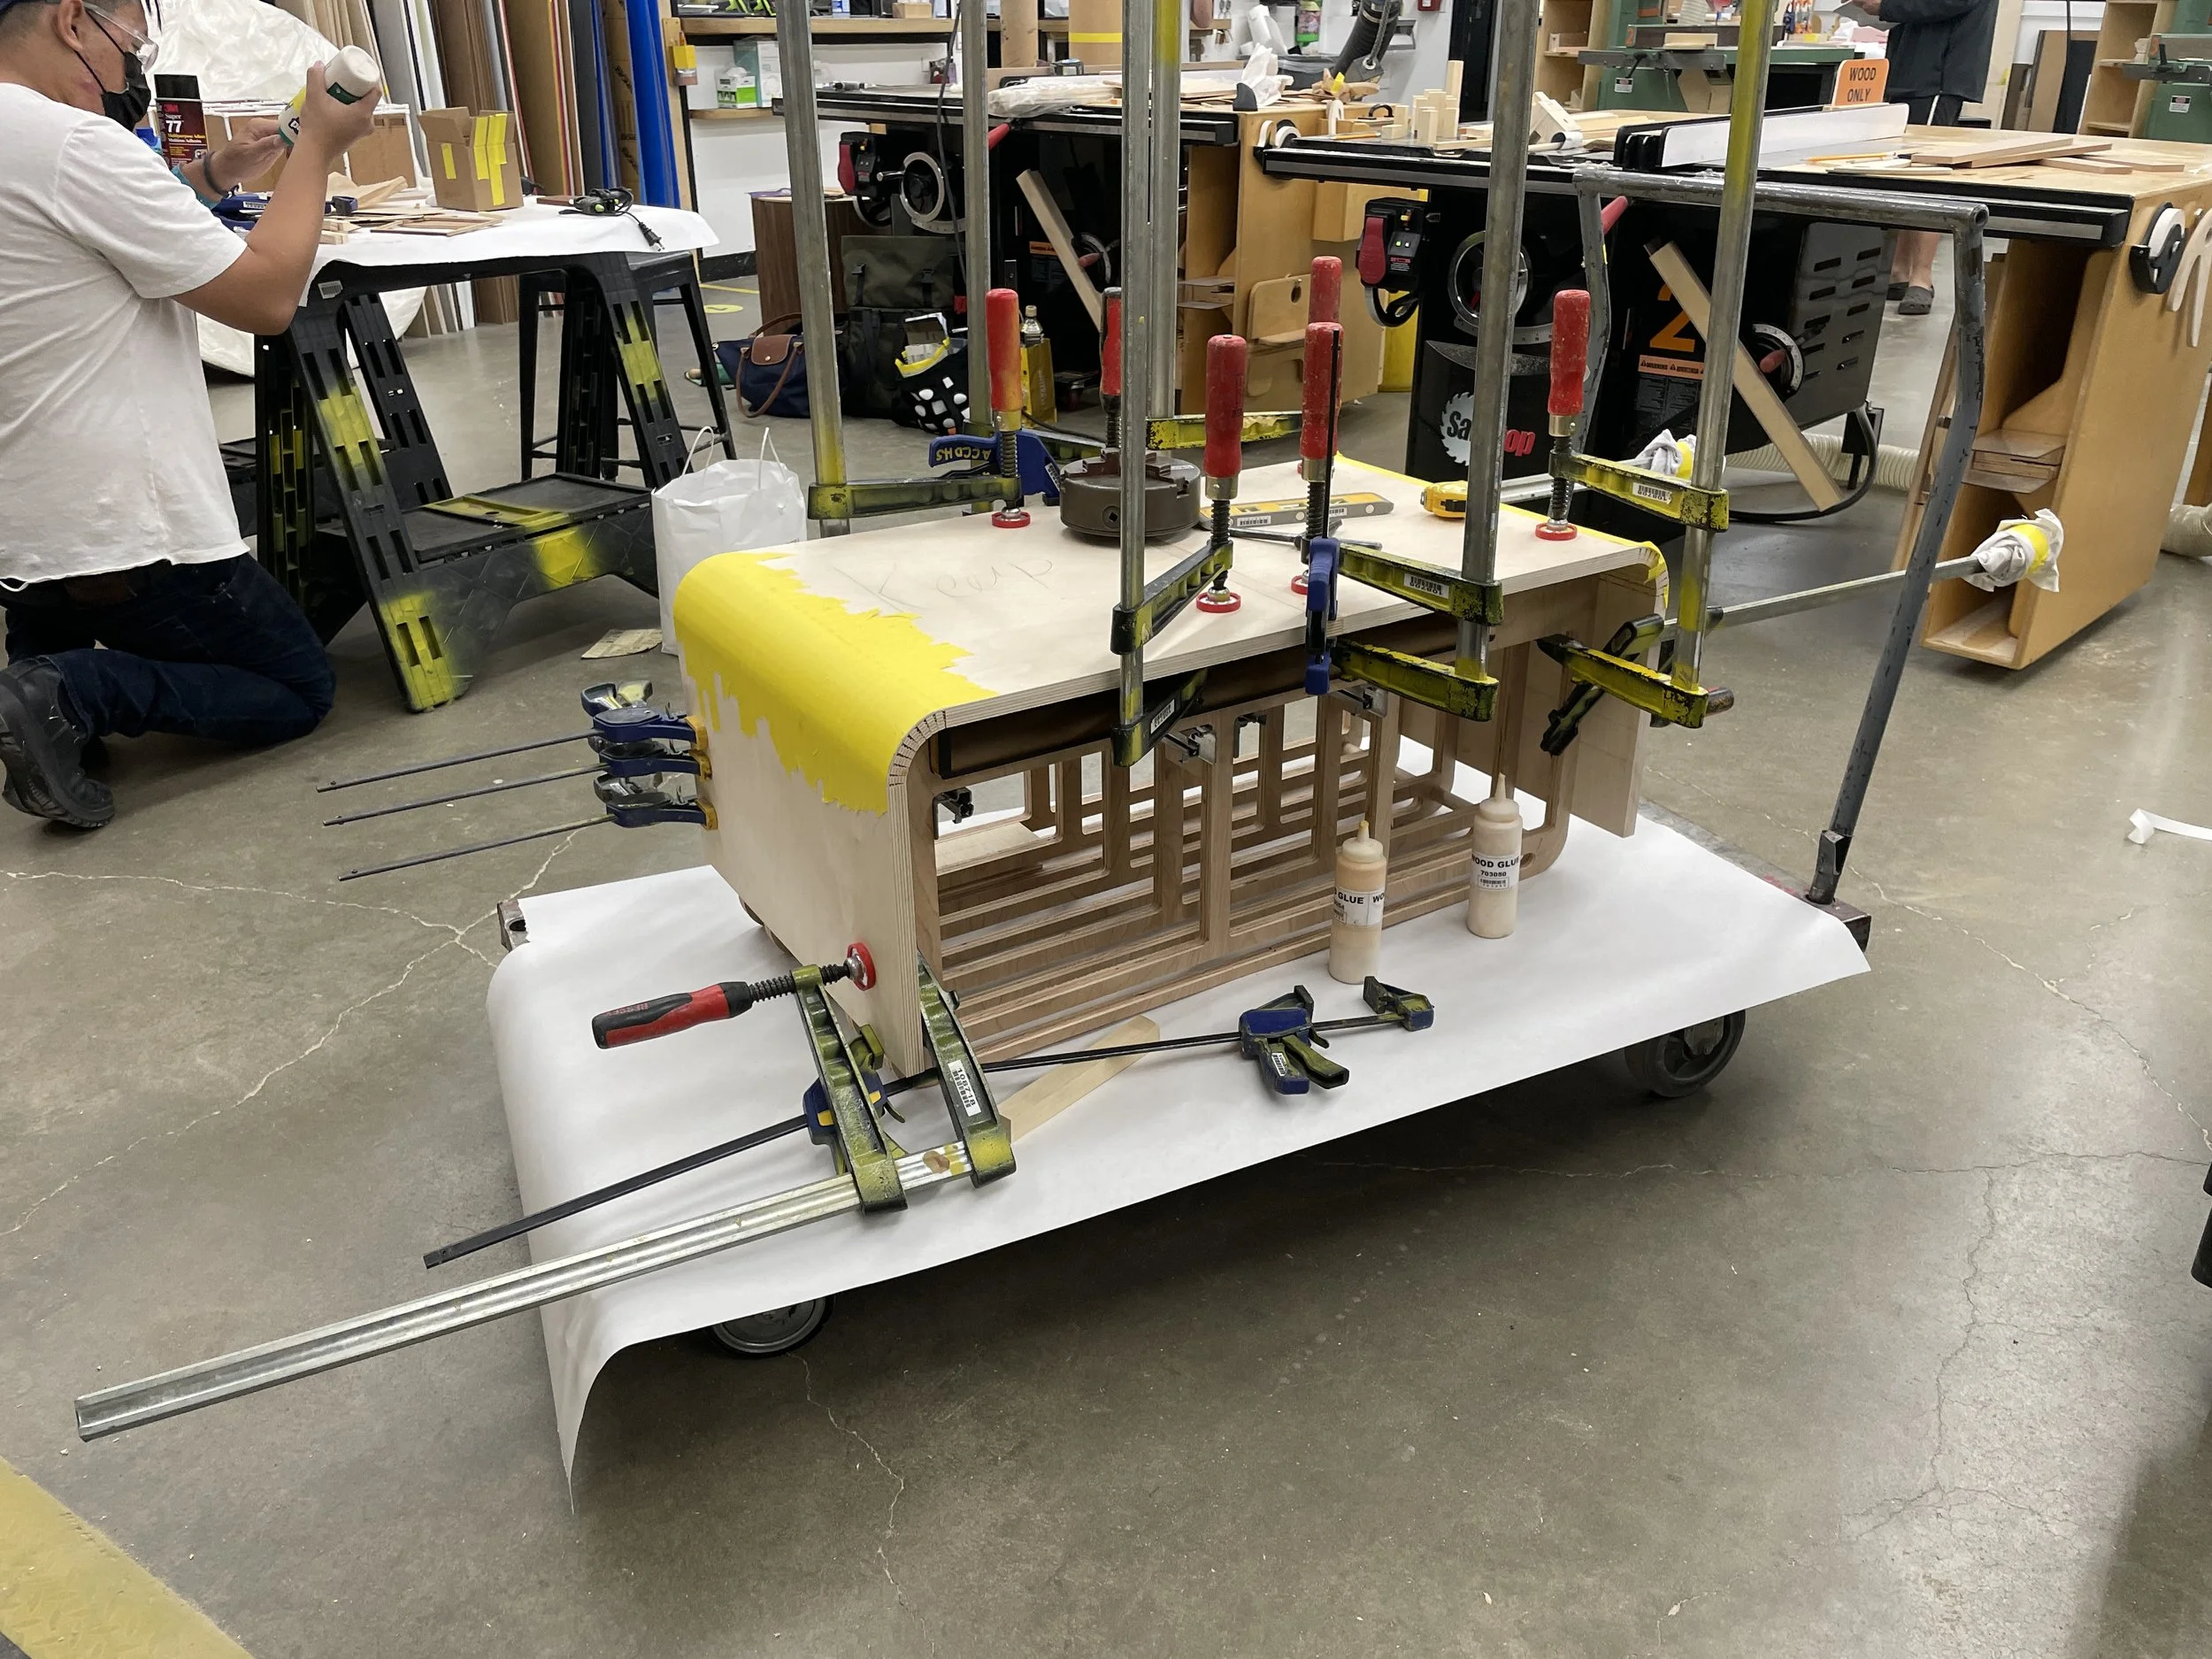
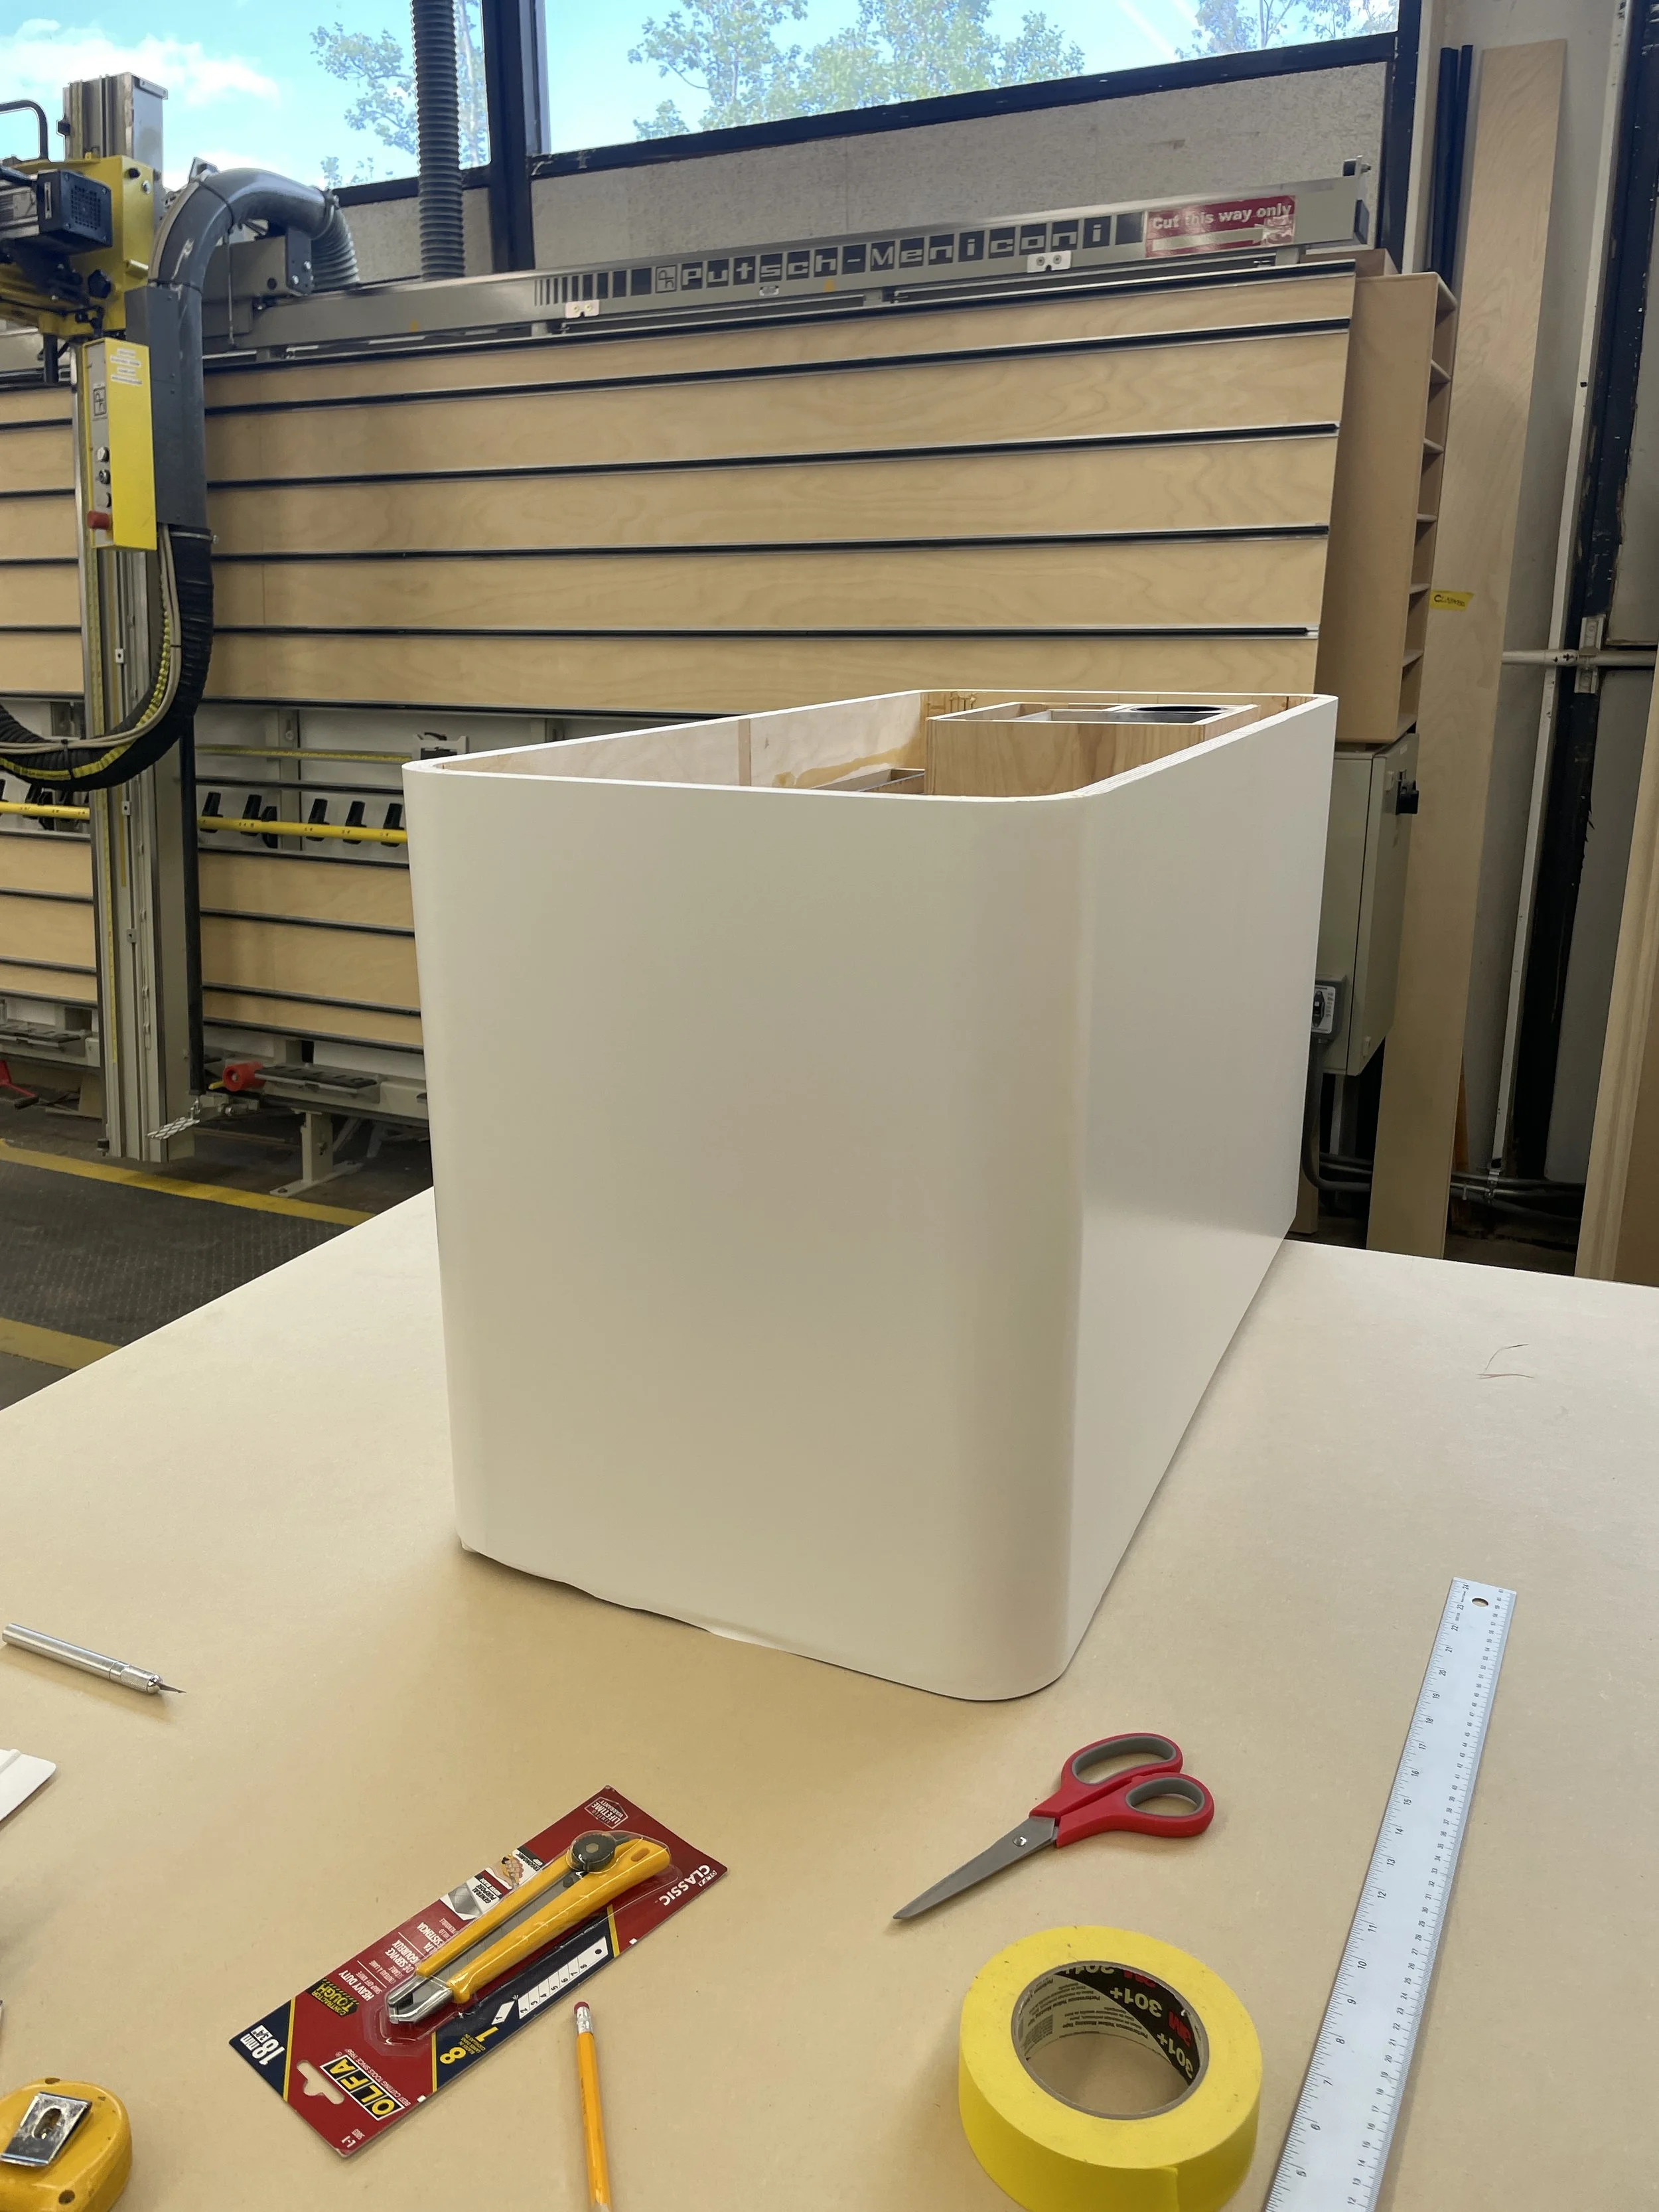
The outer shell of the prototype presented significant challenges as it had to curve around the silhouette of a rounded rectangle. To simulate a production-like finish, I used Baltic Birch with kerf cuts covered in white vinyl for this model.
Before starting the final build, I created a mix of full-size and small-scale mock-ups of the prototype using MDF as an inexpensive substitute. This allowed me to test the methods and measurements I planned to use for constructing the final model.
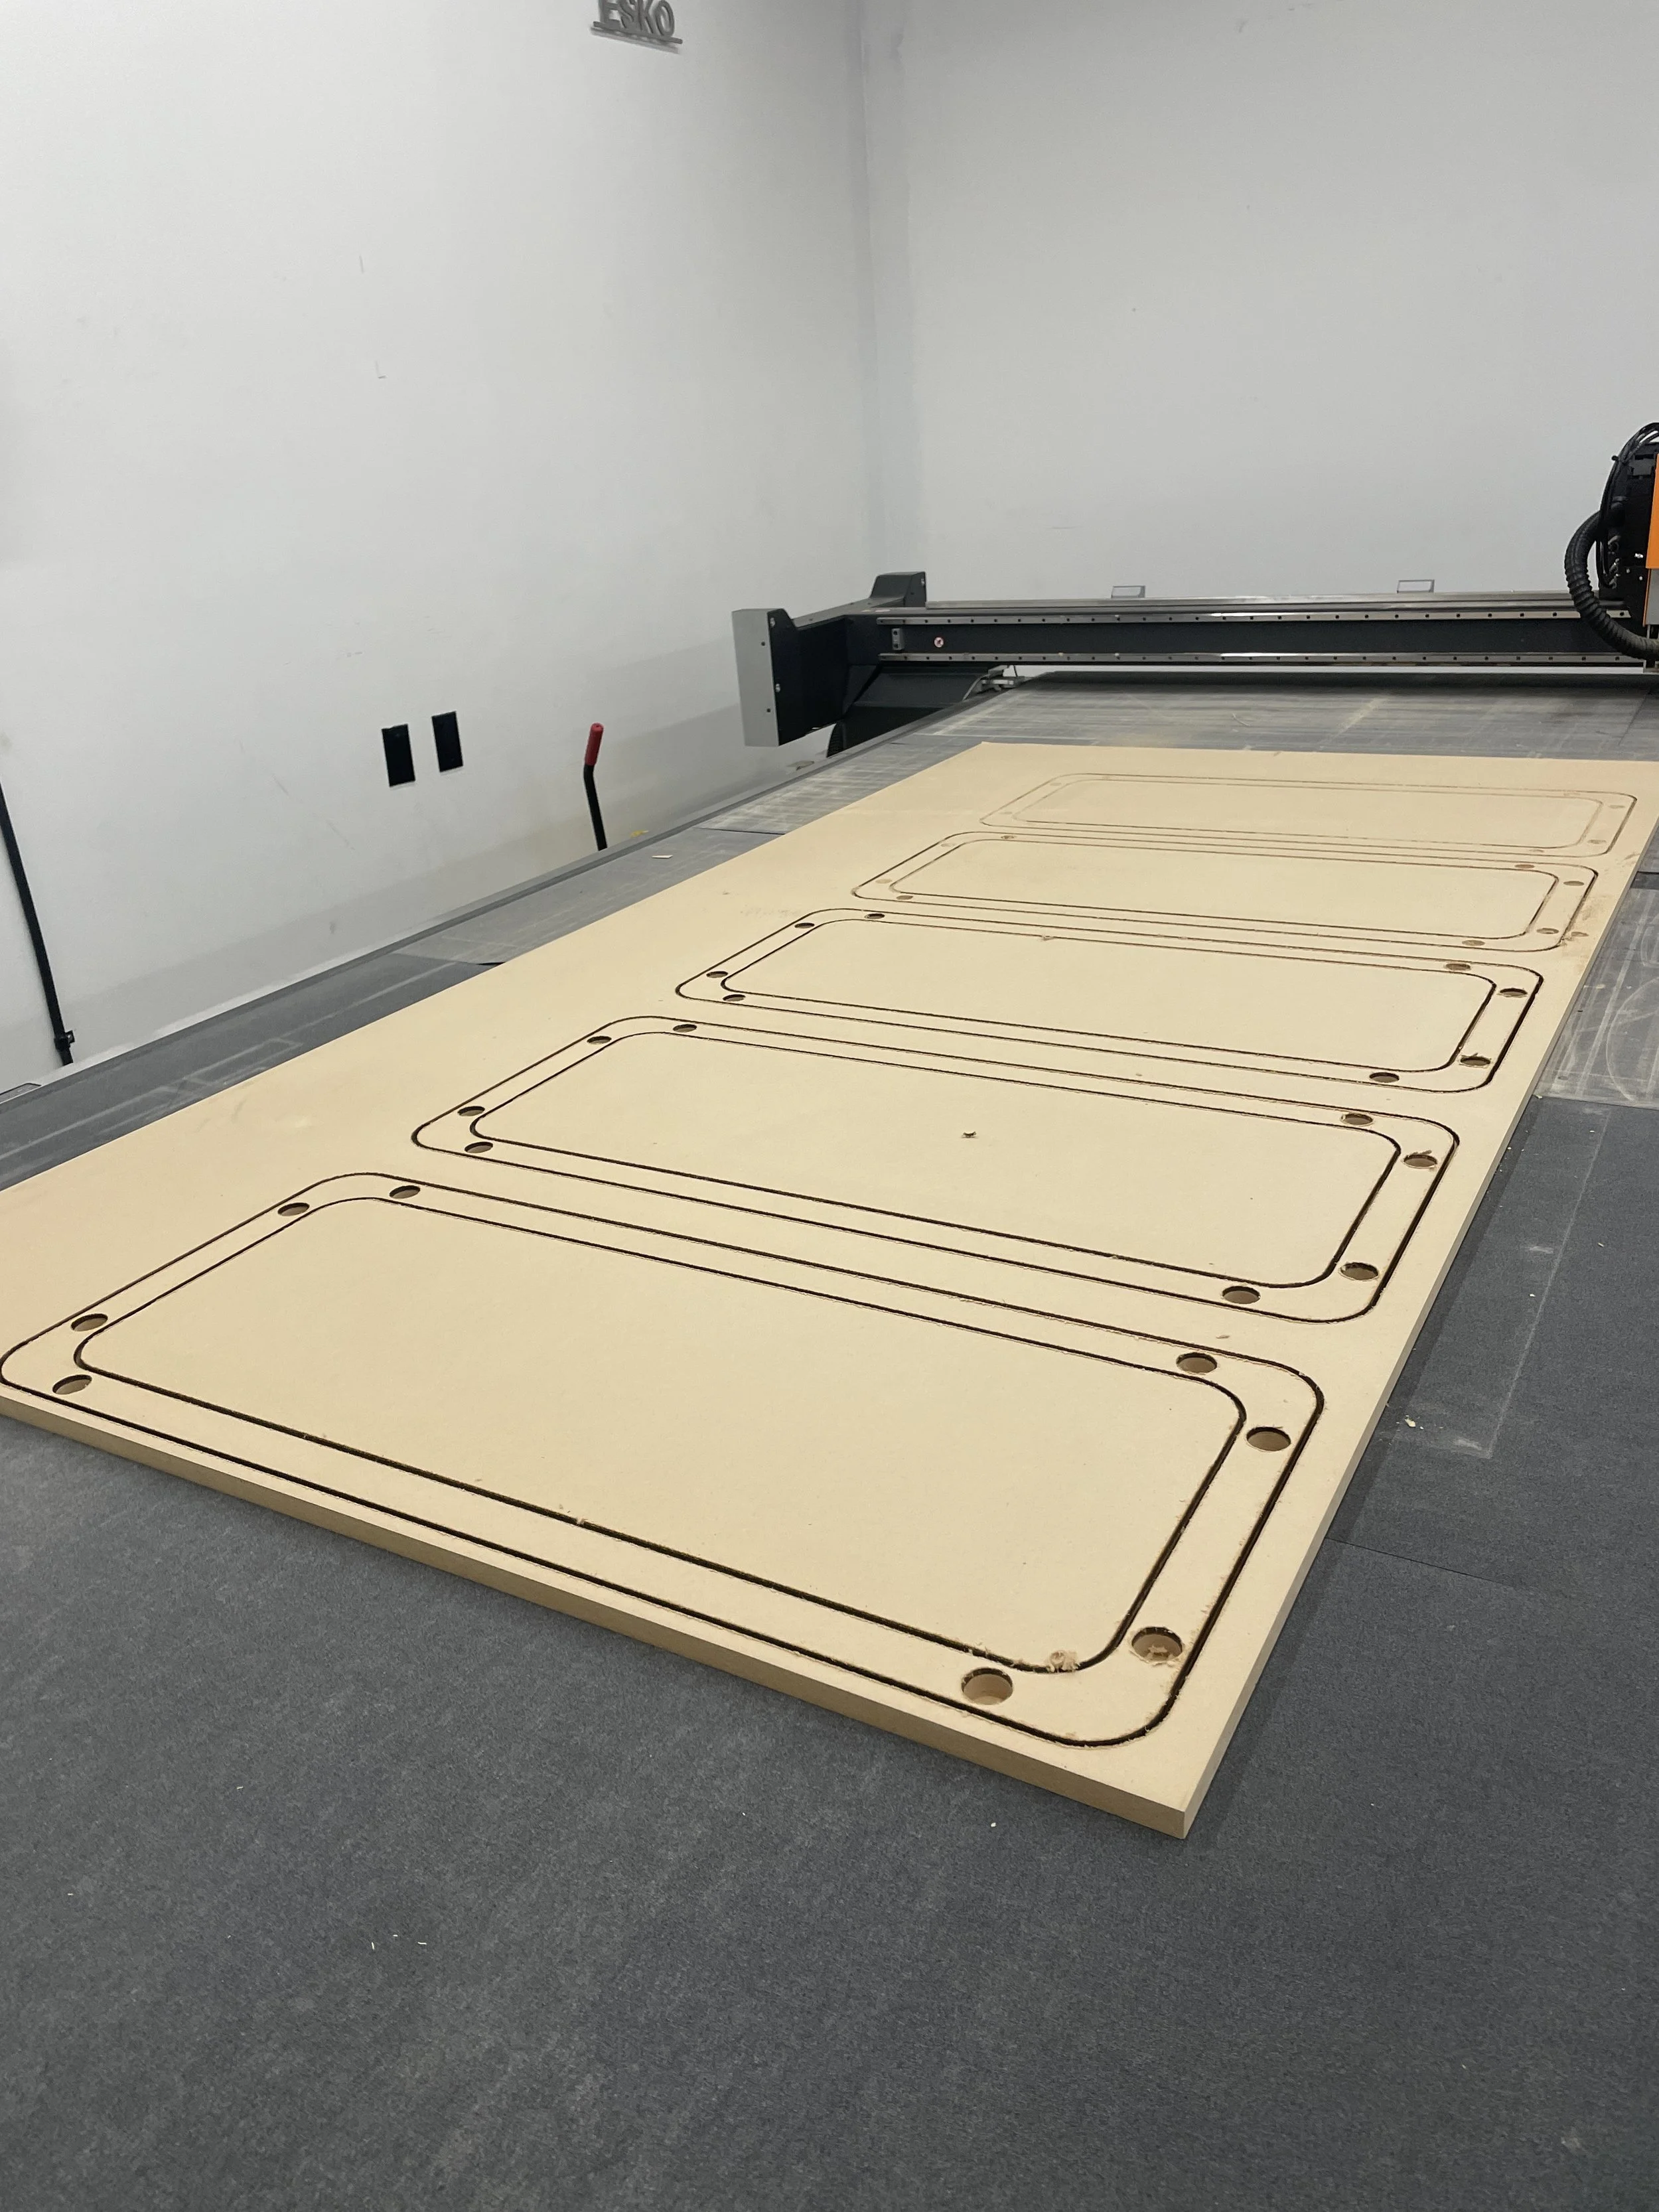
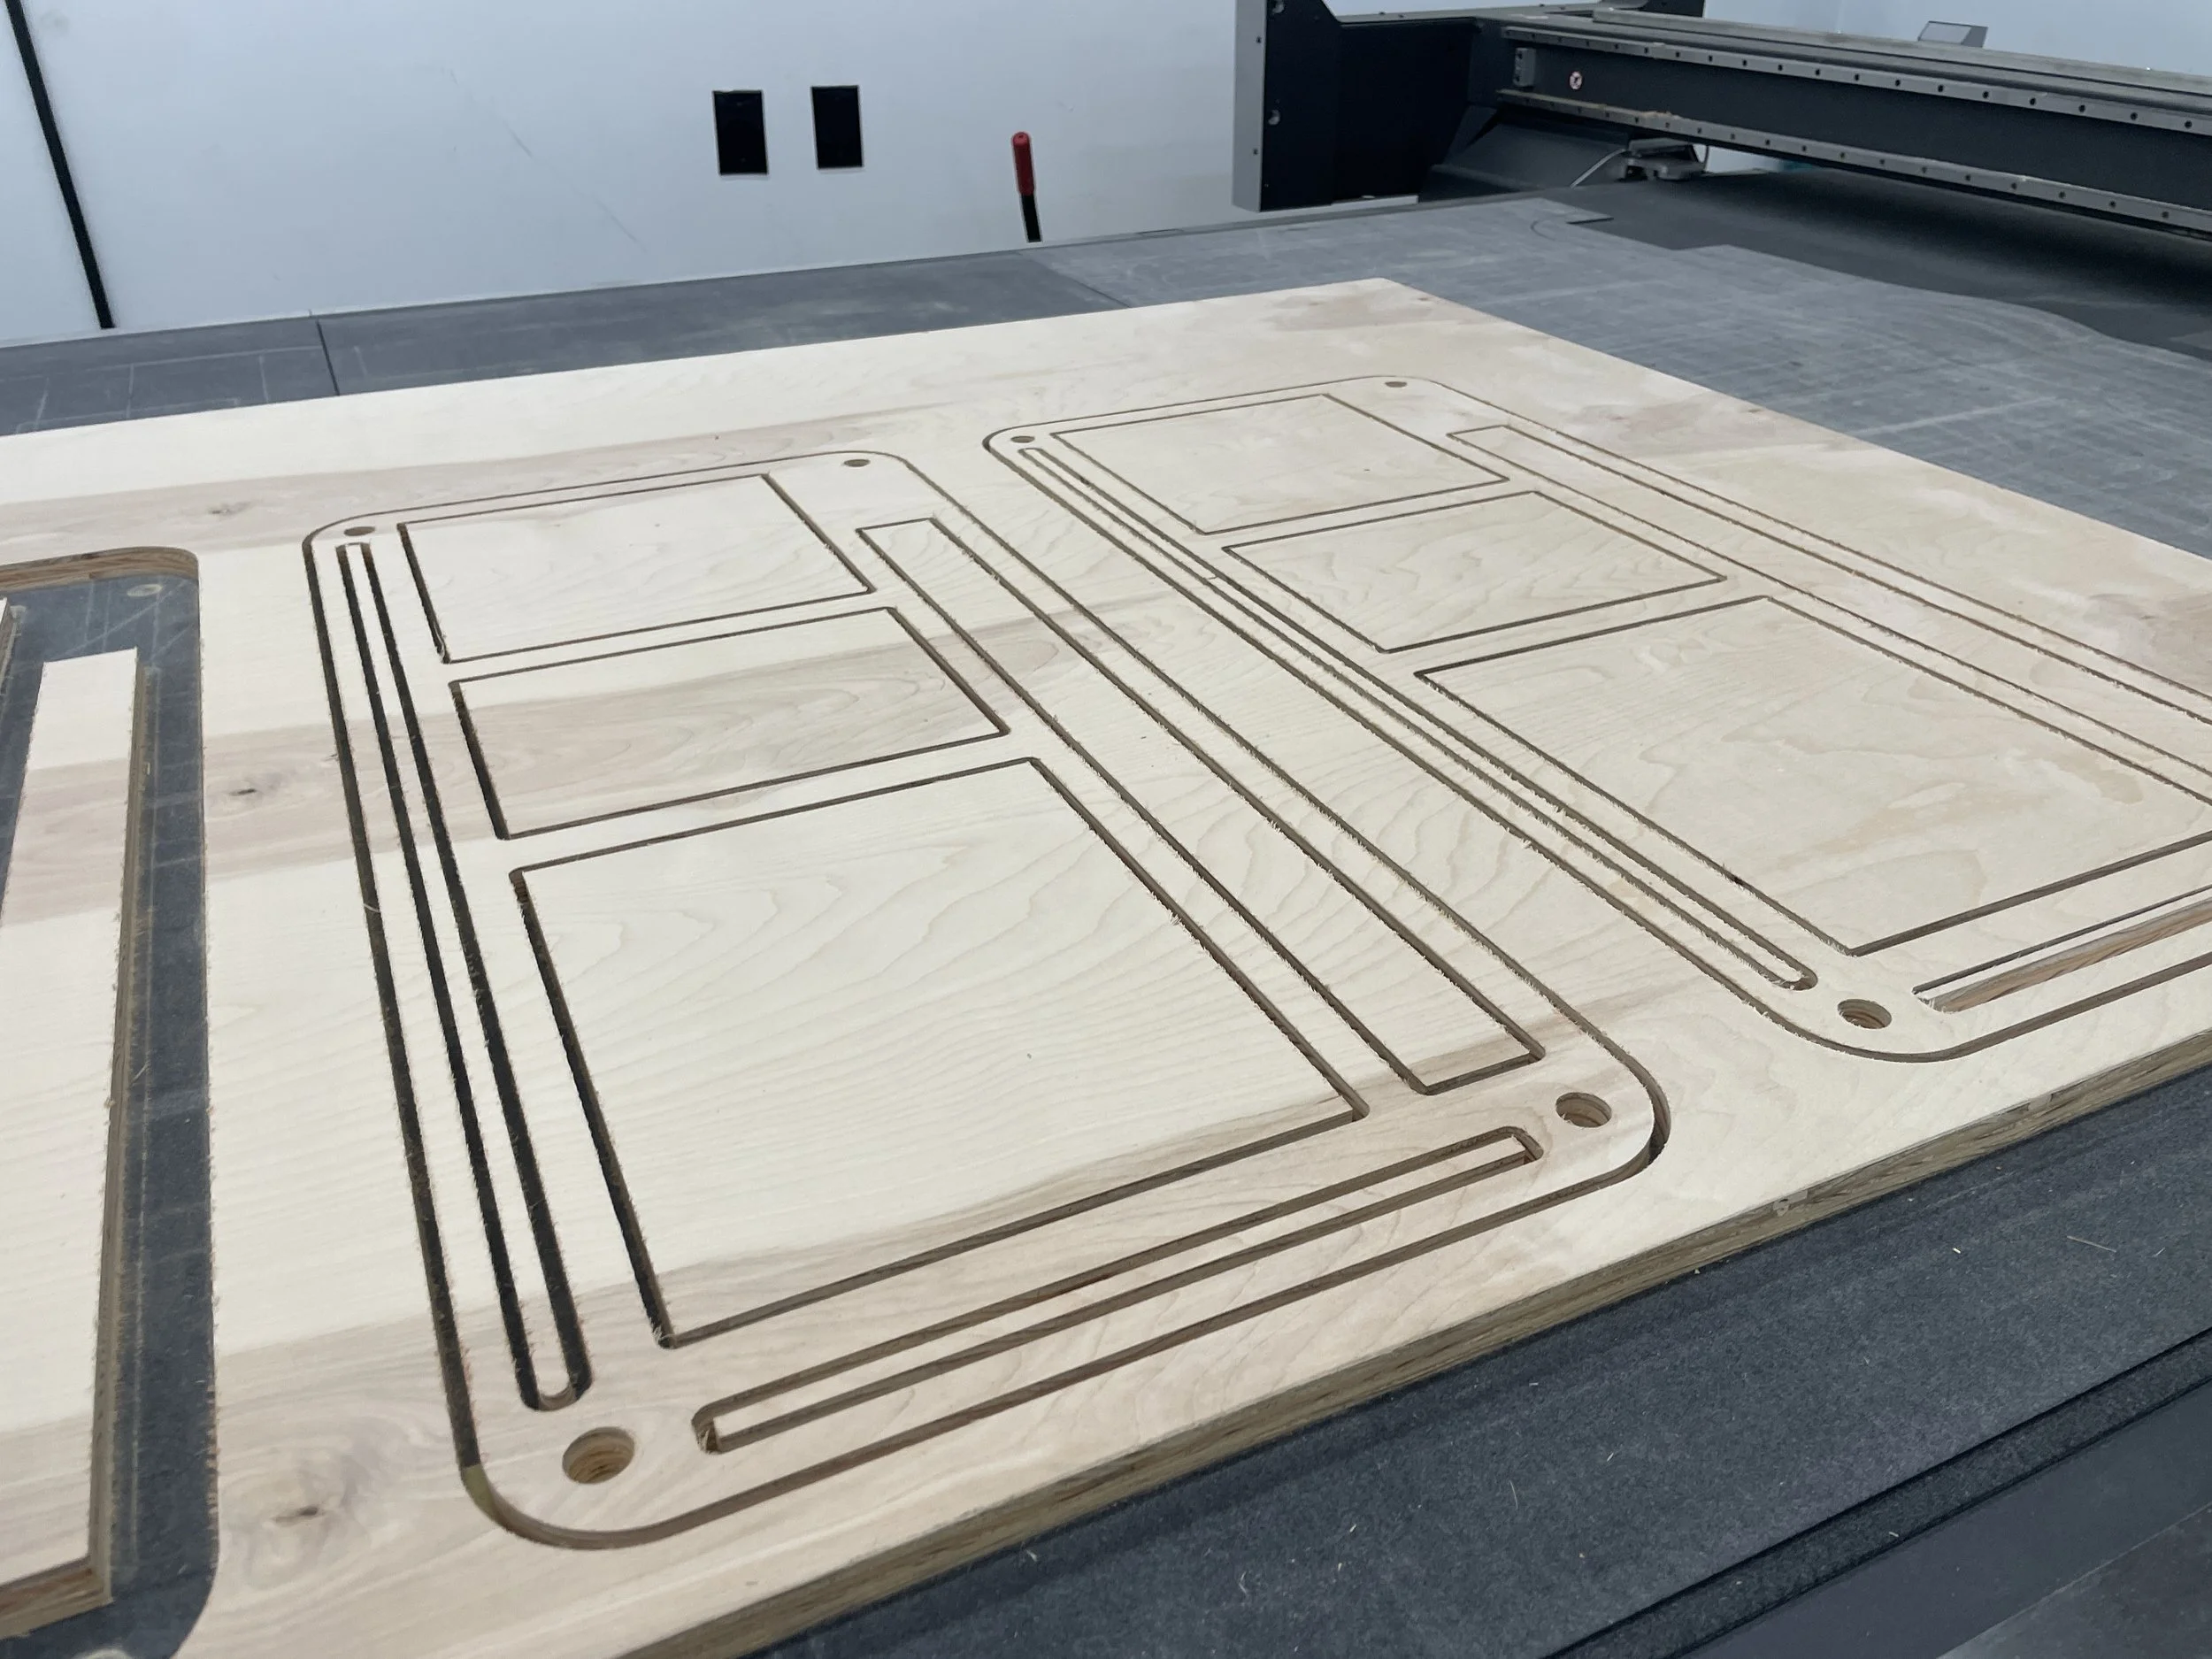
By using simplified CNC cuts in MDF, I was able to cheaply and easily test the strength and scale of the structure before moving on to Baltic Birch.
Frame Mock-Up.
Kerf Cut Testing & Production Pieces
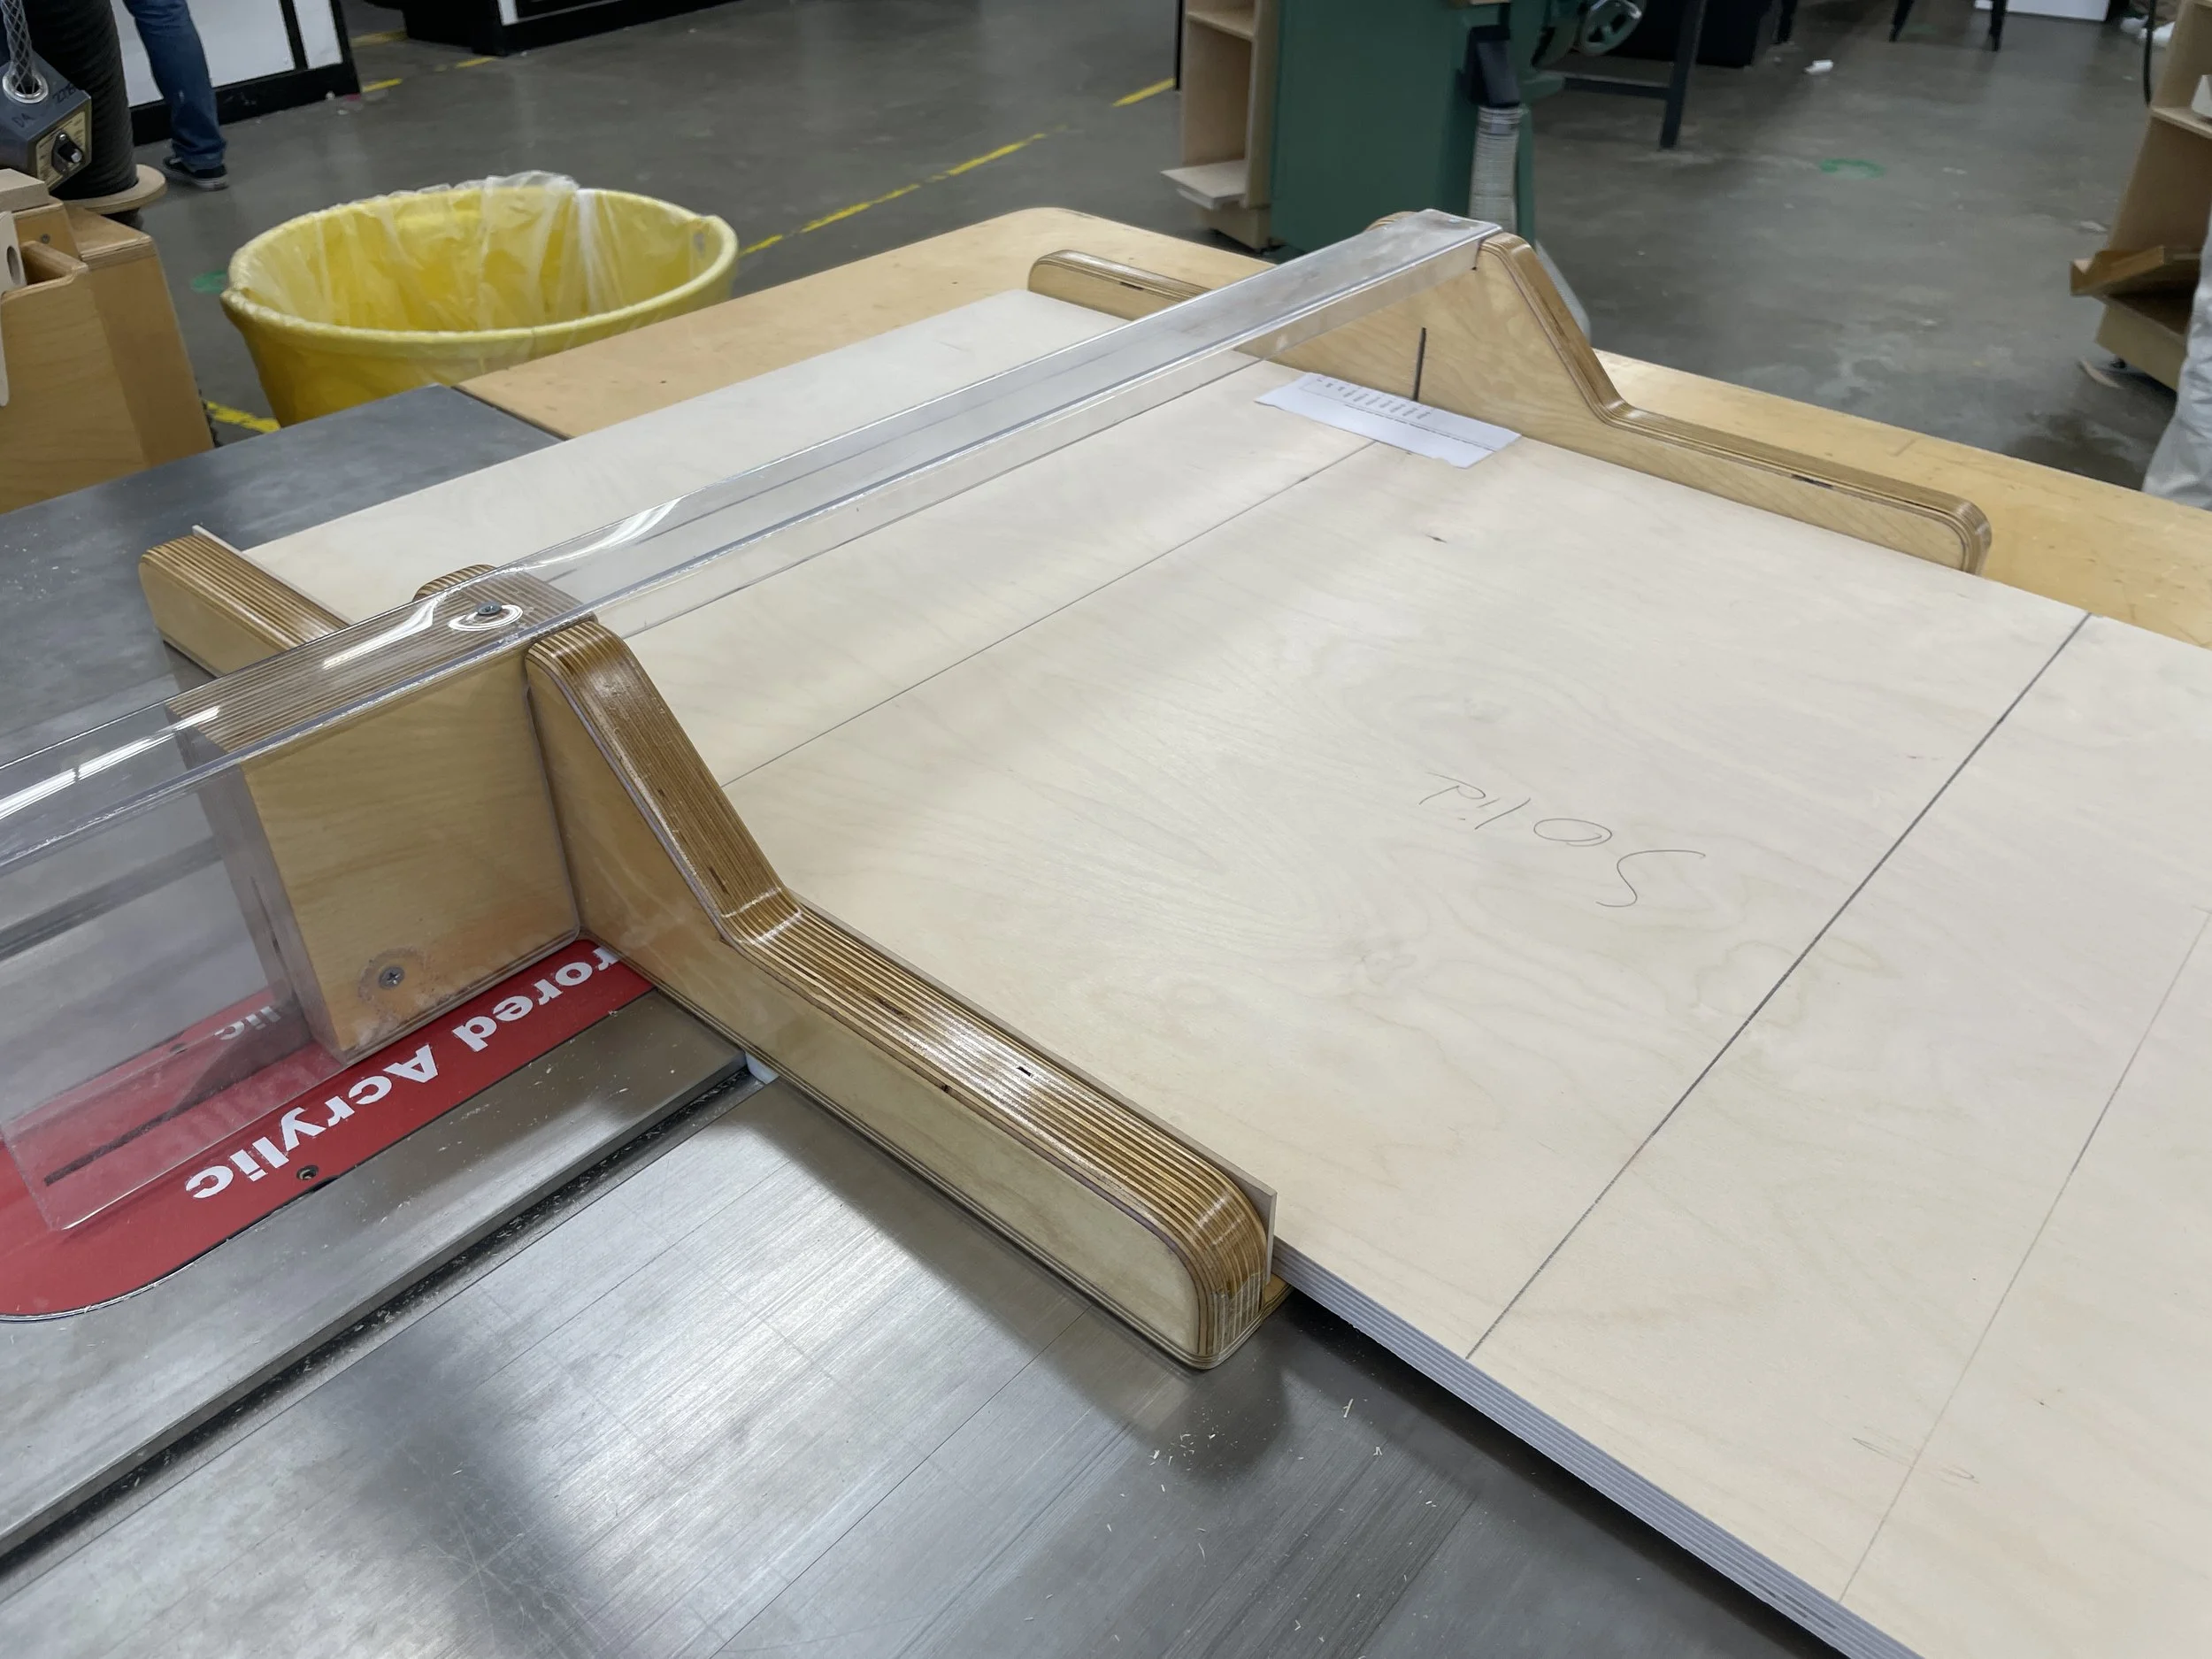
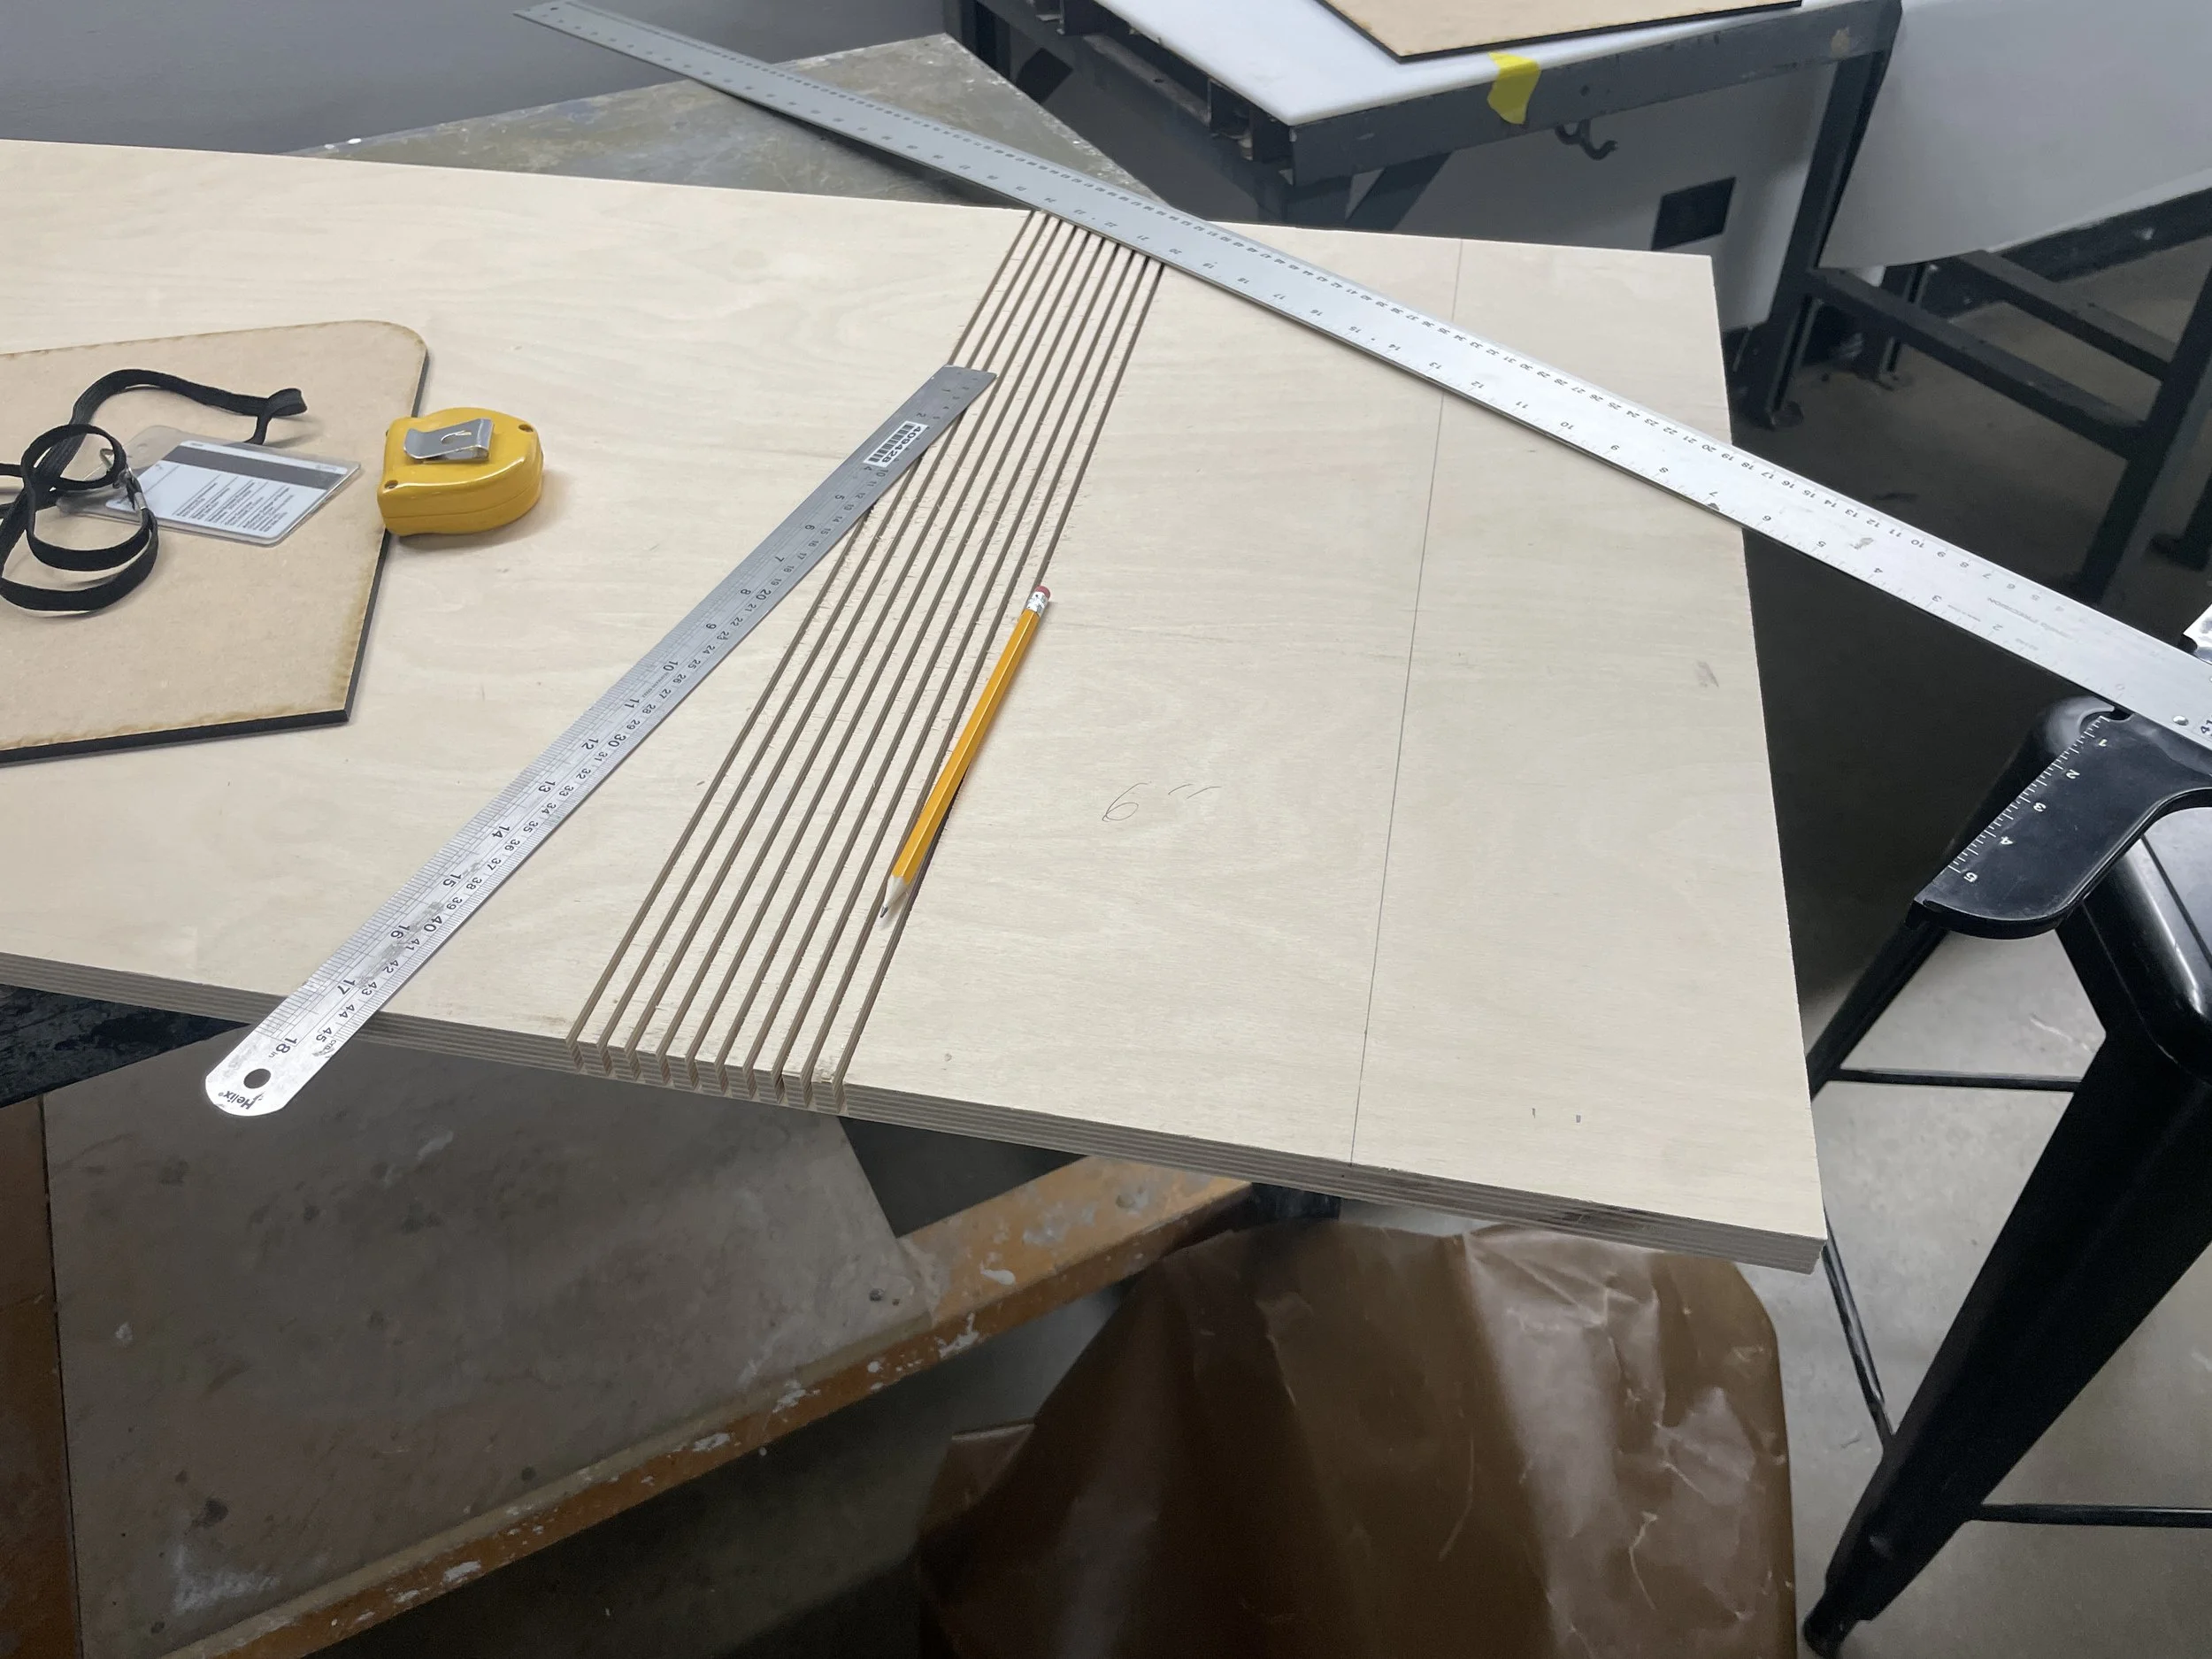
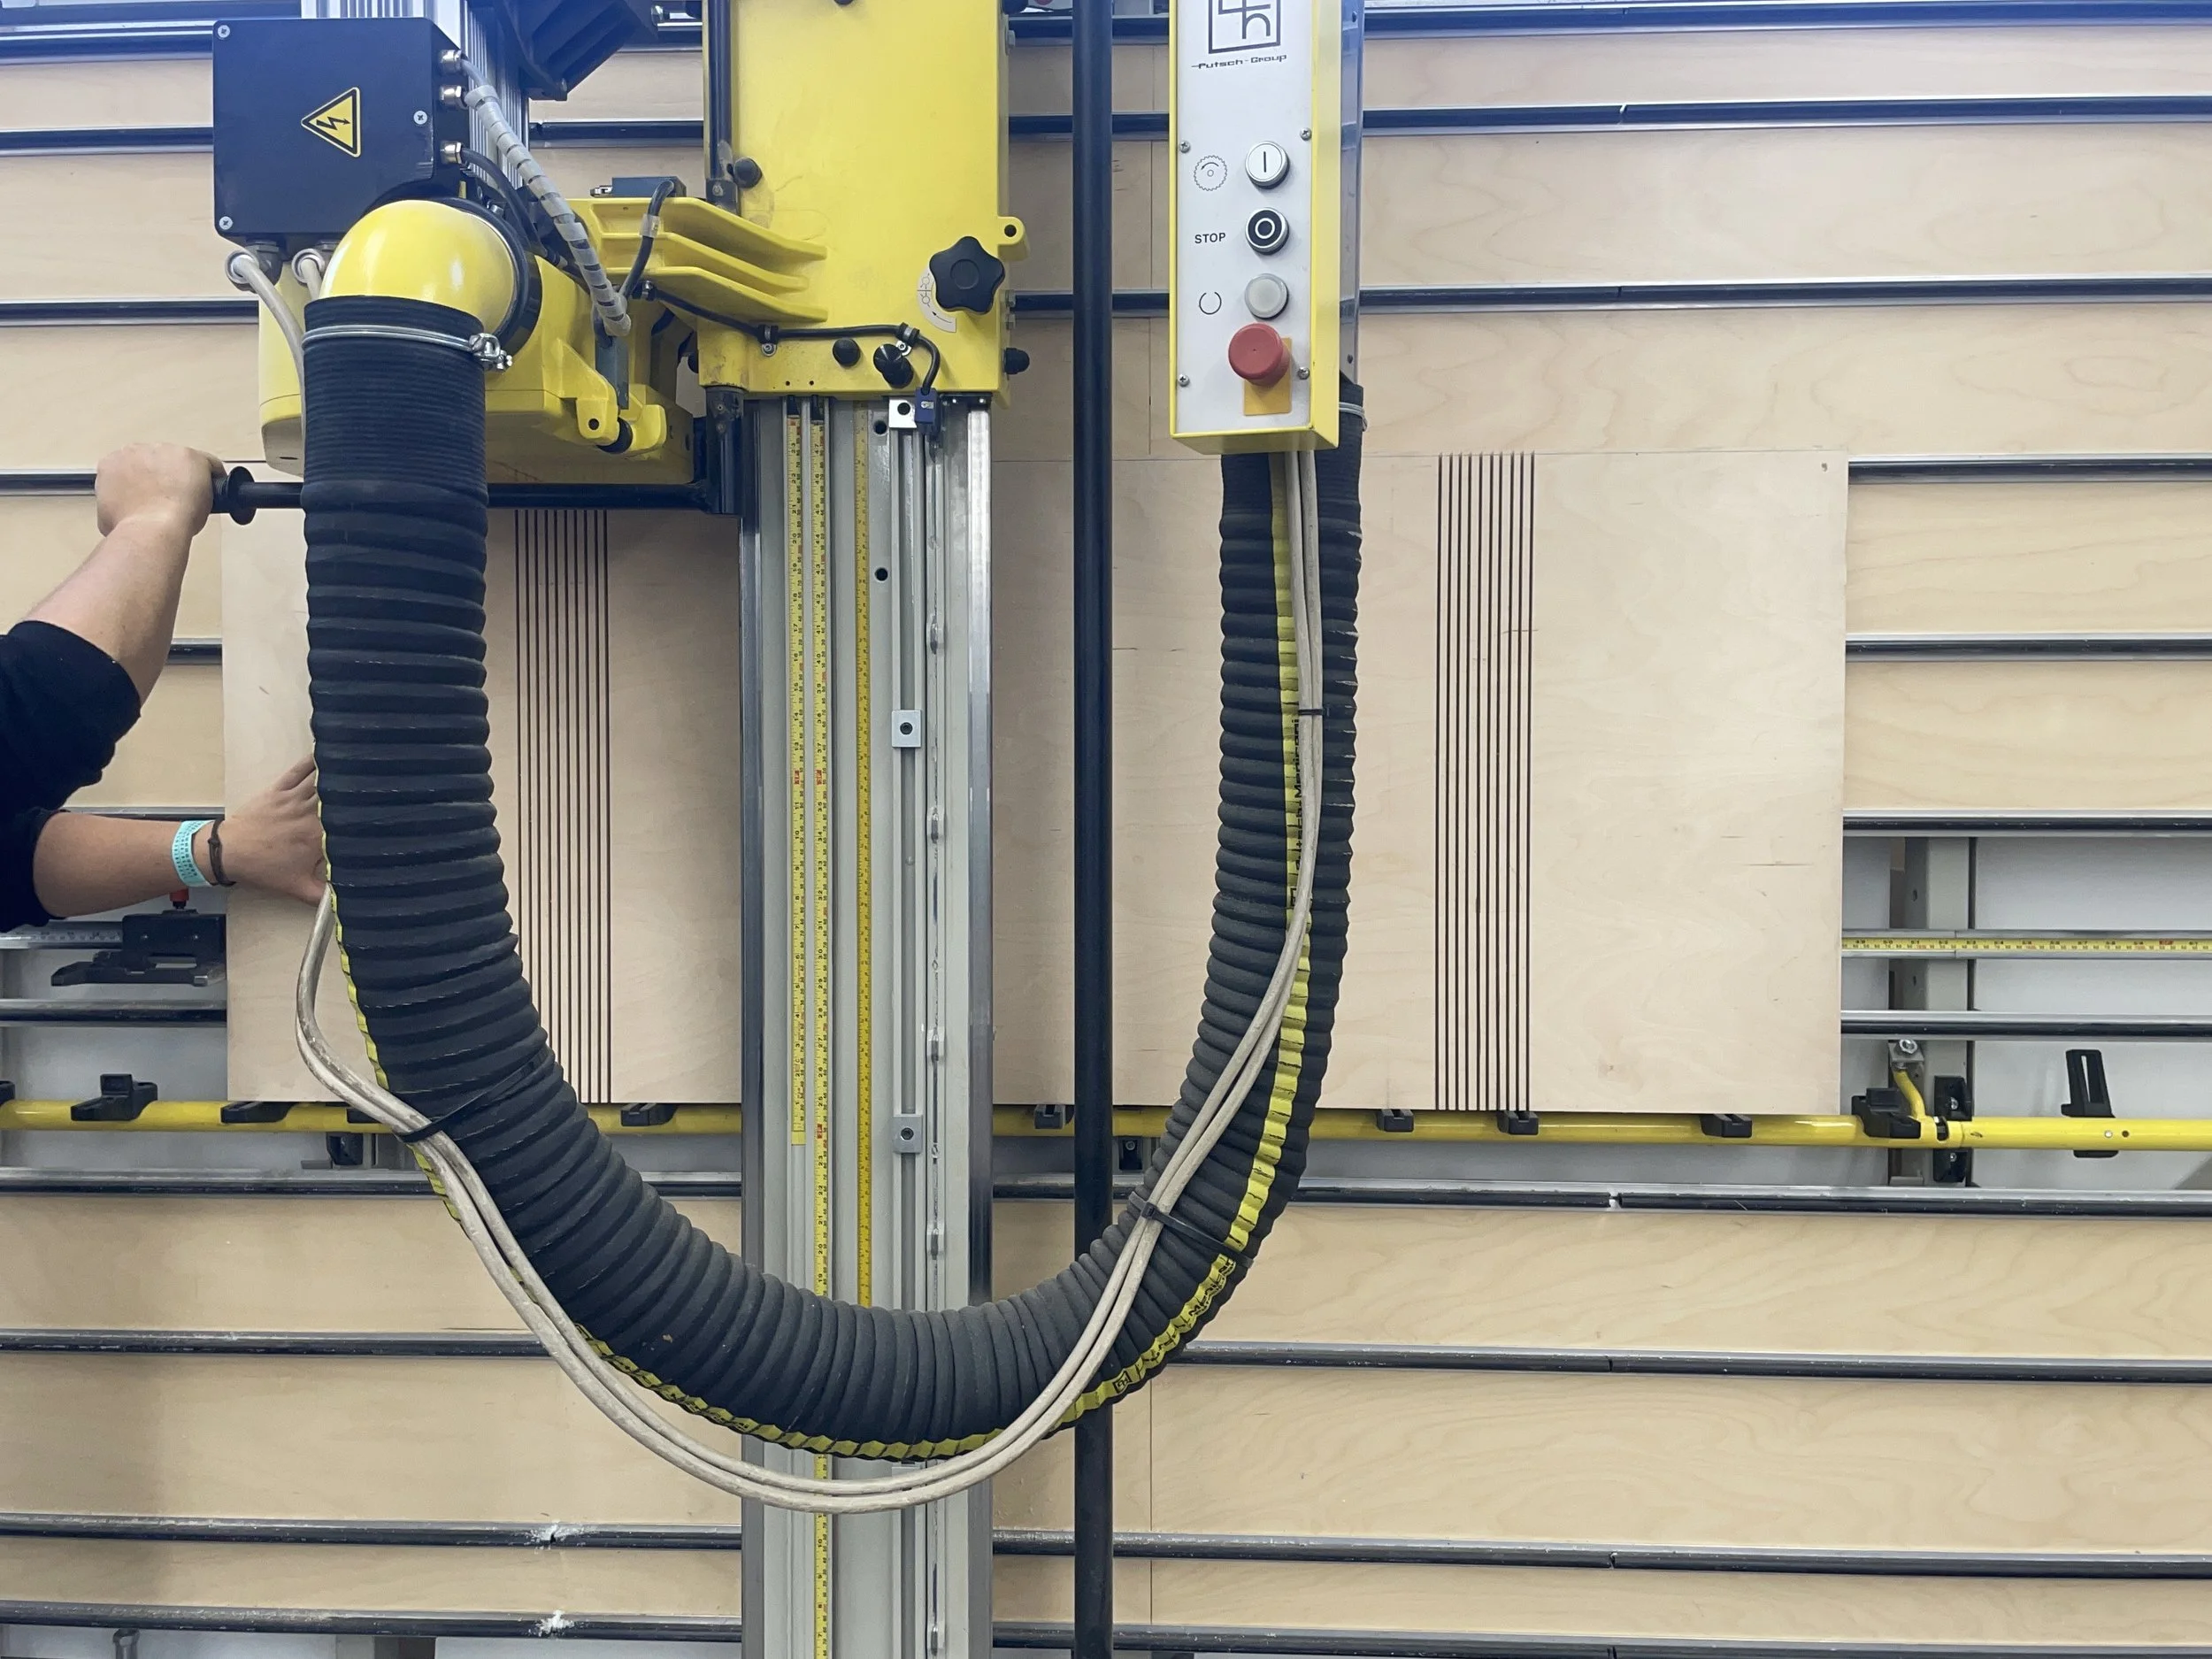
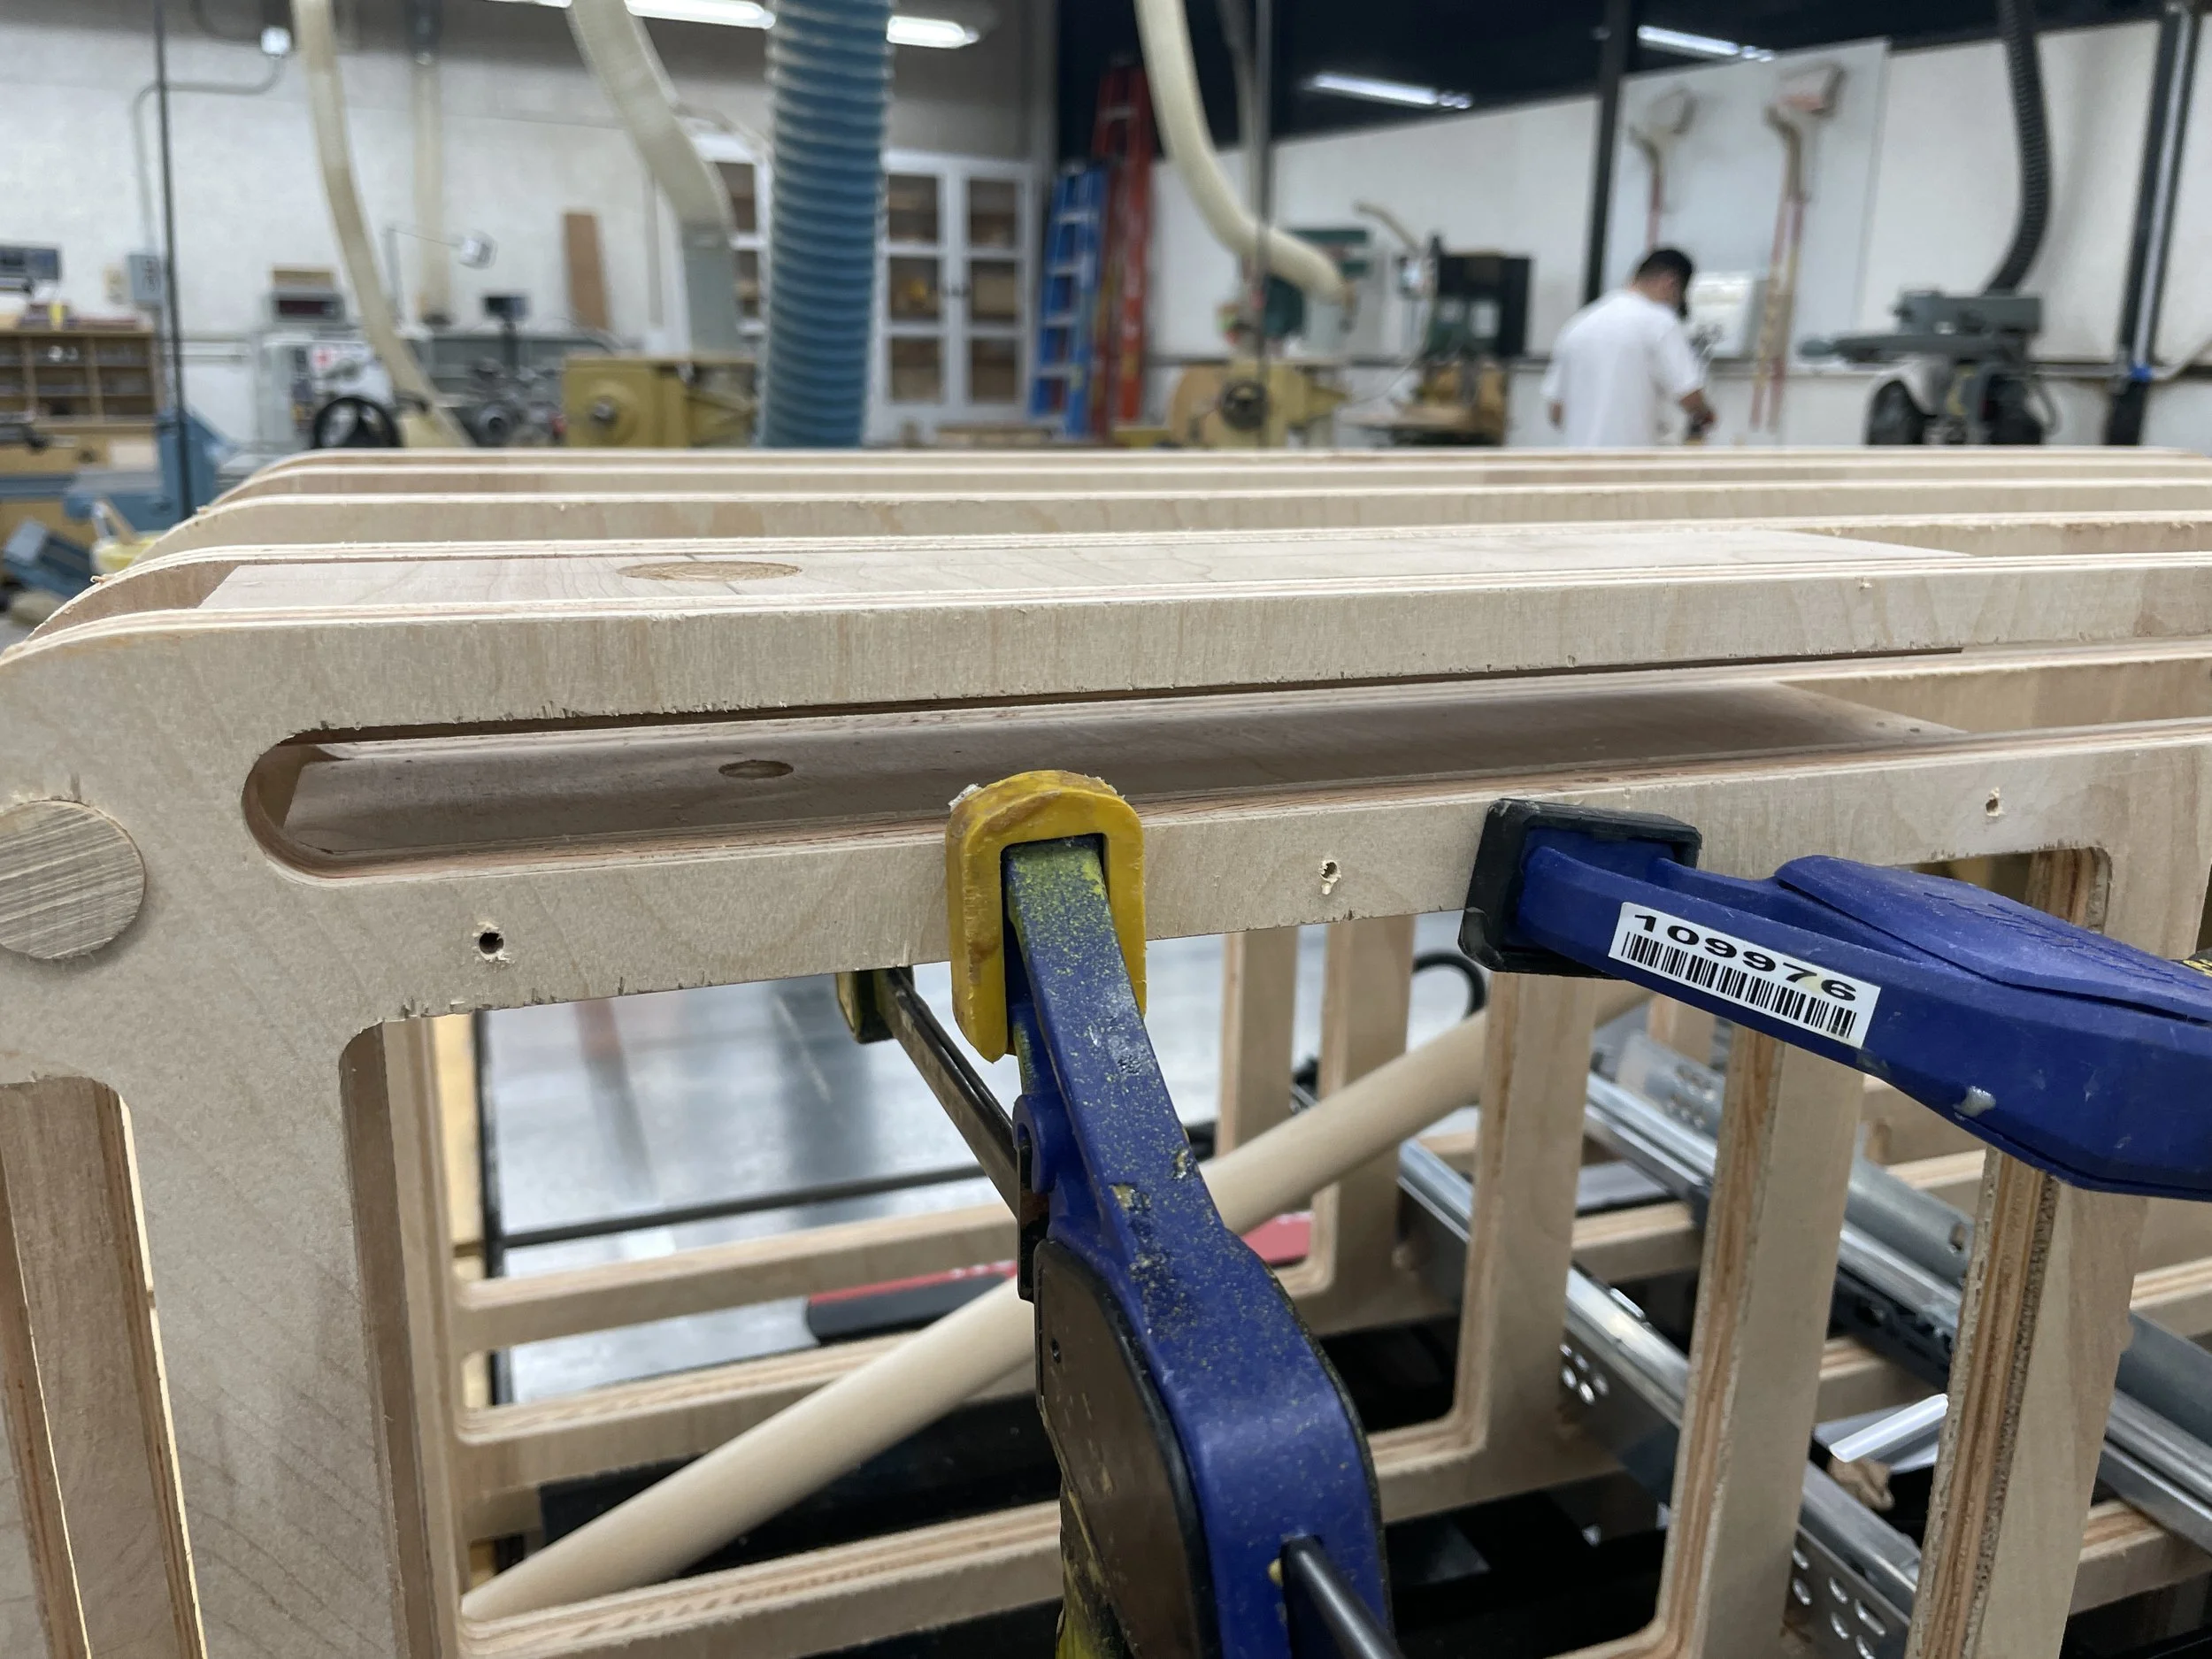
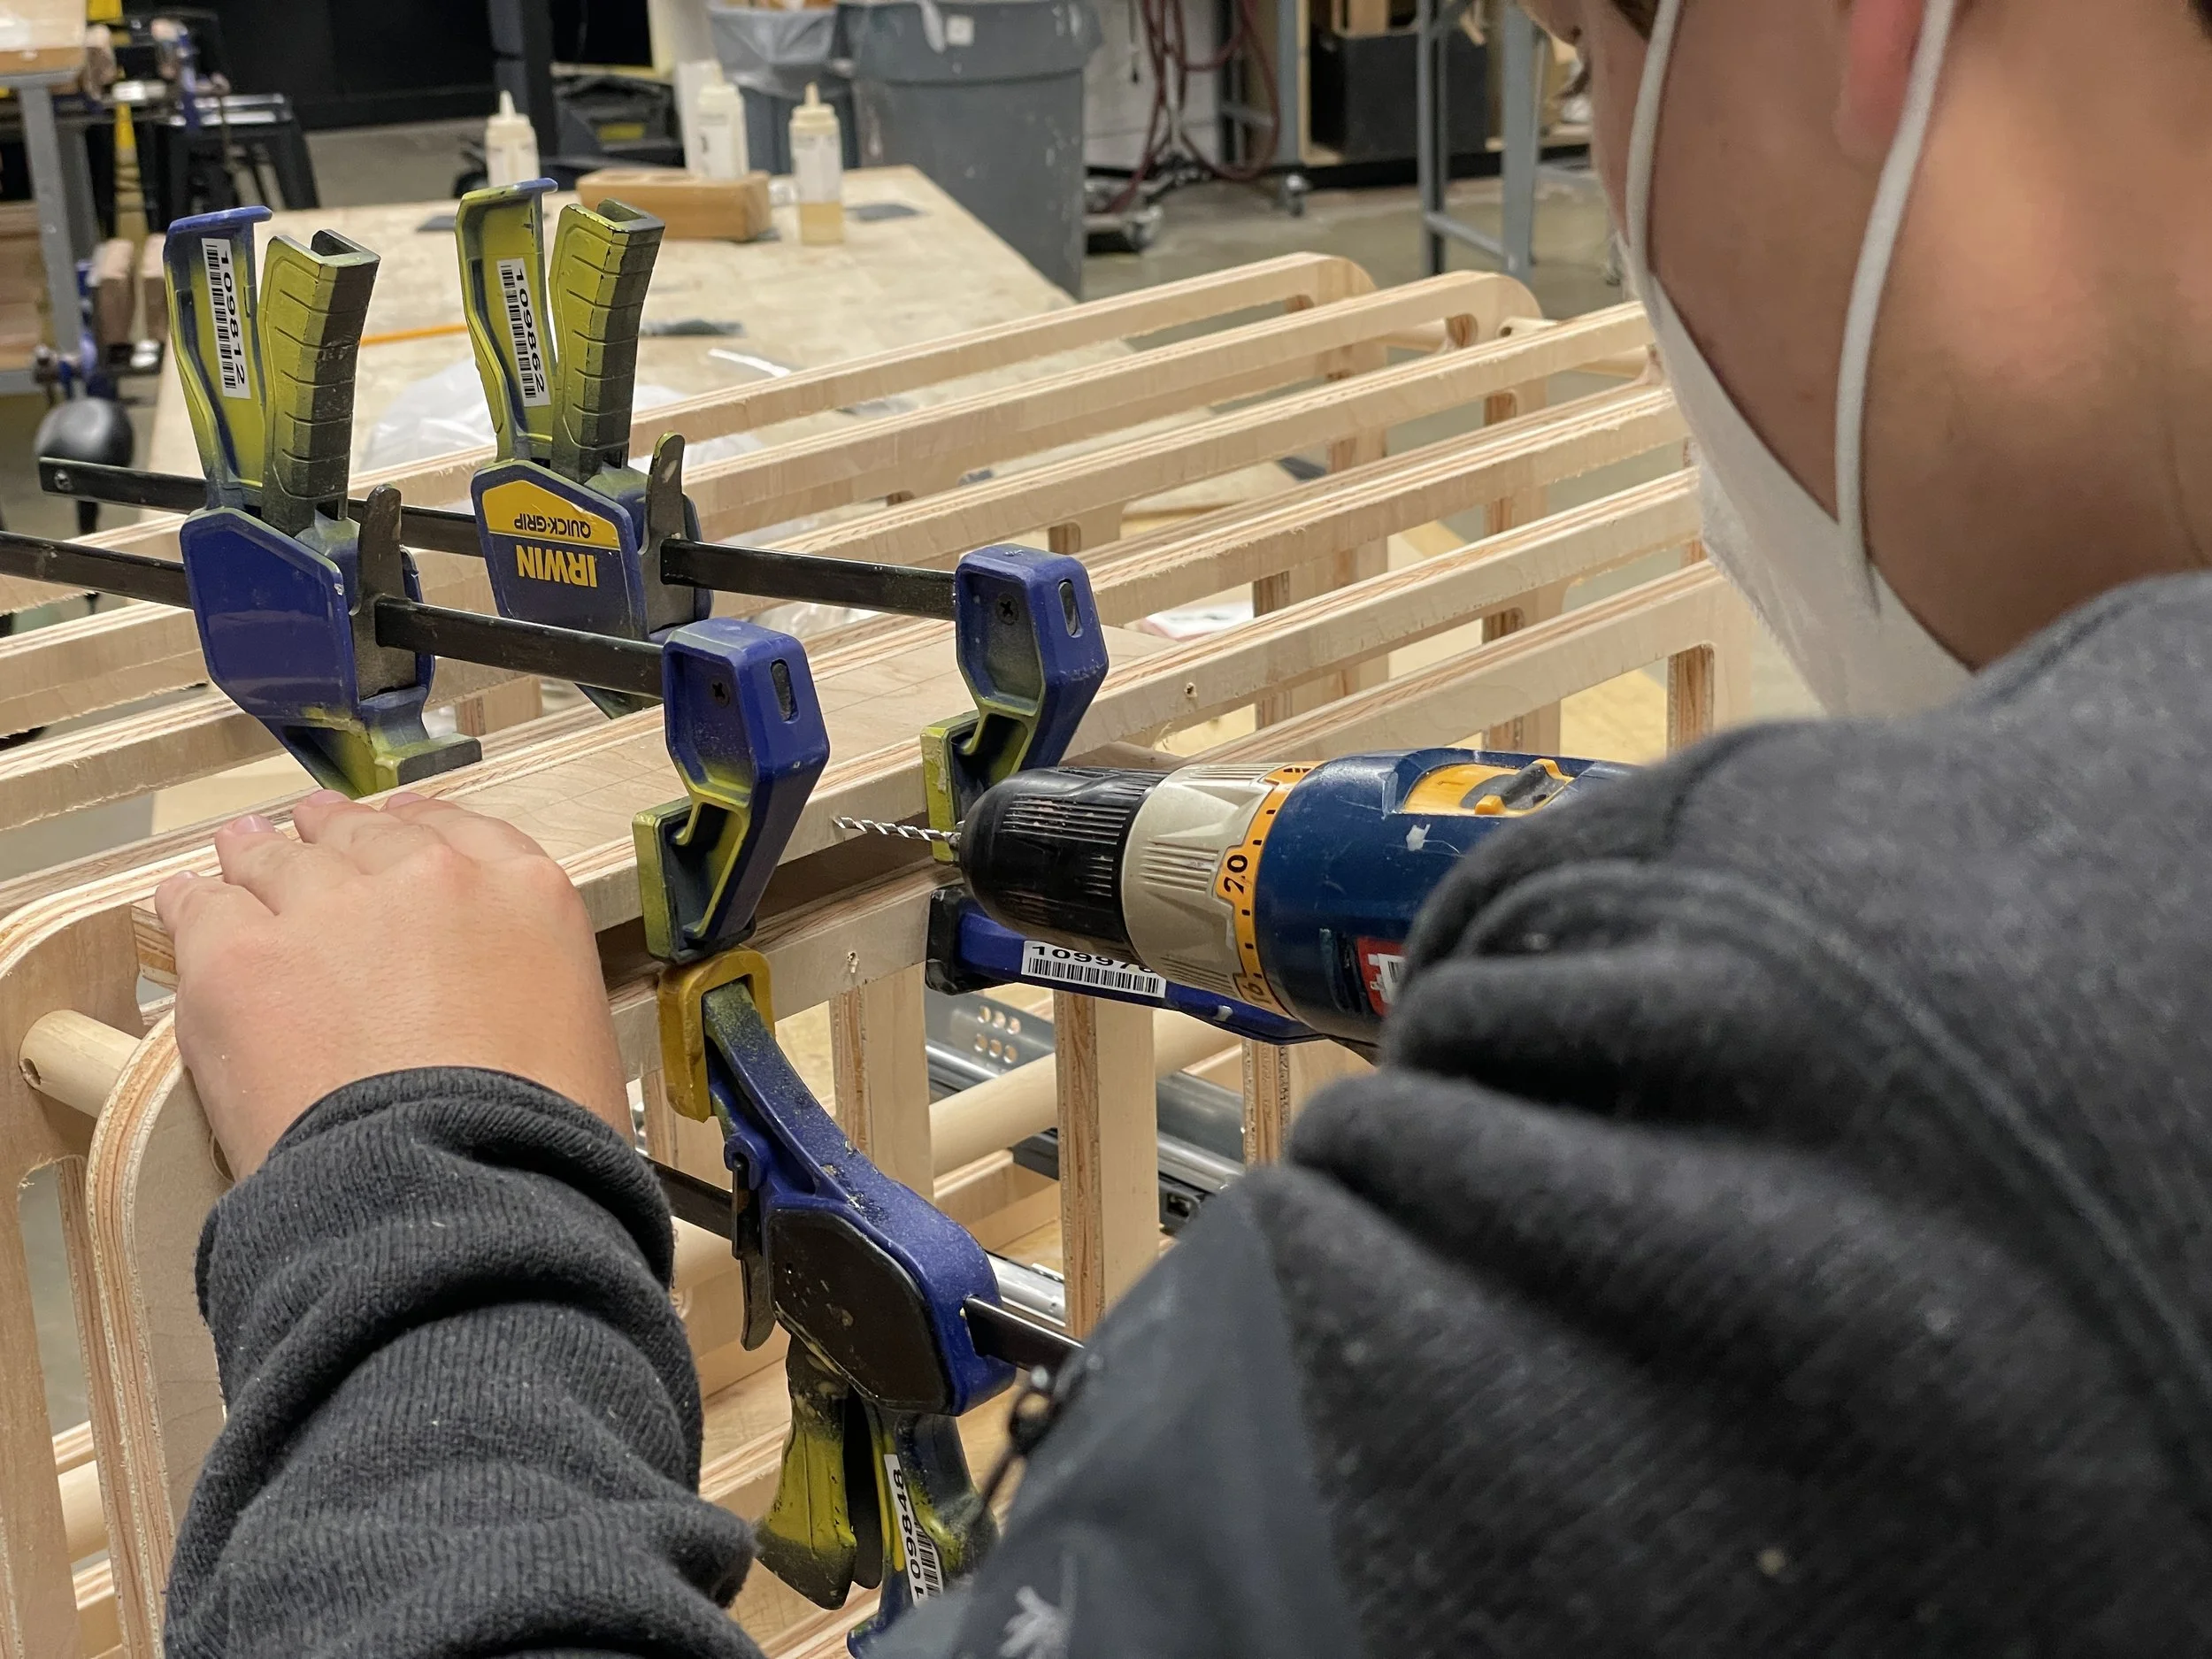
To get the 3/4-inch birch plywood shell to curve around the frame's rounded edges, I utilized a technique known as kerf cutting to bend the wood. This highly precise process required me to make dado cuts in very large pieces of plywood using a table saw. The cut pieces were then pressure-glued onto a final frame.Final Cutting & Materials:
Once I had tested the strength and scale of my frame in MDF, I could confidently proceed to the final construction phase. As previously mentioned, the structure is comprised of five modules. After cutting and assembling the core frame, I began installing the countertop mechanism, drawers, and storage containers that would fit into the open modules.CNC Manufacturing
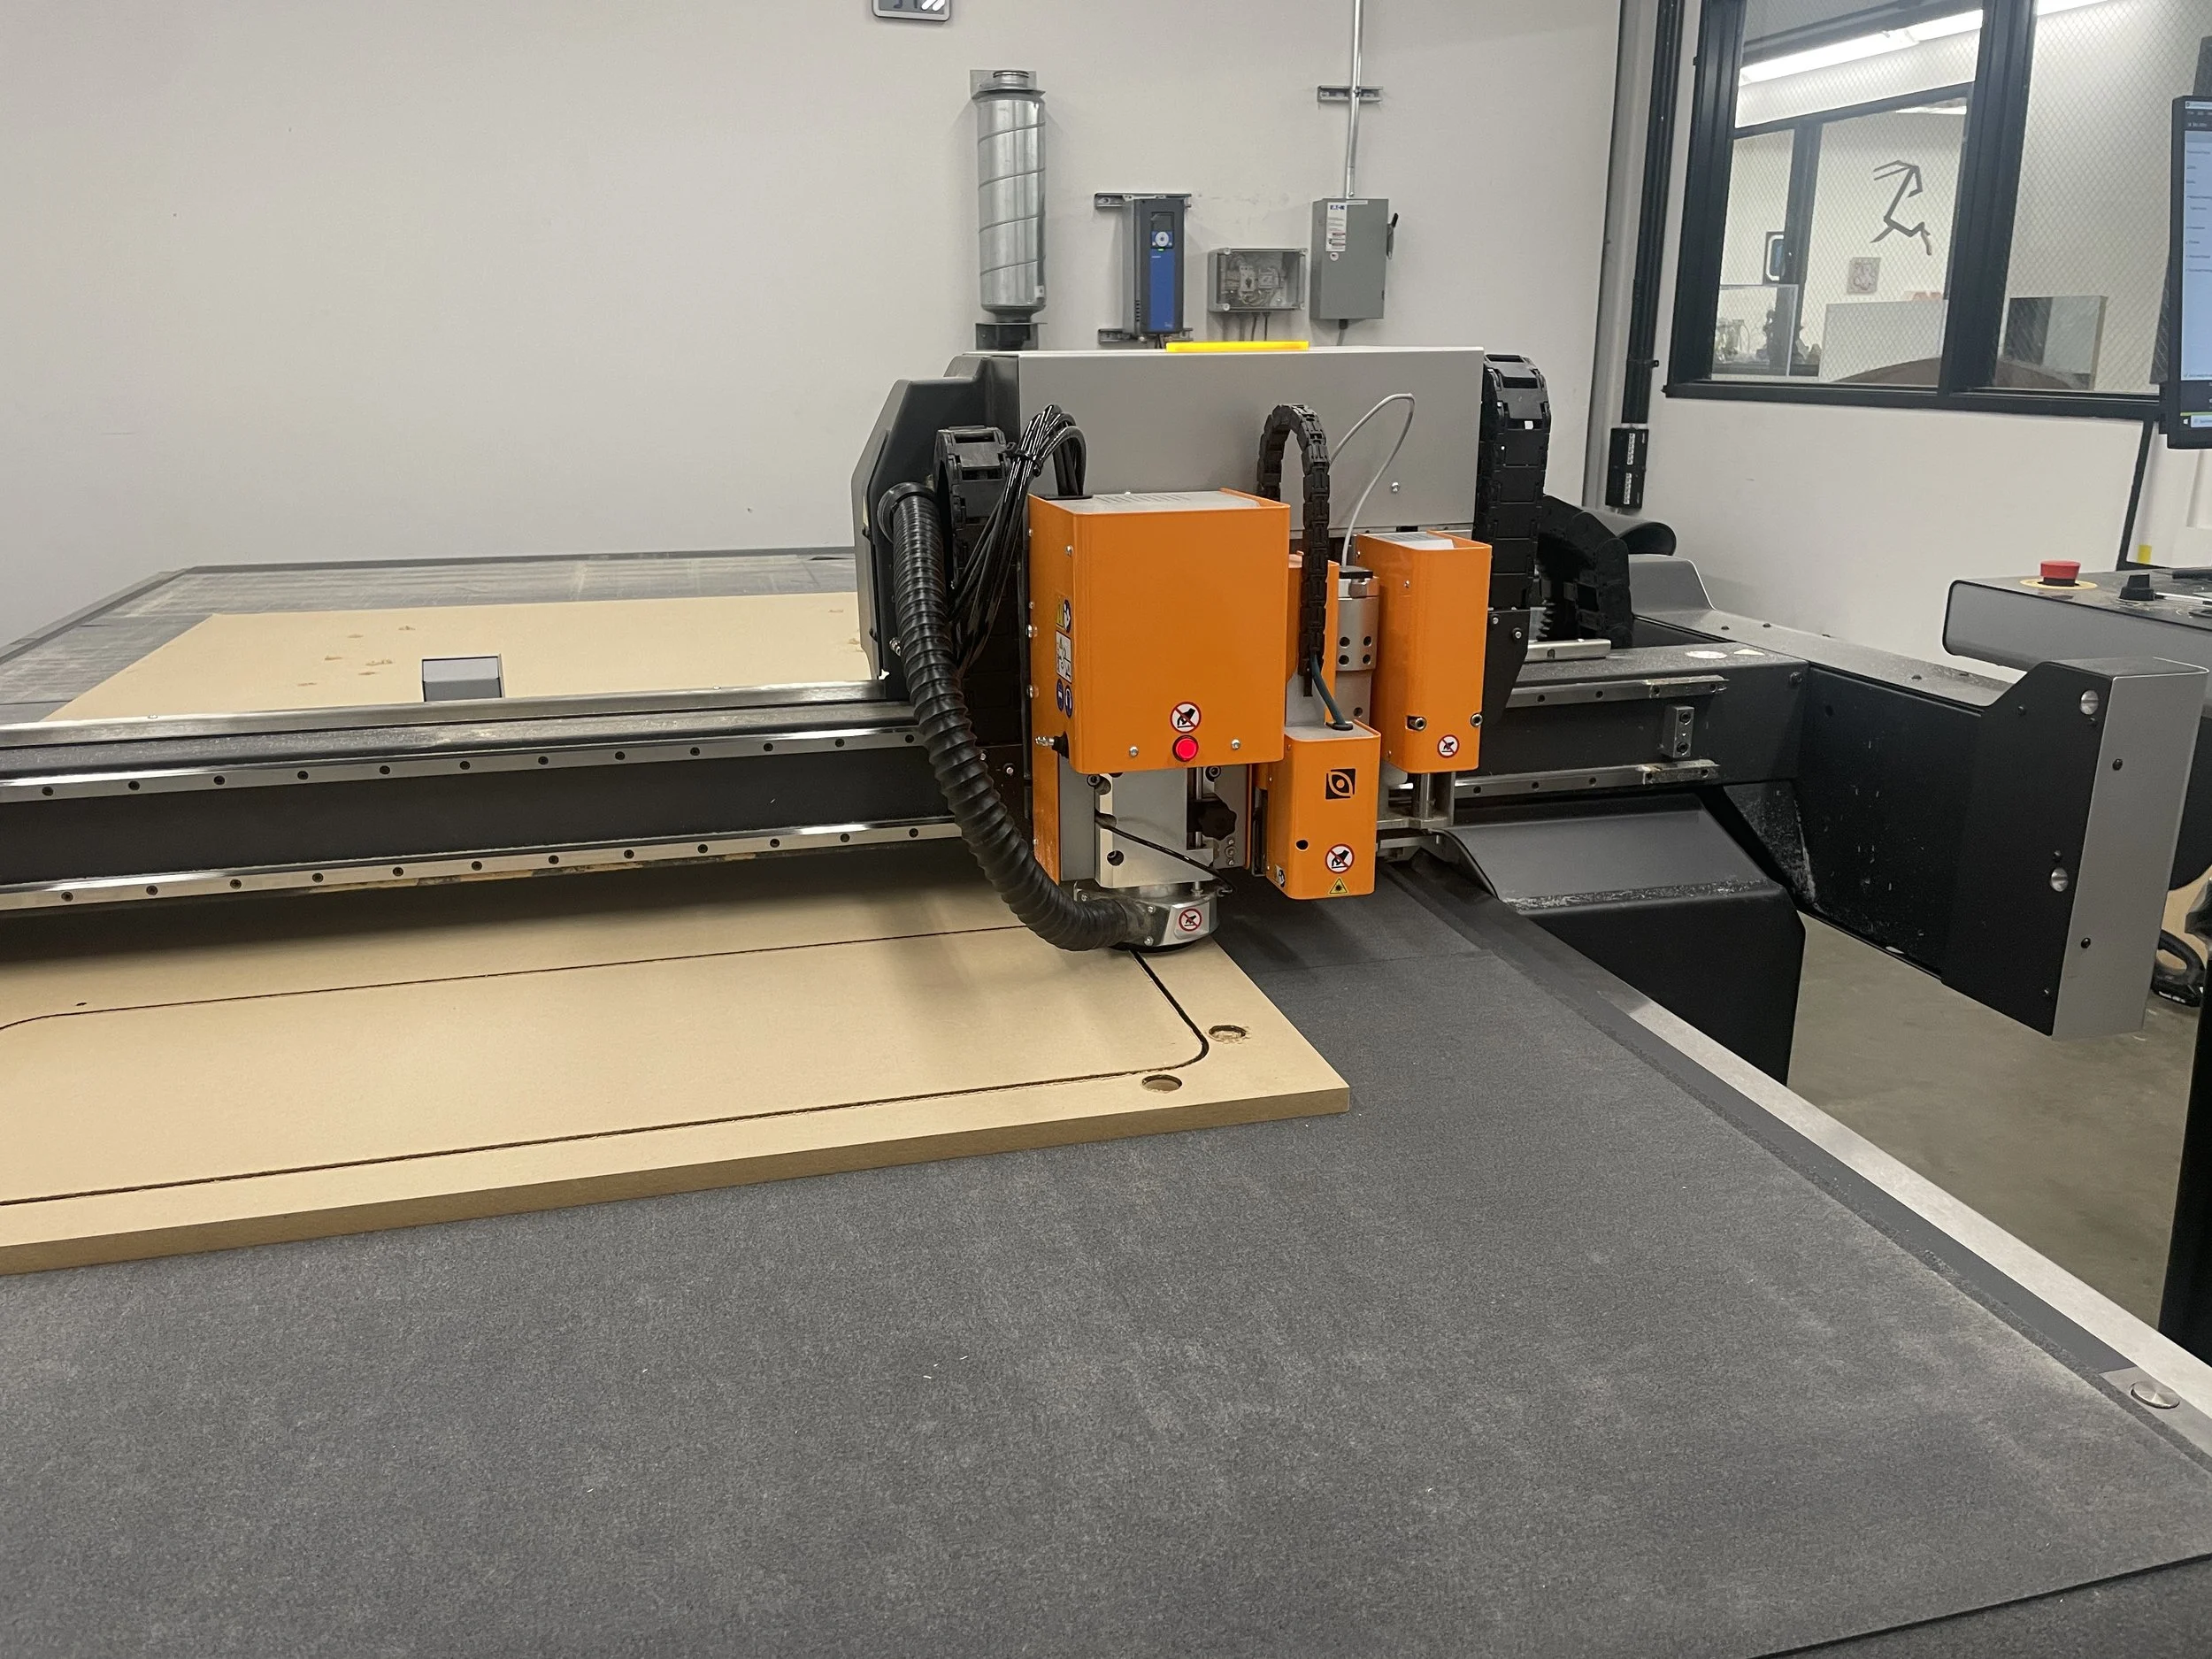
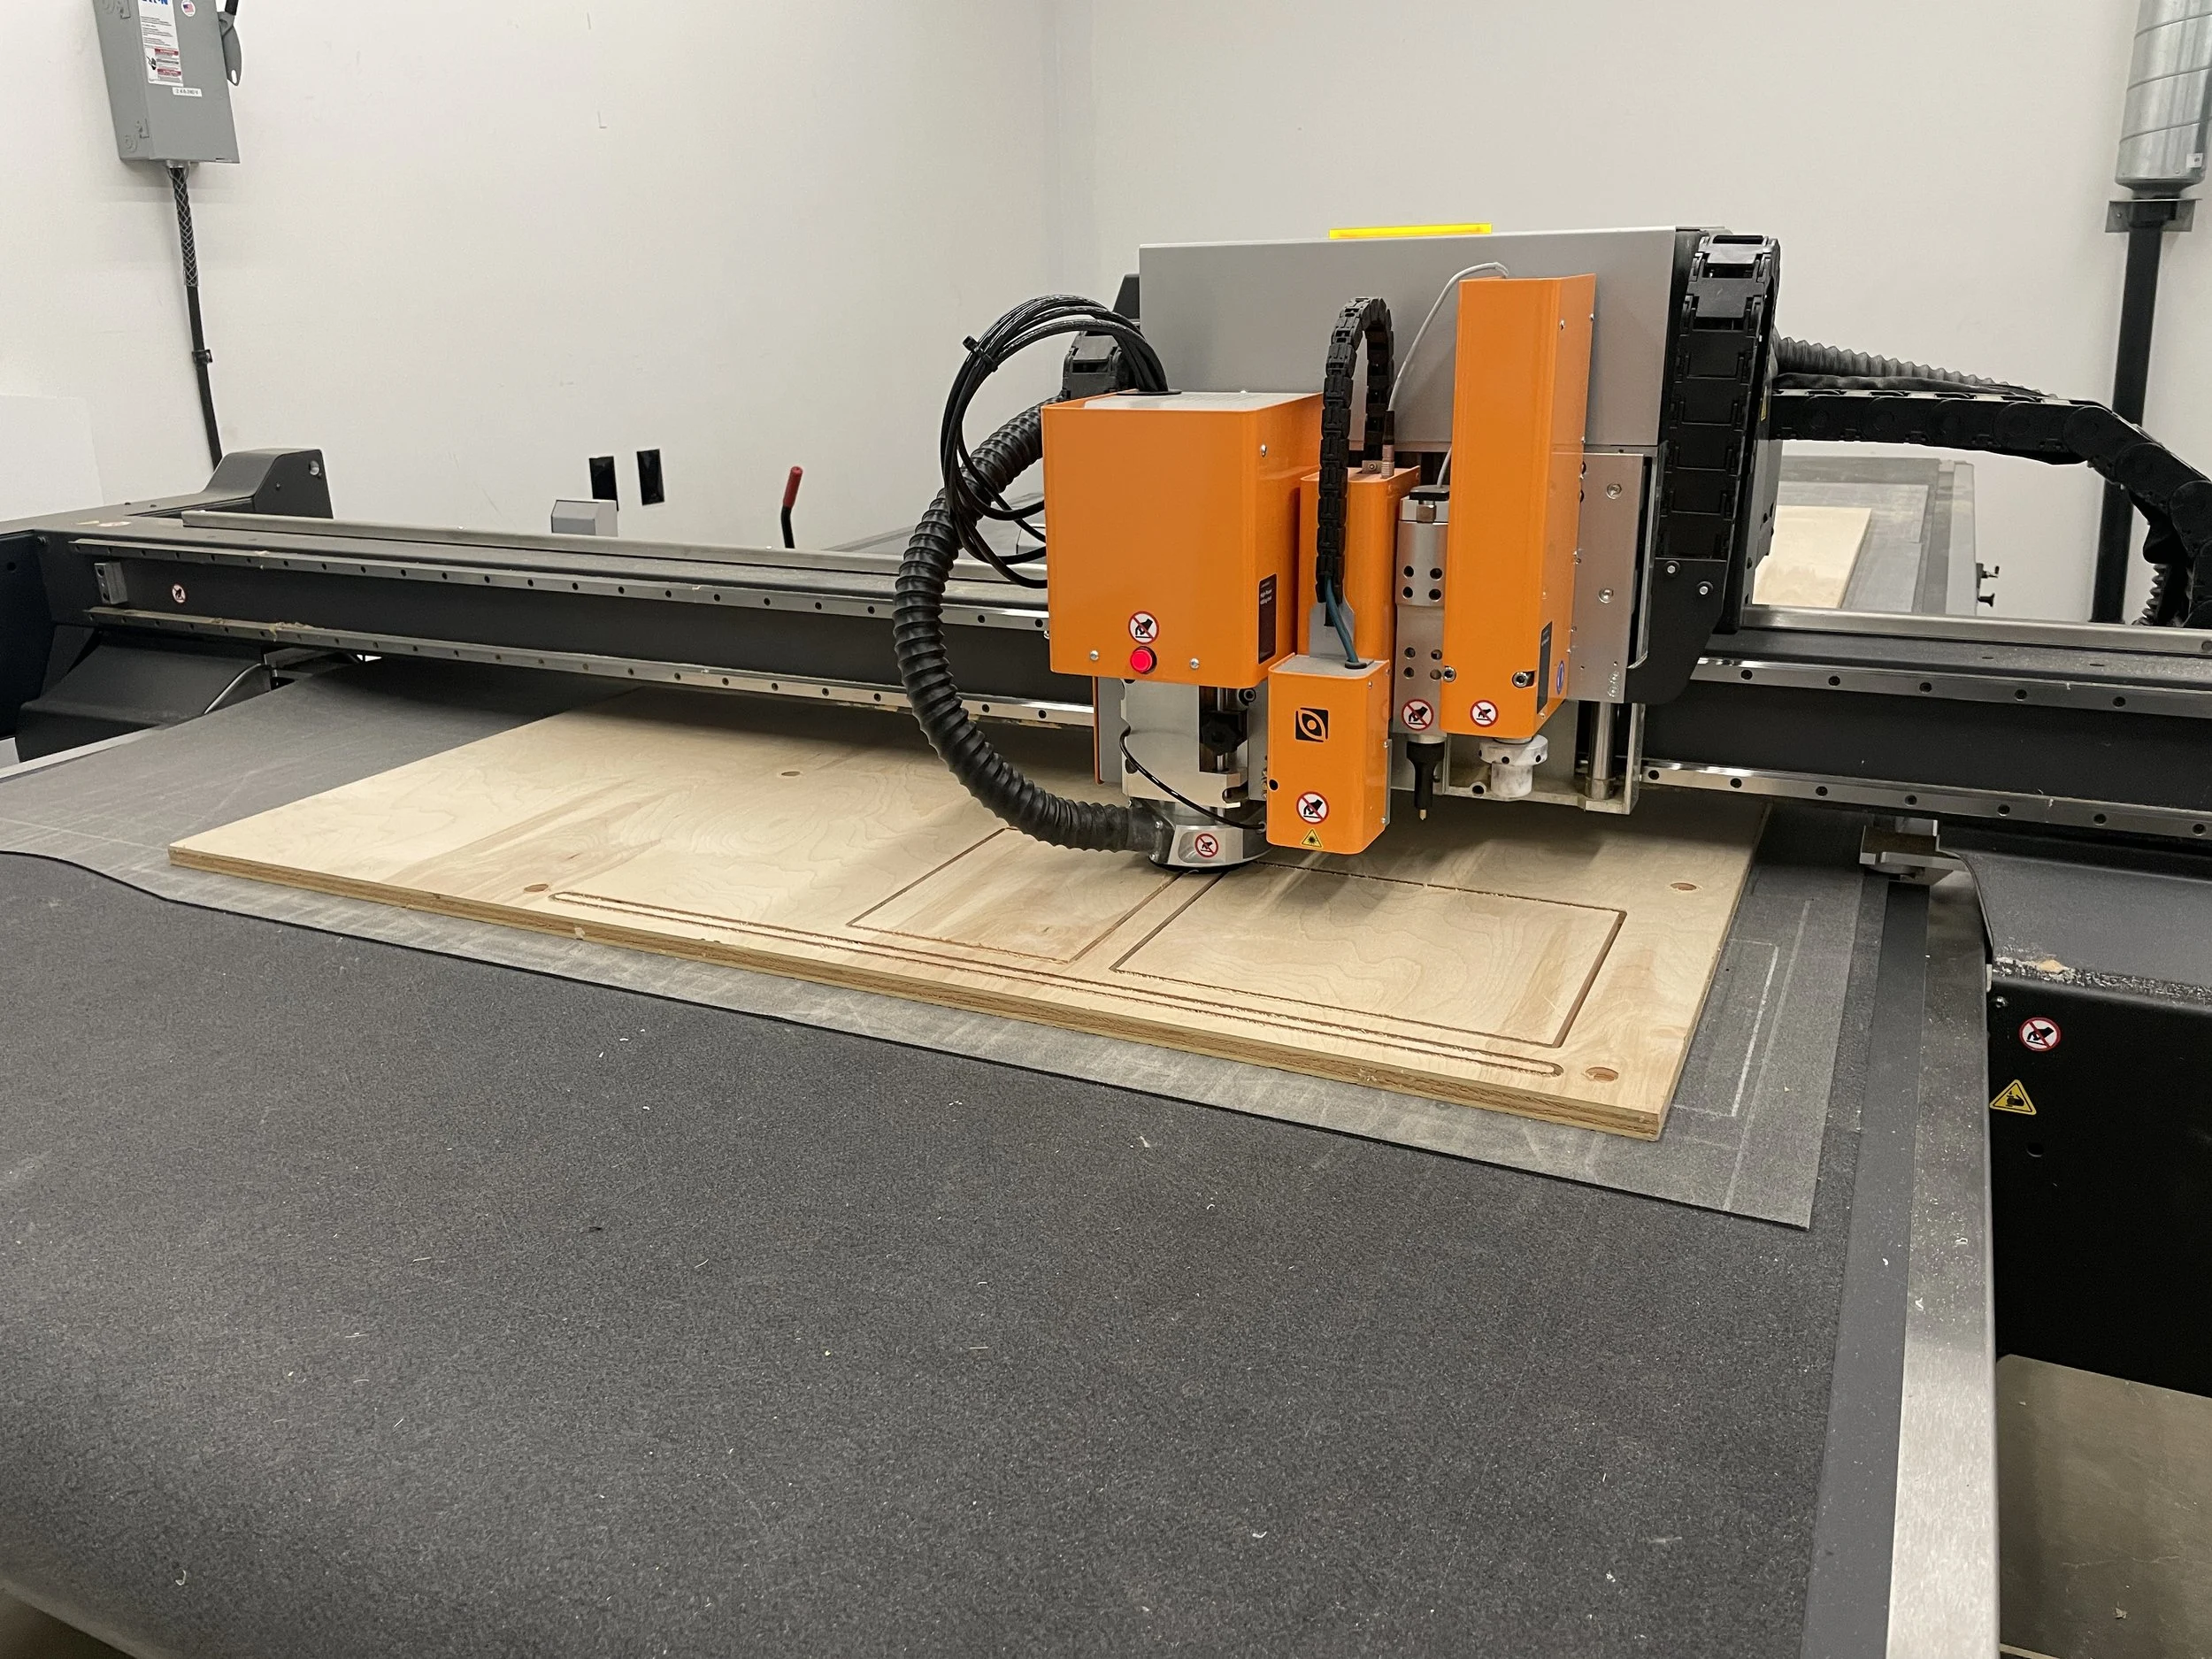
One of the significant benefits of building the prototype at full scale was understanding how this design could be potentially manufactured.For instance, precision CNC machining was used to make the frame pieces, which could be easily replicated for mass production. This process is highly repeatable and relatively cost-effective at scale, making it a viable option for manufacturing.Final Assembly:
With all of the individual components completed, the most worrying question was whether it would all fit together. The kerf-cut outer shell had to be pressure-glued in place, the vinyl wrap had to be applied, and the leather pull handles, tweed backsplash, drawer details, and other finishing touches all had to come together seamlessly.Outer Shell
Fortunately, the outer shell came together without any issues and as intended, much to my surprise. Releasing the clamps after the glue set overnight was immensely satisfying. The wood only needed minimal filler and power-sanding before applying the white vinyl wrap, although I almost regretted doing so because the naturally-finished wood looks so good on its own.